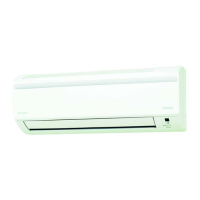
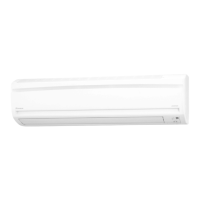
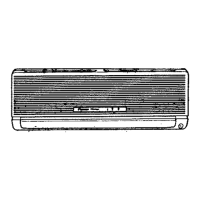
Names of Parts
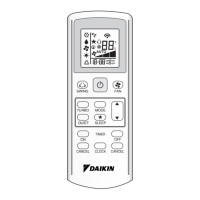
Remote Controller
Display (LCD)
• Displays the current settings.
(In this illustration, each section is
shown with its displays on for the
purpose of explanation.)
AUTO button
• Automatically selects an appropriate
operation mode (COOL or HEAT)
based on the indoor temperature and
starts the operation.
Direct operation buttons
• Starts the COOL, DRY, HEAT or FAN
ONLY operation.
TEMPERATURE
adjustment button
• Changes the temperature setting.
COMFORT button
• COMFORT AIRFLOW operation.
POWERFUL button
• POWERFUL operation.
OFF TIMER button
(NIGHT SET mode)
•
To use the remote controller, aim the
transmitter at the indoor unit. If there is
anything blocking the signals between
the unit and the remote controller, such
as a curtain, the unit may not operate.
• The maximum transmission distance
is about 7m.
OFF button
• Stops the operation.
FAN setting button
• Selects the airow rate setting.
ECONO button
• ECONO operation.
SWING button
•
Adjusts the airow direction
.
TIMER CANCEL button
• Cancels the timer setting.
 Loading...