Do you have a question about the Daikin FTXM24WVJU9 and is the answer not in the manual?
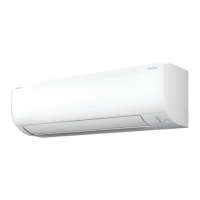
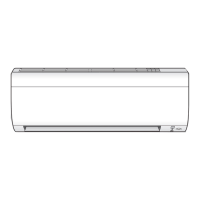
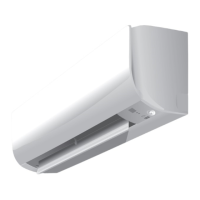
Positioning guidelines for the indoor unit, including unobstructed airflow and environmental factors.
Guidance on selecting a location for optimal remote control signal reception.
Detailed steps and dimensions for securely mounting the indoor unit plate to the wall.
Procedure for creating the wall opening and inserting the pipe conduit for refrigerant and drain lines.
Instructions for attaching the indoor unit to the mounting plate and routing pipes.
Details on wiring procedures, including wire types, terminal connections, and securing the service lid.
Guidance on drain hose connection, slope, and potential issues like backflow or condensation.
Proper technique for flaring refrigerant pipe ends to prevent gas leakage.
Steps for connecting refrigerant pipes, including applying oil and using a torque wrench.
Procedure for safely removing and reinstalling the indoor unit's front panel.
Steps for detaching and reattaching the front grille for access to internal components.
Instructions for setting unique addresses for multiple wireless remote controllers.
Procedure for connecting the unit to a home automation system.
Steps for performing initial operation checks to ensure correct function.
Checklist of items to verify during trial operation for proper installation.
| Cooling Capacity | 2.5 kW |
|---|---|
| Heating Capacity | 3.2 kW |
| Seasonal Energy Efficiency Ratio (SEER) | 6.1 |
| Power Supply | 220-240V, 50Hz |
| Refrigerant | R32 |
| Coefficient of Performance (Heating) | 4.0 |
| Type | Split System |
| Dimensions (Indoor Unit) (HxWxD) | 290x800x215 mm |
| Dimensions (Outdoor Unit) (HxWxD) | 550x800x285 mm |
| Indoor Unit Noise Level | 19 dB (Low) |