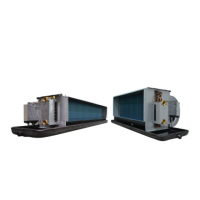
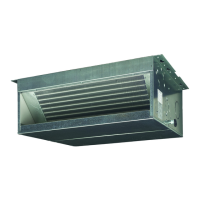
FWB - FWP
Ducted fan coil units
4PW24344-1C
Installation and operation manual
7
test rUn
Check that the equipment has been installed so that it guarantees the
required slant.
Check that the condensate discharge is not clogged (by rubble
deposits, etc.).
Check the seal of the hydraulic connections.
Check that the electrical wiring is perfectly tight (perform this check
with voltage OFF).
Be sure that the air purge of the heat exchanger has been carried out
correctly.
Turn on the power supply and check the unit running.
Use
To use the unit, refer to the instructions in the installation and operation
manual of the controller. Dedicated controllers are available as
accessory.
maintenance and cleaning
For safety reasons before carrying out any maintenance or cleaning
operation, turn off the unit and cut the voltage by turning the line switch
to OFF.
Maintenance
The maintenance operations for the FWB-FWP air conditioner and
hot-air heating units are limited to the periodic cleaning of the air lter
and the heat exchanger, and the checking of the working efciency of
the condensate discharge.
Only skilled personnel may perform the maintenance.
Pay utmost attention during the maintenance operations: accidentally
coming into contact with some of the metallic parts might cause
injuries, therefore use safety work gloves.
Every time the units are started after a long idle period, make sure that
air is NOT present in the heat exchanger.
The motor is maintenance-free since it is equipped with self-lubricating
bearings.
Cleaning the air lter
Cut voltage to the unit by turning the line switch to OFF.
For cleaning the air lter proceed as follows:
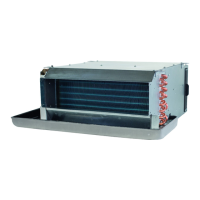
n Access the equipment through the inspection panel and remove
the air lter as shown in gure 7 by unscrewing the xing knobs.
n Wash the lter with lukewarm water or, for dry powders, with
compressed air.
n Reassemble the lter after having it dried up.
Cleaning the heat exchanger
It is advisable to check the condition of the heat exchanger before the
start of the summer season. Also check if the ns are not clogged by
impurities.
To access the heat exchanger, remove the delivery panel and the
condensate tank. Upon having accessed the heat exchanger, clean
with compressed air or low pressure steam, without damaging the ns
of the heat exchanger.
Before operating it in the summer, check the condensate discharges
regularly.
disposal reqUirements
NOTE
Adequate and regular maintenance and cleaning
means energy conservation and cost saving.
Dismantling of the unit should be done in accordance with the relevant
local and national legislation.
troUBleshooting
If the unit does not work properly rst check the points reported in the
table below before requesting service.
If the problem cannot be solved contact your dealer or service centre.
Symptom 1: The unit does not run at all
Possible causes corrective action
Power failure Restore power
The automatic circuit breaker tripped Contact service centre
The switch is on STOP (“O”) position Turn ON the unit, select “I”
Symptom 2: Poor cooling or heating performance
Possible causes corrective action
Dirty or clogged air lter Clean the air lter
Obstacle near the air inlet or outlet Remove the obstacle
Air inside the heat exchanger Contact the installer
Doors and windows are open Close doors and windows
The unit is running at low speed Select medium or high fan speed
Symptom 3: The unit leaks
Possible causes corrective action
The unit is not installed with the
correct inclination
Contact the installer
The condensate discharge is clogged Contact the installer