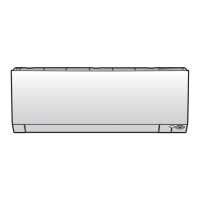
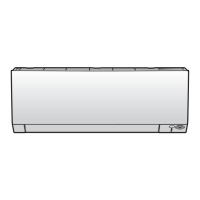
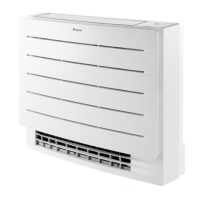
3 | Components
Service manual
188
RXM20~71R + ARXM25~71R + FTXM20~71R + ATXM25~50R +
FVXM25~50A
Split New Perfera R32
ESIE20-11 – 2021.01
10 Install the fan guard.
11 Install the swing raster motor cover.
12 Connect the drain hose to the indoor unit.
a Screw (drain hose)
b Drain hose
13 Install the drain hose fixation bracket. Install and tighten the screw.
14 Install the switch box, see "3.14Plate work"[4151].
Is the problem solved? Action
Yes No further actions required.
No Return to the troubleshooting of the
specific error and continue with the
next procedure.
To remove the swing raster motor wiring harness
For Class 20~42 indoor units: As the swing raster motor wiring harness is part of
the swing flap motor, remove the swing flap motor, see "Repair
procedures"[4172].
For Class 50~71 indoor units: As the swing raster motor wiring harness is the same
harness as the swing flap motor wiring harness, remove the swing flap motor
wiring harness, see "Repair procedures"[4175].
1 To install the swing raster motor wiring harness, see "Repair
procedures"[4182].
To install the swing raster motor wiring harness
For Class 20~42 indoor units: As the swing raster motor wiring harness is part of
the swing flap motor, install the swing flap motor, see "Repair procedures"[4172].
For Class 50~71 indoor units: As the swing raster motor wiring harness is the same
harness as the swing flap motor wiring harness, install the swing flap motor wiring
harness, see "Repair procedures"[4175].
Is the problem solved? Action
Yes No further actions required.
No Return to the troubleshooting of the
specific error and continue with the
next procedure.

 Loading...


