3 | Components
Service manual
98
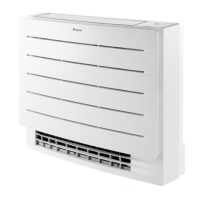
RXM20~71R + ARXM25~71R + FTXM20~71R + ATXM25~50R +
FVXM25~50A
Split New Perfera R32
ESIE20-11 – 2021.01
11 Remove the screw and disconnect the ground wire from the indoor unit heat
exchanger.
12 Unfasten the 2 hooks on the left side of the indoor heat exchanger.
a Hook (left side)
b Hook (right side)
c Indoor unit heat exchanger
13 Unfasten the 2 hooks on the right side of the indoor heat exchanger and
remove the indoor unit heat exchanger.
14 Remove the 4 screws and remove the bellmouth from the indoor unit.
a Screw (bellmouth)
b Bellmouth
c Nut (turbo fan assy)
d Turbo fan assy
15 Remove the nut that fixes the turbo fan assembly.
16 Pull and remove the turbo fan assembly from the DC fan motor assembly.
INFORMATION
Use a pulley remover if the propeller cannot be removed manually.
17 To install the turbo fan assembly, see "Repair procedures"[496].
To remove the DC fan motor assembly
1 Remove the turbo fan assembly from the DC fan motor assembly, see "Repair
procedures"[496].
 Loading...