Do you have a question about the Daikin RXYMQ48PVJU and is the answer not in the manual?
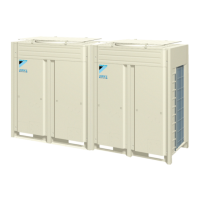
Details indoor unit compatibility and total capacity/quantity limits for outdoor units.
Specifies operating conditions for indoor and outdoor units, including pipe length and level difference.
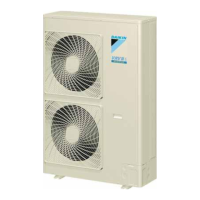
Lists technical specifications like refrigerant type, performance, and dimensions for the models.
Outlines electrical characteristics such as voltage, frequency, and current ratings for the units.
Lists the standard accessories included with the outdoor unit for installation and operation.
Details optional accessories available for the system, such as refrigerant branching kits.
Specifies required clearances and dimensions for various installation scenarios, considering obstacles and unit placement.
Provides a sample wiring diagram for connecting the entire system, including grounding and circuit protection.
Guides on routing power and transmission wiring, including protection with insulation tubes and clamps.
Details on connecting the power supply wiring to the terminal block, including grounding and circuit interrupters.
Instructions for connecting transmission wiring between units, covering length limits and wiring types.
Lists essential tools and materials required for refrigerant piping installation, emphasizing R410A specific tools.
Guides on choosing appropriate piping material, wall thickness, and jointless phosphor-deoxidized copper pipes.
Explains methods to protect piping from moisture, dirt, and dust ingress during installation and handling.
Covers procedures for pipe connection, including using specified flare nuts and nitrogen blow brazing.
Details on connecting interunit piping, including direction, knockout hole preparation, and flare nut processing.
Instructions for insulating cooling and interunit piping to prevent condensation and heat loss.
Illustrates piping connection examples for various system configurations with different numbers of indoor units.
Outlines the procedures for performing air tight tests and vacuum drying of the refrigerant system.
Lists checks and inspections required before proceeding with adding refrigerant to the system.
Advises on verifying the refrigerant tank setup, ensuring liquid form charging for R410A.
Provides step-by-step instructions for calculating and adding refrigerant to the system.
Explains the procedure for performing initial power-on and operational checks of the installed system.
Details how to perform a temperature control check and verify normal operation of all connected units.
| Model | RXYMQ48PVJU |
|---|---|
| Category | Air Conditioner |
| Cooling Capacity | 48, 000 BTU/h |
| Heating Capacity | 54, 000 BTU/h |
| Voltage | 208-230 V |
| Hertz | 60 Hz |
| Refrigerant | R-410A |
| Phase | 3 |