4.3. Selecting a location in cold climates
NOTE
r When operating the unit in a low outdoor ambient temperature, be
sure to follow the instructions described below.
r The following images are for reference only. For more details con-
tact your local dealer.
6QRTGXGPVGZRQUWTGVQYKPFCPFUPQYKPUVCNNCDCHƃGRNCVGQPVJGCKT
side of the outdoor unit:
1
1 $CHƃGRNCVG
In heavy snowfall areas it is very important to select an installation site
where the snow will not affect the unit. If lateral snowfall is possible,
OCMGUWTGVJCVVJGJGCVGZEJCPIGTEQKNKUPQVCHHGEVGFD[VJGUPQY
(if necessary construct a lateral canopy). Install the unit high enough
from the ground to prevent burying in snow.
1
2
1 Construct a large canopy.
2 Construct a pedestal.
NOTE
When operating the unit in a low outdoor ambient temperature with
high humidity conditions, make sure to take precautions to keep the
drainholes of the unit free by using proper equipment such as the op-
tional drainpan heater. For more information contact your local dealer.
5. Dimensions and service space
5.1. Dimensions of outdoor unit
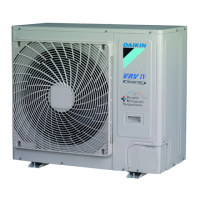
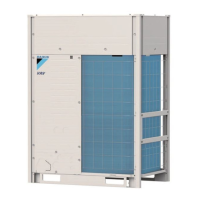
RXYQ72TTJU/TYDN
1
2
3
5
6
4
7
9
8
10
13
14
11
12
15 16 17
18
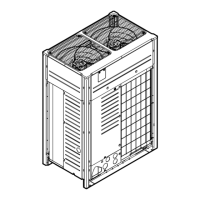
RXYQ96-168TTJU/TYDN
1
2
3
4
5
6
7
8
9
10
11
12
13
14
1615 17
18
Unit: in. (mm)
RXYQ72TTJU/TYDN RXYQ96-168TTJU/TYDN
1
Foundation bolt hole
9/16 (15) u 7/8 (22.5) u 4 oblong holes
2
Pitch of foundation bolt holes
30-3/16 (766) 42-3/8 (1076)
3
Pitch of foundation bolt holes
28-7/16-29 (722-737)
4 2-5/8 (67)
5 2-5/8 (67)
6 30-3/16 (767)
7 11-1/8 (282)
8 4-13/16 (122)
9 5-3/16 (132)
10 3-7/8 (98)
11 4-3/16 (107)
12 10-11/16 (272)
13 18-1/16 (458) 19-3/4 (502)
14 36-11/16 (932) 48-7/8 (1242)
15 6-9/16 (167)
16 8-9/16 (217)
17 10-1/2 (267)
18 66-11/16 (1694)
 Loading...
