Wired Controller CDV-46
20
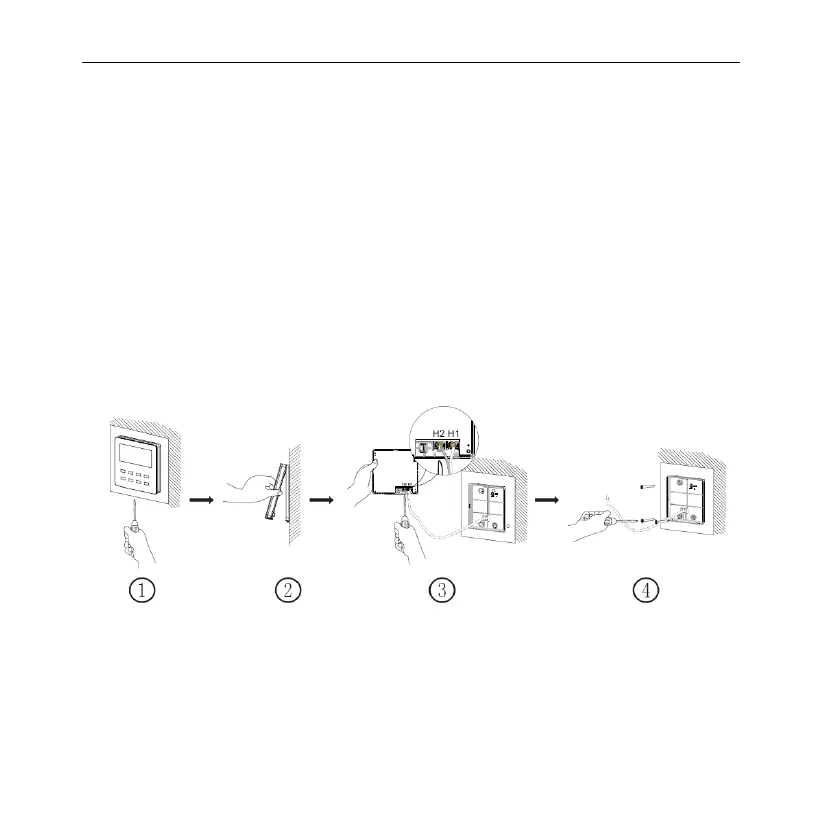
(3)Stick the bottom plate of wired controller on the wall and then use Self-tapping
Screw ST3.9X25 MA or Screw M4×25 to fix Soleplate and installation hole on
wall together.
(4) Connect two-core twisted pair to H1 and H2 wiring column and then fix the
screws.
(5) Tidy up the lines in slot on the back of the panel, and then bundle the front
panel of wired controller to its soleplate and the installation is completed.
Note: If the wire size of the selected communication line is too large, you can peel
some sheath layer of communication wire to satisfy installation requirements.
5.1.5 Disassembly
Fig. 5.9 Disassembly diagram of wired controller