Setting the Transmitter ID Page 5
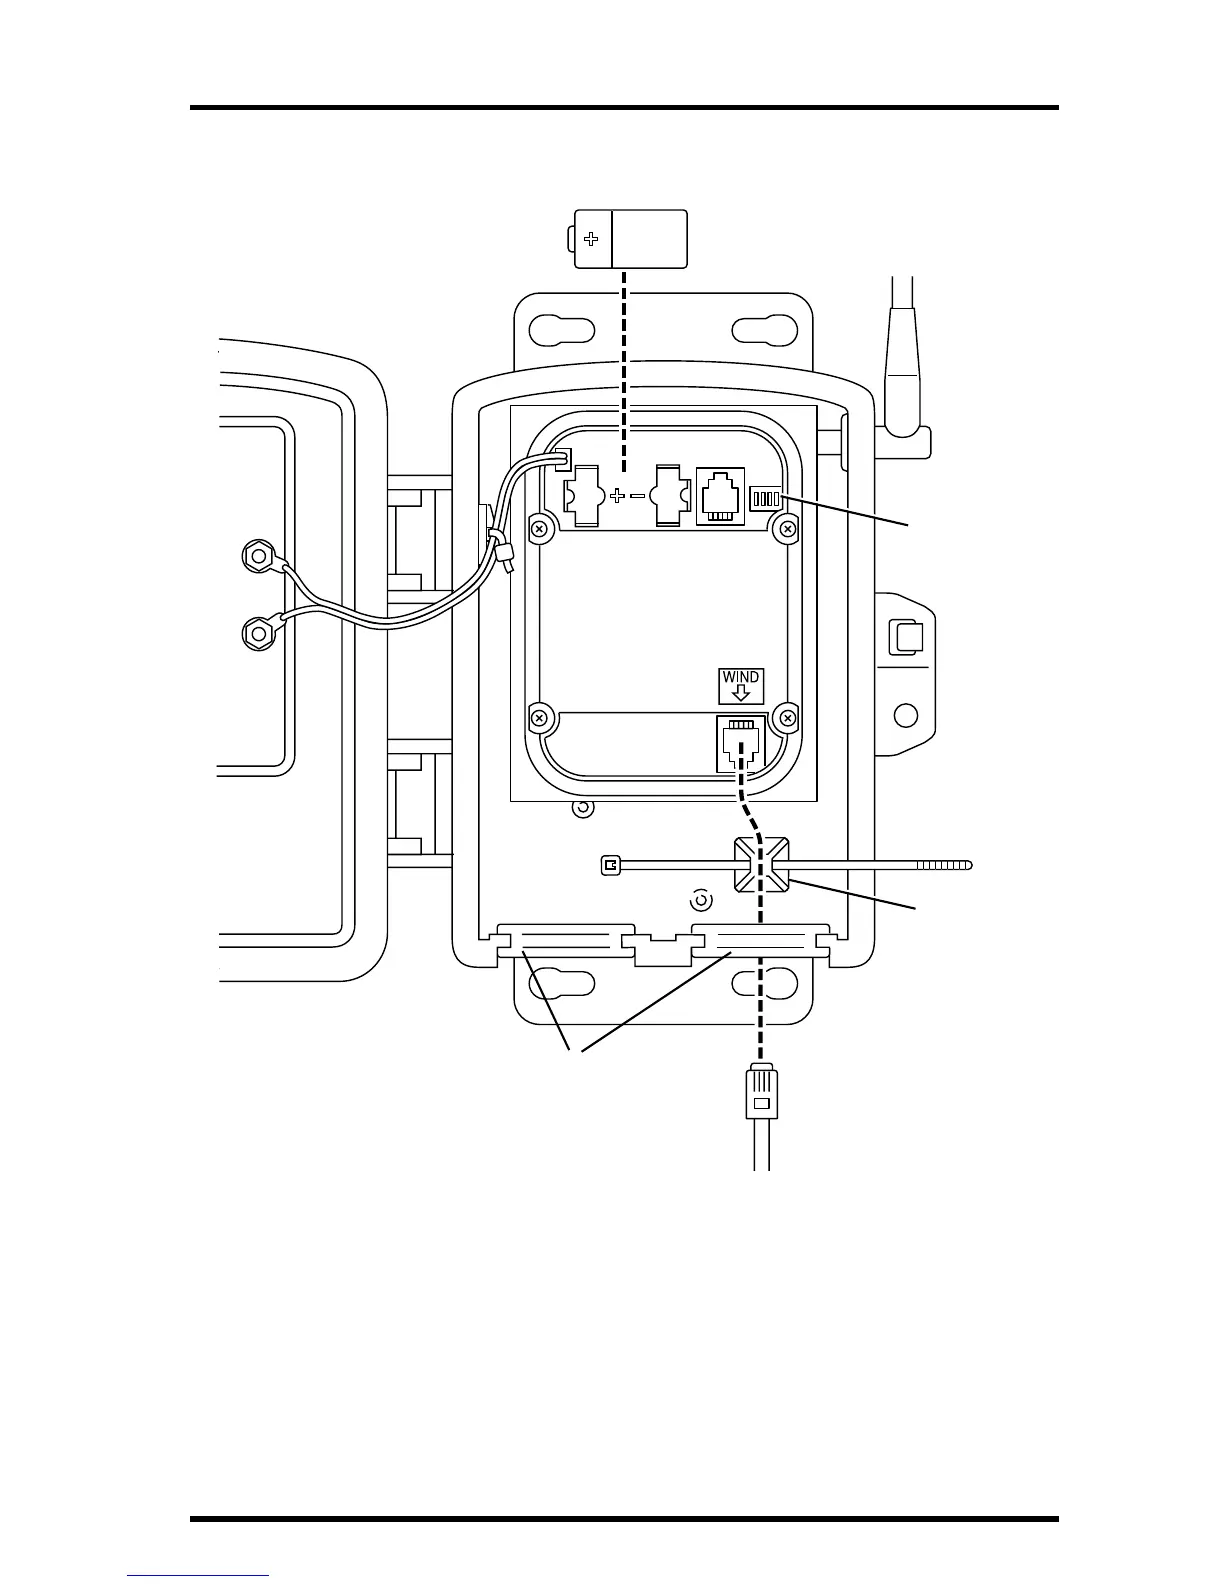
5. Locate the DIP switches. You will work with them during the next installation step.
S
ENSOR
I
NTERFACE
M
ODULE
ON
A
NEMOMETER
T
RANSMITTER
S
ETTING
THE
T
RANSMITTER
ID
Each wireless transmitting station must be set to one of eight transmitter IDs.
DIP switches #1, 2 and 3 on the SIM allow you to control the ID — the “chan-
nel” the station will transmit on. (DIP switch #4 is used for transmission test-
ing, not for transmitter ID.)
The transmitter and receiver communicate with each other only when
both
are set to
the same ID.
3-Volt
Lithium Battery
DIP Switches
Cable Tie
Mount
Cable Tie
Anemometer
Cable
Square Black Grommets