8
Install the Sensor(s)
Install the sensors as described in User Guide that came with the sensor.
Note: User Guides are available on our website in the Support Section, or on each product’s description
page.
Anemometer: You can use the anemometer that came with your Vantage Pro2 sensor
suite or use Anemometer (#6410).
The anemometer can be mounted either on a pole or on a vertical surface such as a
fencepost. Remember
to mount it so the anemometer arm is extending northward.
(Otherwise, you will need to calibrate the wind direction on your receiver for accurate
wind directions. See your Vantage Pro2 or Vantage Vue console manual for
instructions.) The Sensor Transmitter also can be mounted on a pole or on a vertical
surface.
The anemometer cable should be plugged into the receptacle in the sensor interface
labele
d “WIND.”
Rain Collector: Use
either the AeroCone Rain Collector with Flat Base (#6463) or the
AeroCone Rain Collector with Mountable Base (#6465). Plug the sensor cable into the
receptacle labeled “RAIN” in the sensor interface.
Temperature Probe: Use
either the Stainless Steel Temperature Probe with RJ
Connector (#6475) or the Temperature Probe with RJ Connector (#6477). Plug the
sensor cable into the receptacle labeled “TEMP/HUM” in the sensor interface.
Temperature & Humidity Sensor: For
inside temperature/humidity, use the
Temperature/Humidity Sensor (#6834). For outside temperature/humidity, use either the
Temperature/Humidity Sensor with Radiation Shield (#6830), or the
Temperature/Humidity Sensor with 24-Hour Fan-Aspirated Radiation Shield (#6832).
Plug the sensor cable into the receptacle labeled “TEMP/HUM” in the sensor interface.
UV Sensor: Use
UV Sensor (#6490) and Universal Mounting Bracket (#6670). Plug the
sensor cable into the receptacle labeled “UV” in the sensor interface.
Solar Radiation Sensor: U
se Solar Radiation Sensor (#6450) and Universal Mounting
Bracket (#6670). Plug the sensor cable into the receptacle labeled “SUN” in the sensor
interface.
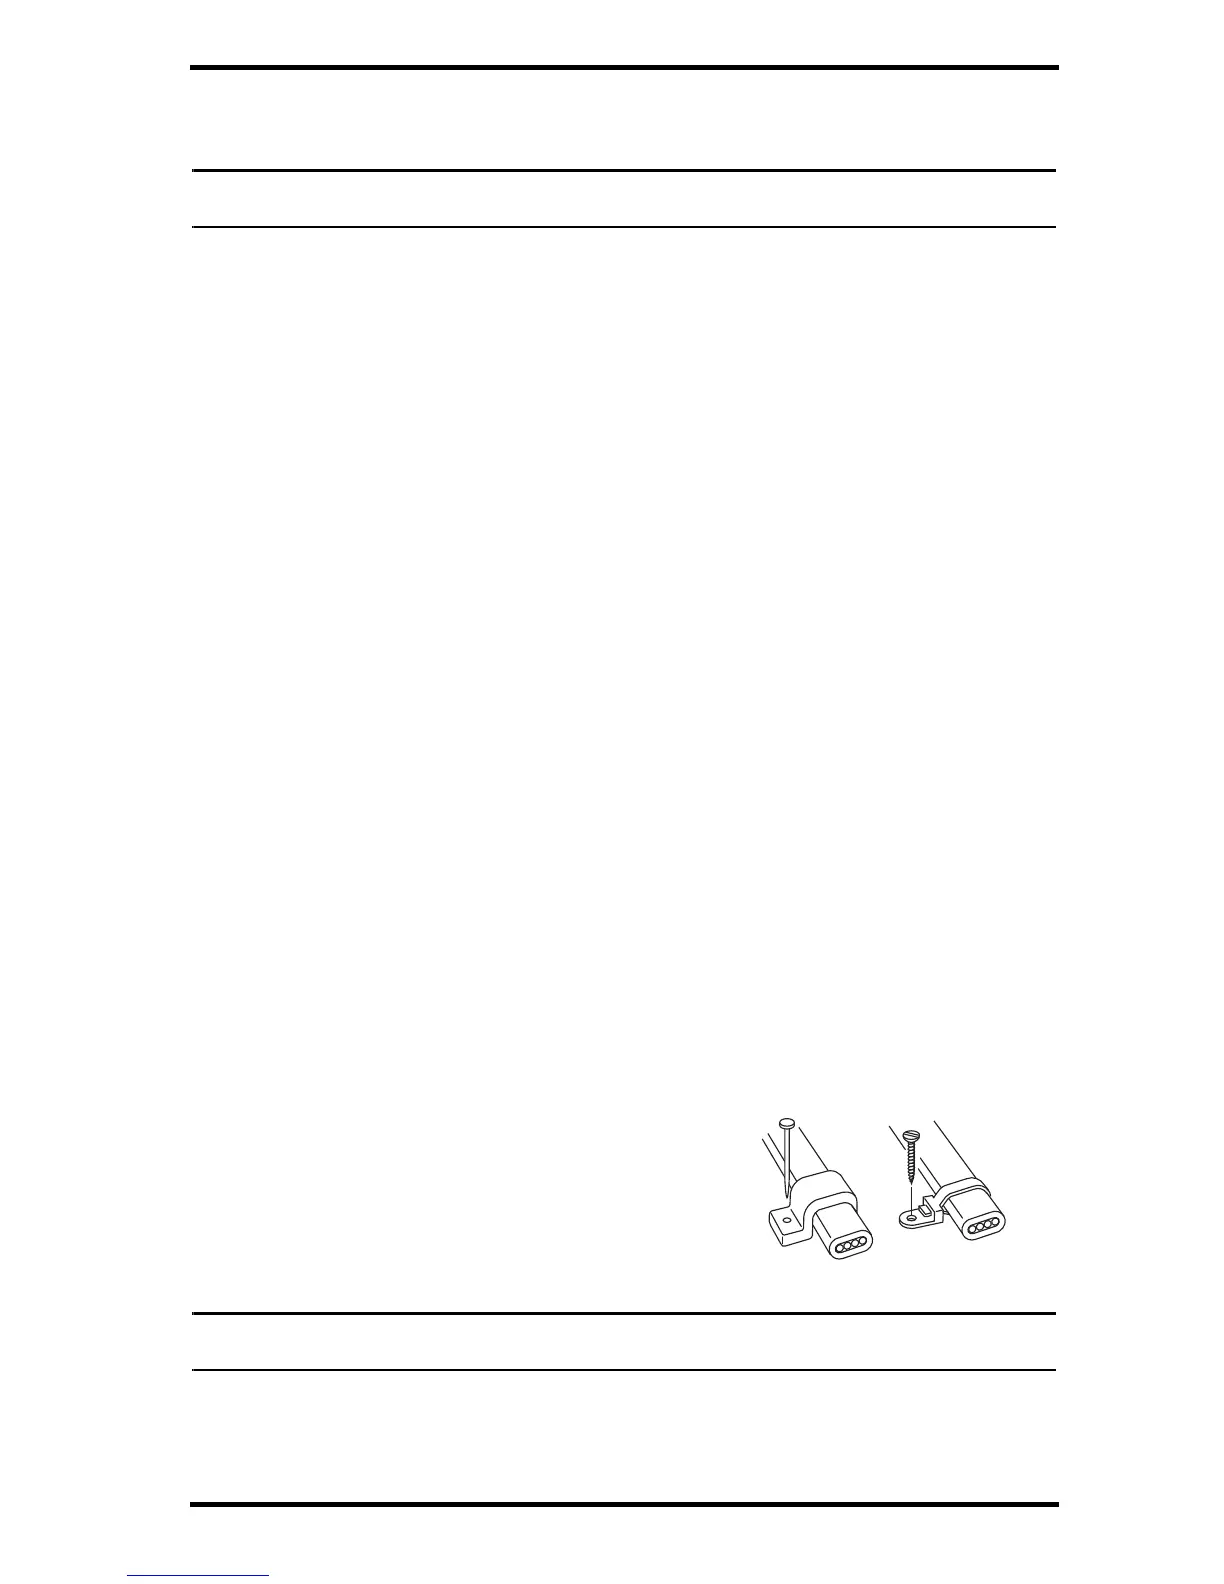
A Note on Securing Cables
To prevent fraying or cutting of cables, secure them so
they will not whip about in the wind. Secure a cable to
a metal pole by wrapping electrical tape around them
both. Make sure cables are secure by placing clips or
ties approximately every 3 – 5' (1 – 1.6 m).
 Loading...