Page 2 Integrated Sensor Suite
I
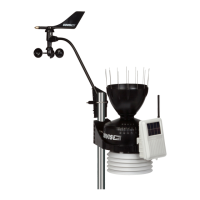
NSTALLING
THE
ISS
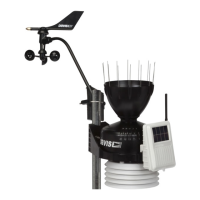
The instructions below will take you through the process required to install the
wireless and wired sensor suite.
Choosing a Location
As you position your sensor suite, try to avoid possible obstructions of rain
and wind—look out for trees and nearby buildings. If you have the wireless,
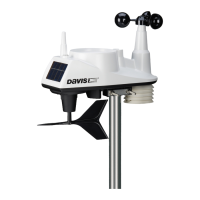
solar-powered ISS look for spots with good exposure to the sun throughout the
day.
For roof mounting, and for ease of installation in other locations, we recom-
mend using the optional Mounting Tripod (contact Davis for more informa-
tion).
Configuring the ISS
✦
If you have a wired ISS, no configuration is necessary.
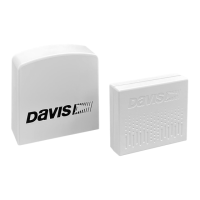
✦
If you have a wireless ISS, the ISS’s transmitter must be setup so that it uses the
same ID code as your console/receiver.
For details on configuring the wireless ISS, see page 3.
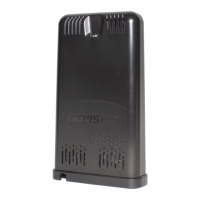
Applying Power to the ISS
Apply power to the transmitter using one of the options indicated below. For
all power options, Davis recommends using a backup battery to ensure power
during storms. Insert a CR-123 3-volt lithium cell as a backup.
✦
If you have a wireless system, plug the solar panel cord into the power jack on the
board.
The unit will operate off the day’s collected energy for up to 8 hours into
the night. The remainder of the night, the unit will tap into the backup
battery as a power source. Even so, the battery should last several years.
✦
If you have a wired system, simply plug the ISS cable into the console.
The console will provide any power needed by the ISS.