HOSE PREPARATION
l
Select hose and coupling to be assembled.
l
Cut hose to proper length. The hose cut length is
determined by subtracting the cut-off factor for
each coupling from the overall length of the
assembly. For these factors see coupling
information in the Parker catalog.
l
Fasten the coupling securely in a vise with jaws on
the hex nut. Hose assembly lubricant
(HAL-16)
should be brushed onto the coupling stem and
on the inside of the hose before insertion. Push the
hose onto the stem with a clockwise twisting motion
until the hose bottoms out in the collar. To insure
that the hose is bottomed in collar, mark the
insertion depth on the hose before inserting it into
the coupling. Your hose and coupling are now
ready to be crimped.
CRIMPING
l
Lubricate cone base with Molykote Grease or E-Z
Crimp L
-
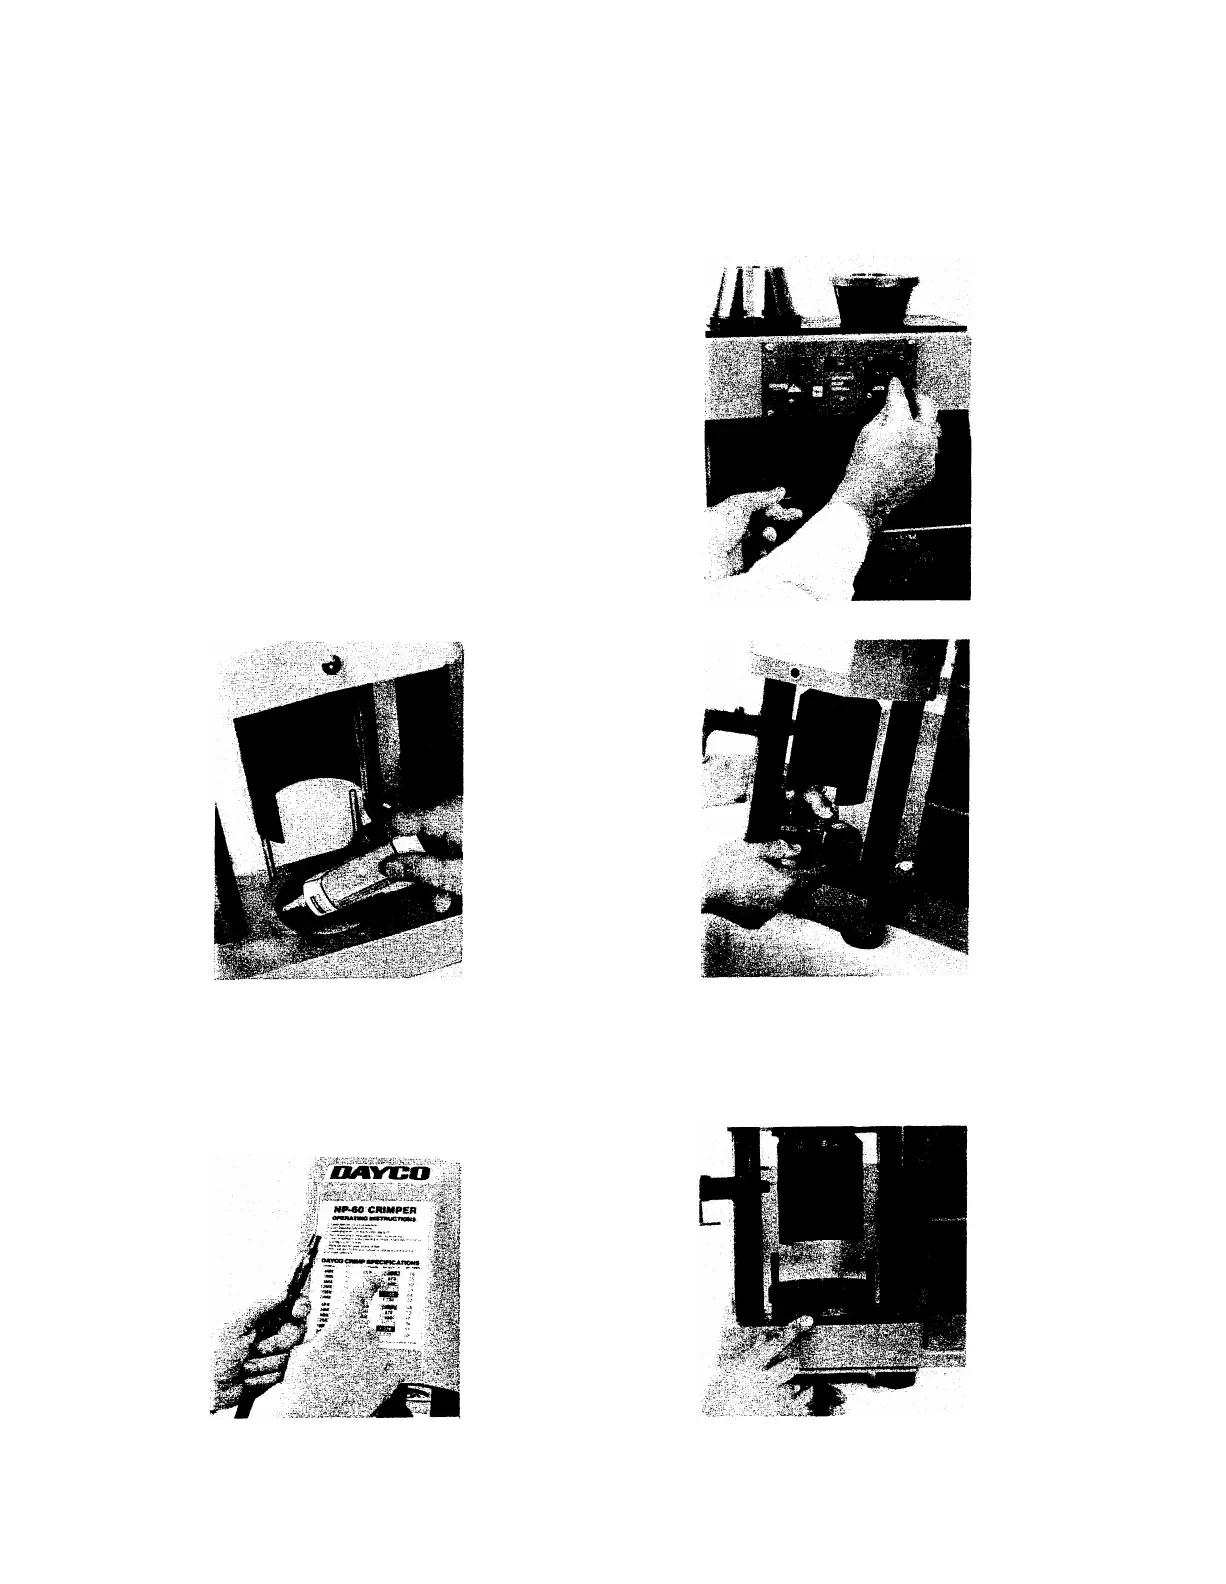
Select
the
proper crimp setting
from the
crimp
specifications and enter this number on the
thumb wheel of the Automatic Crimp Control.
Be
aware that the settings are approximate
due to manufacturing tolerances.
l
Place the die set in cone base
l
Select the correct die set for the assembly from the
Crimp Specification Chart or Parker Crimp
Specification Guide
l
Insert the hose assembly into die set with
connector end up
-
.-.
Please Note: If Crimper was supplied with one piece
solid ring dies or being used as optional equipment
-
only straight fittings can be used
-
No elbows.
 Loading...