4
Follow these vitally important steps before inserting any batteries into R2-D2’s battery box.
4
7
1 2
3
5 6
+
IMPORTANT
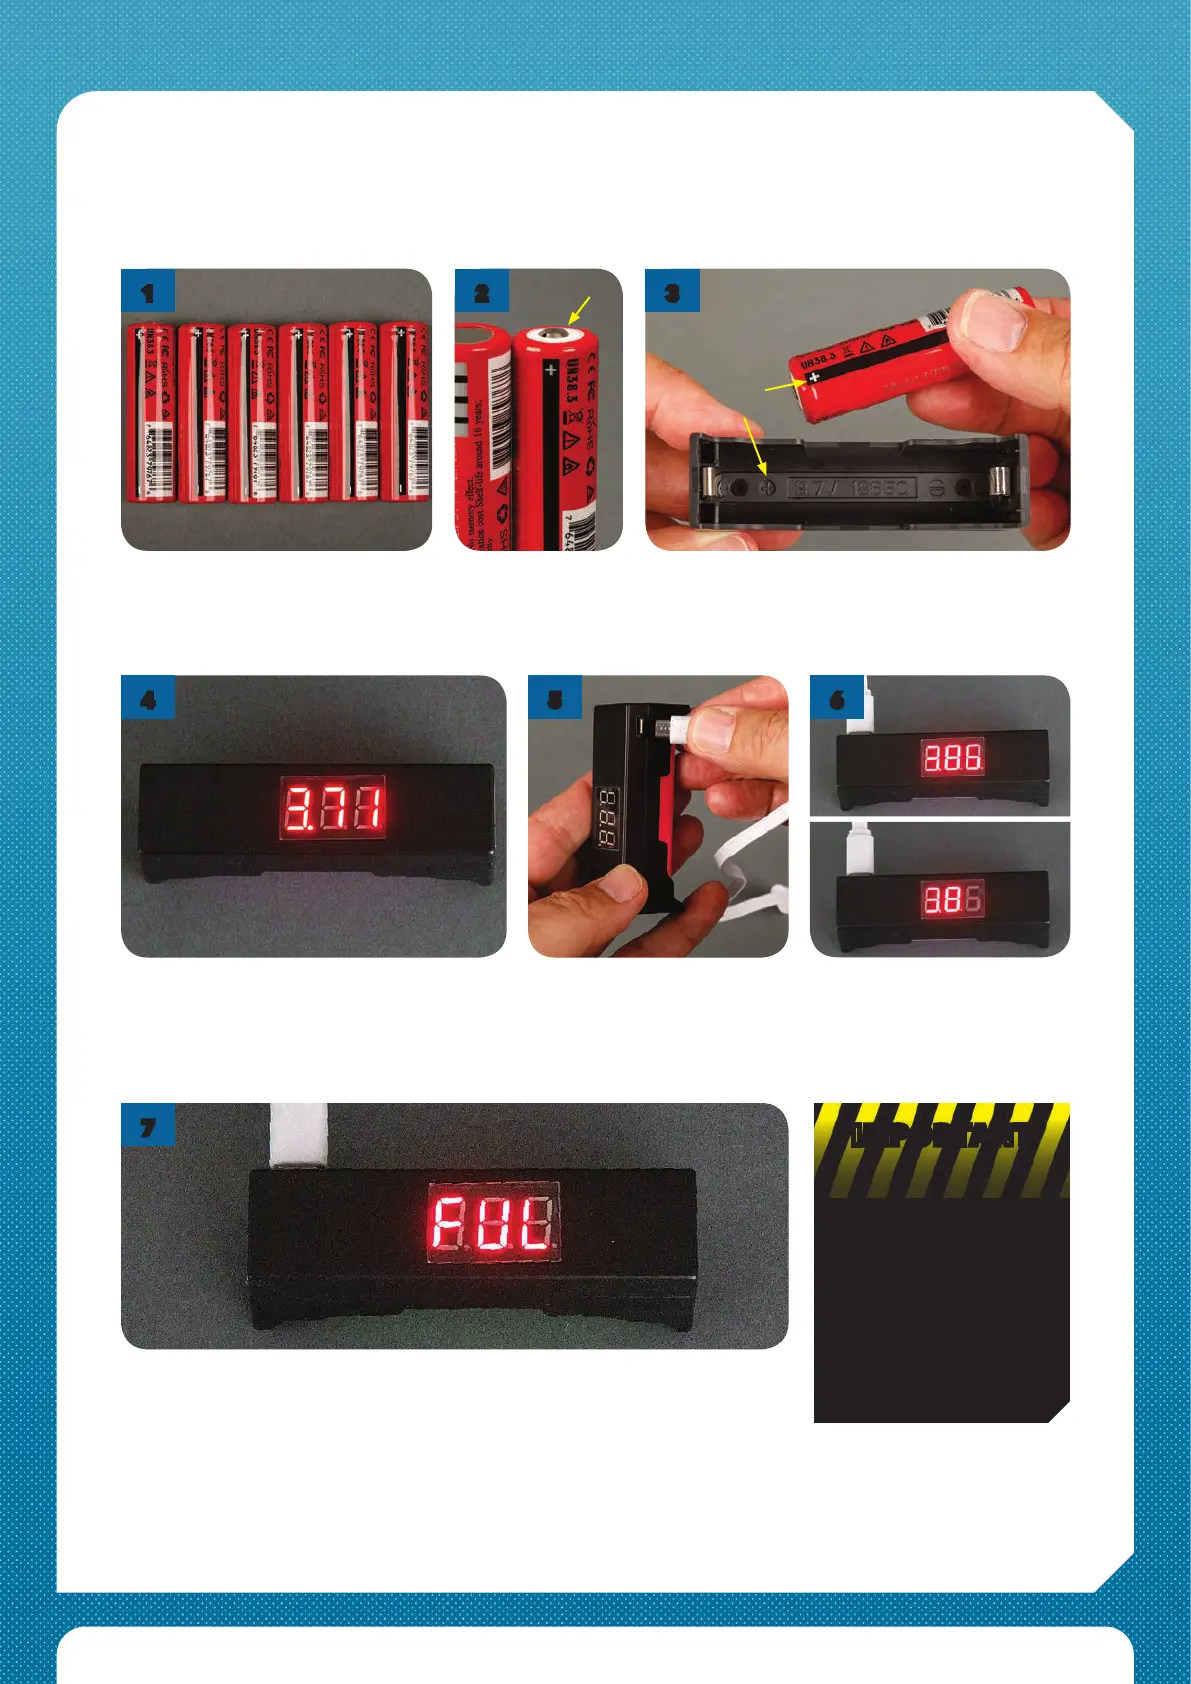
Preparing the batteries
Ensure all six batteries
are tested and
charged before
inserting them into
R2-D2’s battery box.
Double-check the specications of
your batteries match all of the
requirements listed on page 3 of
this start-up guide.
Leave the charger plugged in until the readout changes to ‘FUL’ to indicate that
the battery is fully charged. Unplug the charger and remove the battery. Please
note: if the reading doesn’t go up after 30 minutes or so, the battery is likely to
be ‘bad’ and should be discarded.
You will see a readout of the battery
condition. If a new cell shows a voltage of 3.3V
or less (or ‘LO’), the battery is highly likely to
be ‘bad’ and should not be used.
Plug the USB lead’s small
connector into the
tester/charger and plug the
other end into a suitable USB
socket.
When the lead is plugged in,
the last digit of the display will
ash, indicating that charging
has started.
Take the rst
battery and identify
the raised positive
(+) terminal.
Make sure that the tester/charger is not plugged in,
so it will operate as a voltage reader. Fit the battery
into the tester/charger this way round, matching
up the + terminal symbols.