388
1
2
33
Begin tightening the screws
with the screwdriver, using the
red arrows in the photo for Step 32 for
reference. Fully tighten the three screws
marked with solid red arrows, but don’t
fully fasten the two marked with dotted
arrows.
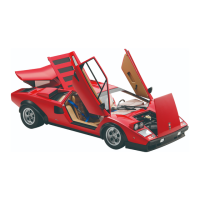
34
Turn the chassis over again,
and re-insert the two screws
removed in Steps 11 and 12. The longer
screw will t into the hole marked ‘1’, and
the shorter one in the hole marked ‘2’.
Tighten both fully with the screwdriver.
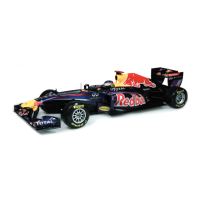
30
To ensure that the gears will
operate smoothly, use a toothpick
to apply a moderate amount of grease
(supplied with Stages 38 and 63) to the
teeth. Then rotate the gears a few times to
spread the grease evenly.
32
Now replace the gearbox cover
removed in Steps 13 and 14, and
put the ve screws that you removed
then back into their respective holes.
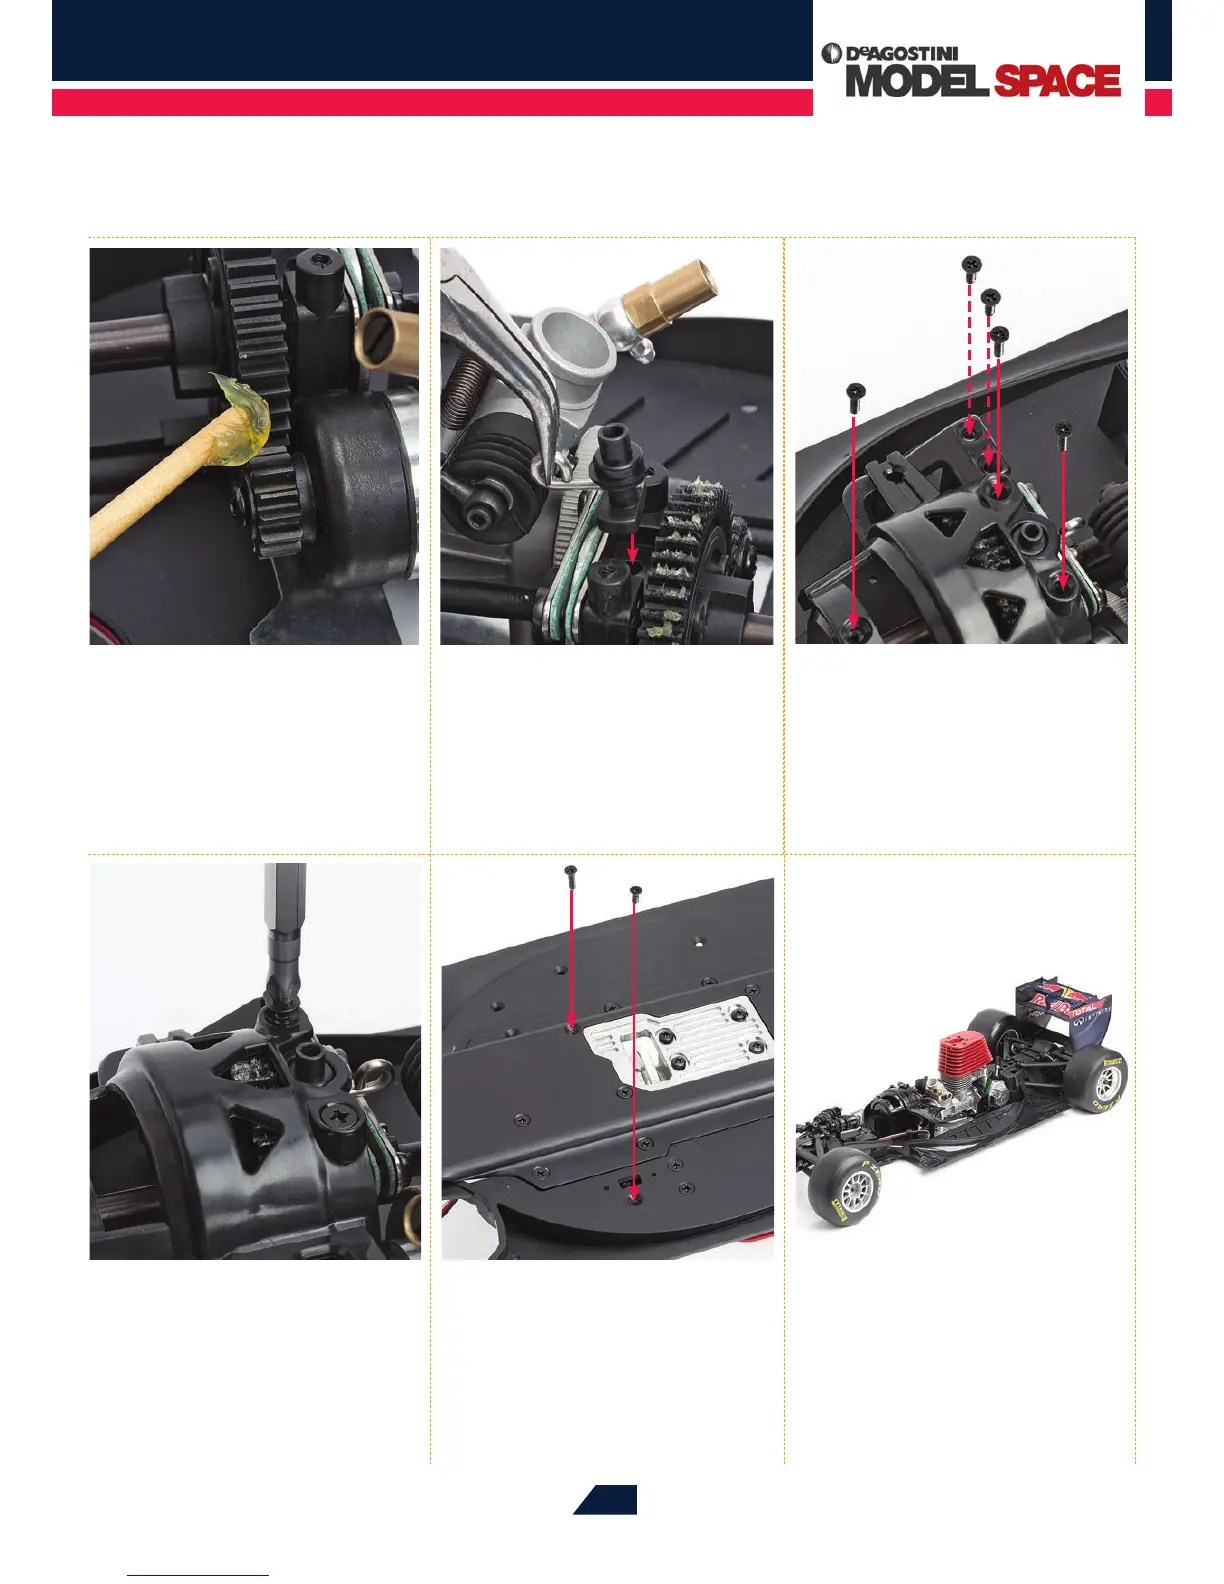
31
Take the brake rod and cam that
you removed in Step 15 and
carefully reposition them into the hole
on the rear centre dierential housing
(see red arrow). You may like to use
angled needle-nose pliers to do this.
35
This assembly stage is complete,
and your RB7’s GX21 engine is
now fully assembled and mounted on
the chassis.