BUTTON USE AND SETTINGS
PROGRAMMING BUTTONS
PRO/FULL BUTTON
TBRK
STOPA
STOPB
MODE
RSET
The LIGHTNING has many selections that can be programmed for each setting. Each time you push the button for
the particular setting you are adjusting, it will step you to the next prompt screen. The LIGHTNING will only ask for
the settings needed for the particular mode you are in. For example, when adjusting settings for throttle stop A,
the LIGHTNING will not ask for the settings for your transbrake delay. At each prompt screen you can change a
setting by using the scroll buttons or the cursor. If no adjustment is needed for a setting, press the button again to
step to the next screen. After your adjustments are made, the LIGHTNING automatically returns to the run mode
after 8 seconds.
The LIGHTNING ’’s PRO/FULL feature allows you to switch between two complete setting groups for the delay box
and throttle stop features. This enables you to program the box for your “Super” class settings in PRO, and then
program your bracket race settings in FULL. Now when you switch between classes, you no longer need to reprogram
the LIGHTNING, just push and hold the PRO/FULL button to switch between groups of settings. The red
LED indicator light to the left side of the keypad will indicate which setting group you are in. When
you are in the PRO group, the PRO/FULL LED will turn on and stay on. When you are in the FULL
group, the LED will be off.
REMEMBER: It is extremely important when you change a setting that you are in the setting
group (PRO or FULL) in which you want the change to occur since each group has it’s
own complete set of settings
P/F
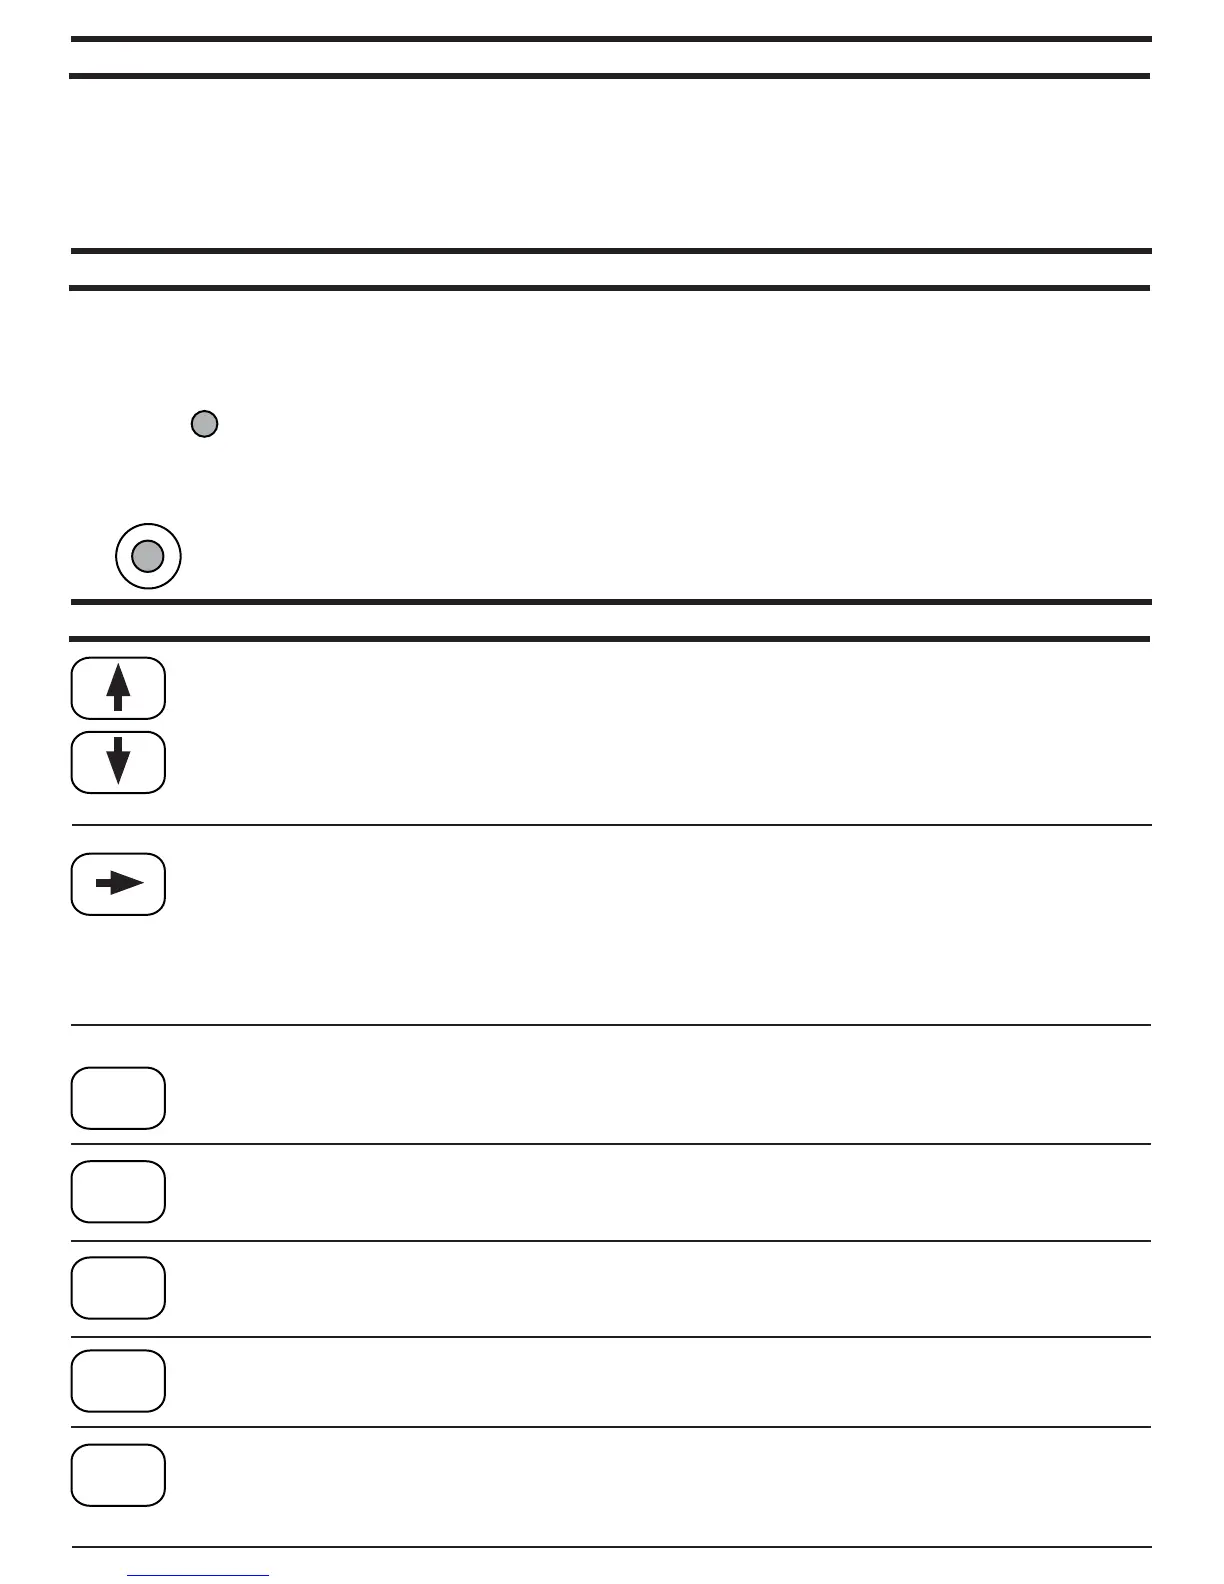
Arrow (scroll) Buttons: These buttons are used for making small changes to your settings. You can add
to a setting by pressing the up arrow, or subtract with the down. If you push and hold an arrow key, the
setting will continue to change faster and faster.
Cursor Button: This button allows you to change each digit individually. This makes large number
changes much quicker than just using the scroll. When you push the cursor button the first time, a cursor
appears under the left most digit. Each press of the cursor button thereafter moves the cursor one
digit to the right. Stop the cursor under the digit you wish to change and use the arrow (scroll) buttons to
change that digit up or down. Pressing the cursor button one more time after the cursor is under the
right most digit will remove the cursor from the screen and return the arrow buttons to regular scrolling
action.
TBRK Button: This button accesses your Transbrake settings. Each time you press the TBRK
button,different set-up screens come up and allow you to make changes to your Delay, Delay 2, Your ET,
Their ET, Bottom Delay, Cross Comp, Skip Up/Down, TB Pause, & TB Lockout settings.
STOPA Button: This button accesses your Throttle Stop Controller A and the Starting Line Controller
settings. Each time you press the STOP A button, different set-up screens come up and allow you to
make changes to your 4 Timer settings (timer A1 to A4) and your Starting Line Controller settings.
STOPB Button: T This button accesses your Throttle Stop Controller B settings. Each time you press the
STOP B button, different prompt screens come up and allow you to make changes to your 4 Timer
settings (timer B1 to B4).
MODE Button: This button selects which of the 4 delay box modes you wish to run. They are Delay,
Crossover, Interface and Cross Talk.
RSET Button: This button is used for setting the box for the type of equipment it will be running,
i.e., Throttle Stop Type, Starting Line Control, etc. Press and hold the RSET button to make the
change. This button also can be used to cancel the throttle stop timers during the pass and recalls
information about the run after the pass has been made.
 Loading...