The set-up screens following the summary screen are where you change your throttle stop timers.
Use the scroll arrows or the shift button to make changes. All the throttle stop timers start timing at
release of the transbrake solenoid. So if you had 1.000 in timer 1, 2.000 in timer 2, 3.00 in timer 3
and 3.00 in timer 4, the car would launch at wide open for 1 second, the throttle stop would close for
The following set-up screen in the throttle stop menu is where you can change your throttle stop
type. Press and hold the RSET button while this screen is up to change from “BASE PLATE STYLE”
to “LINKAGE / DISC” or vise versa. This changes the output polarity to correctly run whatever device
you’ve wired to the output.
The last prompt screen that will be displayed is the throttle stop control. To change
the type of control, push and hold the RSET button while the screen is showing.
There are three control settings:
2-STAGE: A two stage timer allows you to cycle the throttle stop once down track.
Timer 1 is the time from launch until the throttle stop turns on, and timer 2 is the
time from launch until the stop comes back to wide open throttle.
4-STAGE: A four stage timer allows you to cycle the throttle stop twice down track.
Timer 1 is the time from launch until the throttle stop turns on, and timer 2 is the
time from launch until the stop comes back to wide open throttle. Timer 3 will shut
the stop down a second time down track, and timer 4 will bring the throttle stop
back to wide open.
OFF: In the off position the throttle stop output will not cycle. This setting is used
when a wide open pass is to be made, or when the Starting Line Control feature is
to be used without the throttle stop functioning down track.
Typical devices and the correct setting or “type”:
• Underthecarb“Buttery”throttlestopsuse:BASEPLATESTYLE(powerturnsoffattimer1)
• Underthecarb“Disc”throttlestopsuse:LINKAGE/DISC(powerturnsonattimer1)
• In-line“Linkage”throttlestopsuse:LINKAGE/DISC(powerturnsonattimer1)
• NitrousOxidesystemsuse:LINKAGE/DISC(powerturnsonattimer1)
• DedenbearSolenoidShifter“Holdtype”use:BASEPLATESTYLE(powerturnsoffattimer1)
• CO2or“Air”shiftersuse:LINKAGE/DISC(powerturnsonattimer1)
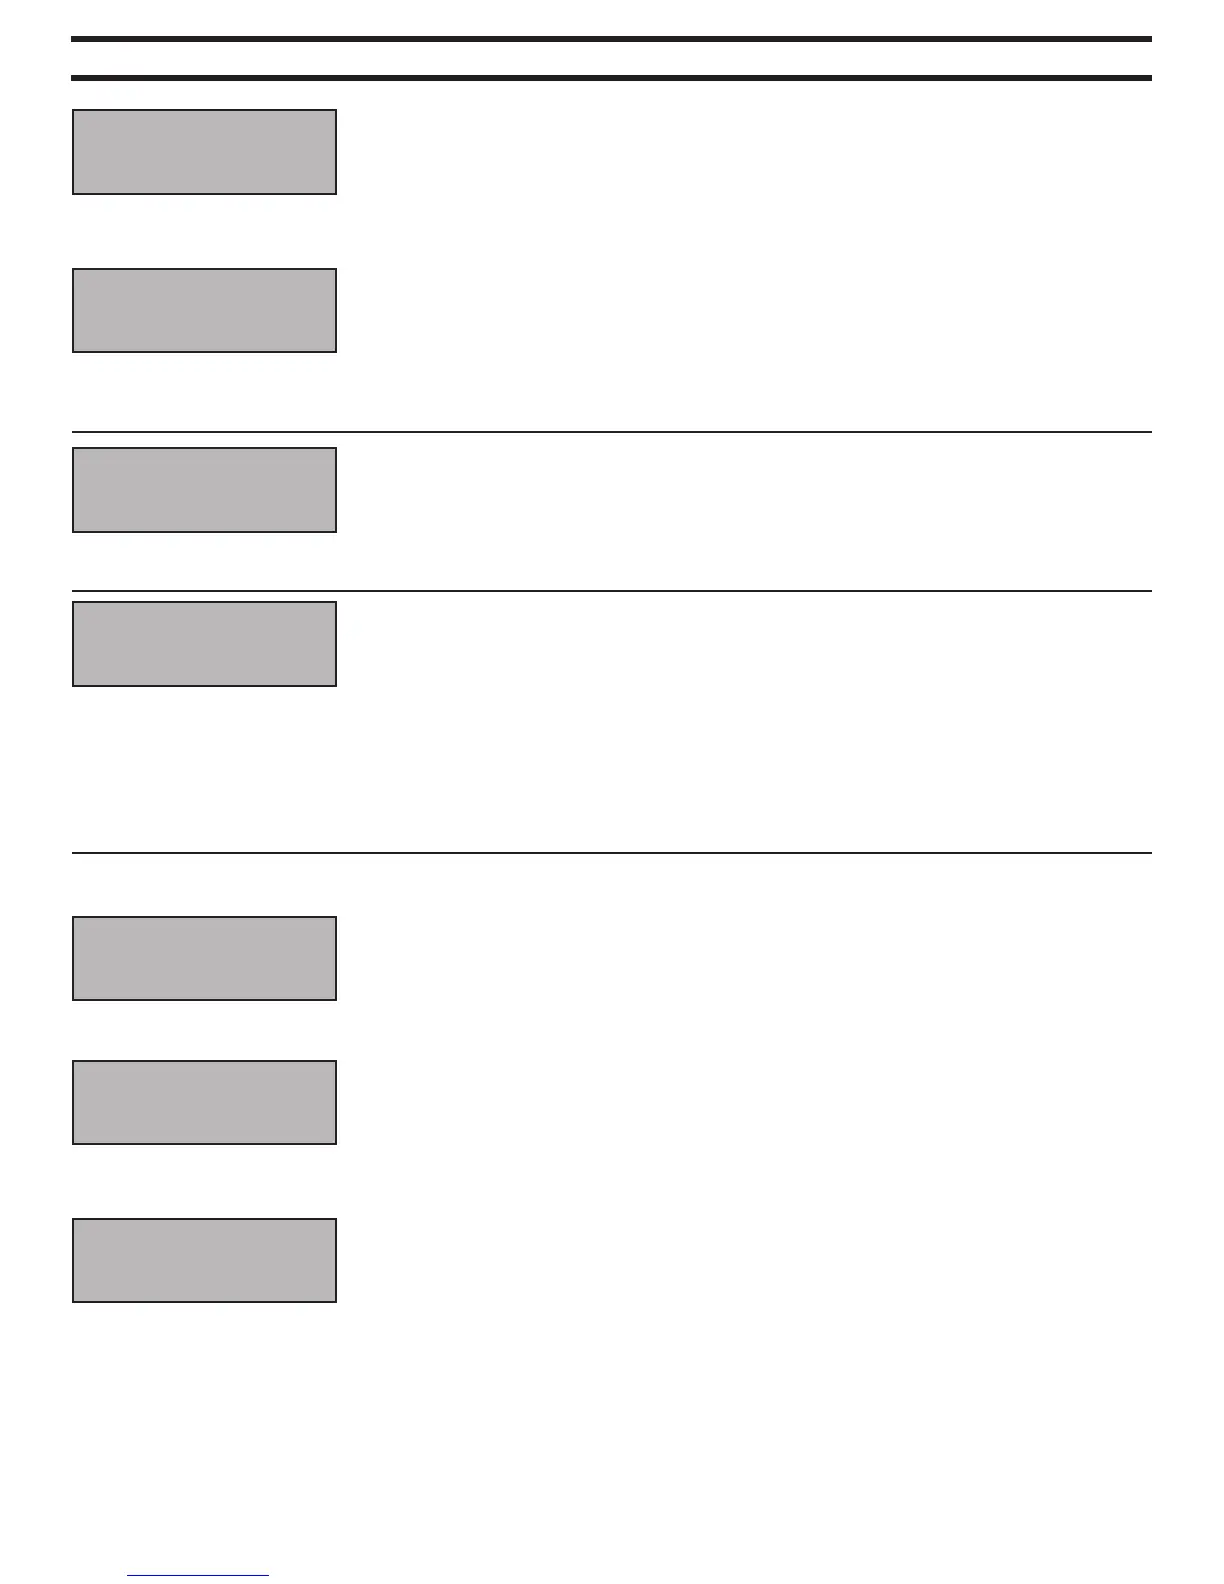
The first screen that will be displayed is a summary screen that shows you all of
your throttle stop timer settings for quick reference. If you are using a 2-stage timer
only two settings will appear, and if a 4-stage timer is being used all 4 timers will be
displayed. If the Throttle Stop Control is turned OFF there will be no summary
screen. Note that the timers are preceded with a letter. A1 represents Stop A timer
1, B3 would be Stop B timer 3. Like all the other prompt screens, this screen will
disappear and return to run mode after 8 seconds.
In this example, notice how timer A2 is set higher than A1, and A3 & A4 are set the
same. All the timers must be set sequentially larger, meaning timer 2 must be
equal to or larger than timer 1, timer 3 must be equal to or larger than timer 2 and
timer 4 must be set equal to or larger than timer 3. If you accidentally set a timer
lower than the previous timer, the “STOP A SET WRONG” error message will appear.
Reset the timers in proper sequence to eliminate the error. Also know that
when timer 1 & 2 or timer 3 & 4 are set the same as one another, they will cancel
each other out and the output will not change.
2-Stage summary screen
4-Stage summary screen
THROTTLE STOP TIMERS (continued)
5.
A1: 1.000
A2: 2.000
A1: 1.000 A3 3.00
A2: 2.000 A4 3.00
SETUP T-STOP A
A1: 1.000 SECONDS
T-STOP A TYPE
BASE PLATE STYLE
T-STOP A CONTROL
2-STAGE
T-STOP A CONTROL
4-STAGE
T-STOP A CONTROL
TURNED OFF
1 second (duration = timer 2 minus timer 1) and then go wide open for the remainder of the pass (timer 3 & 4 cancel each other out).
Please note that timers 1 & 2 are adjustable to the thousandth of a second and timers 3 & 4 are adjustable to the hundredth.
 Loading...