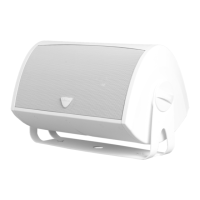
screw
inserts
on
the
end
panels
and
the
metal
screws
on
the
bracket
knobs.
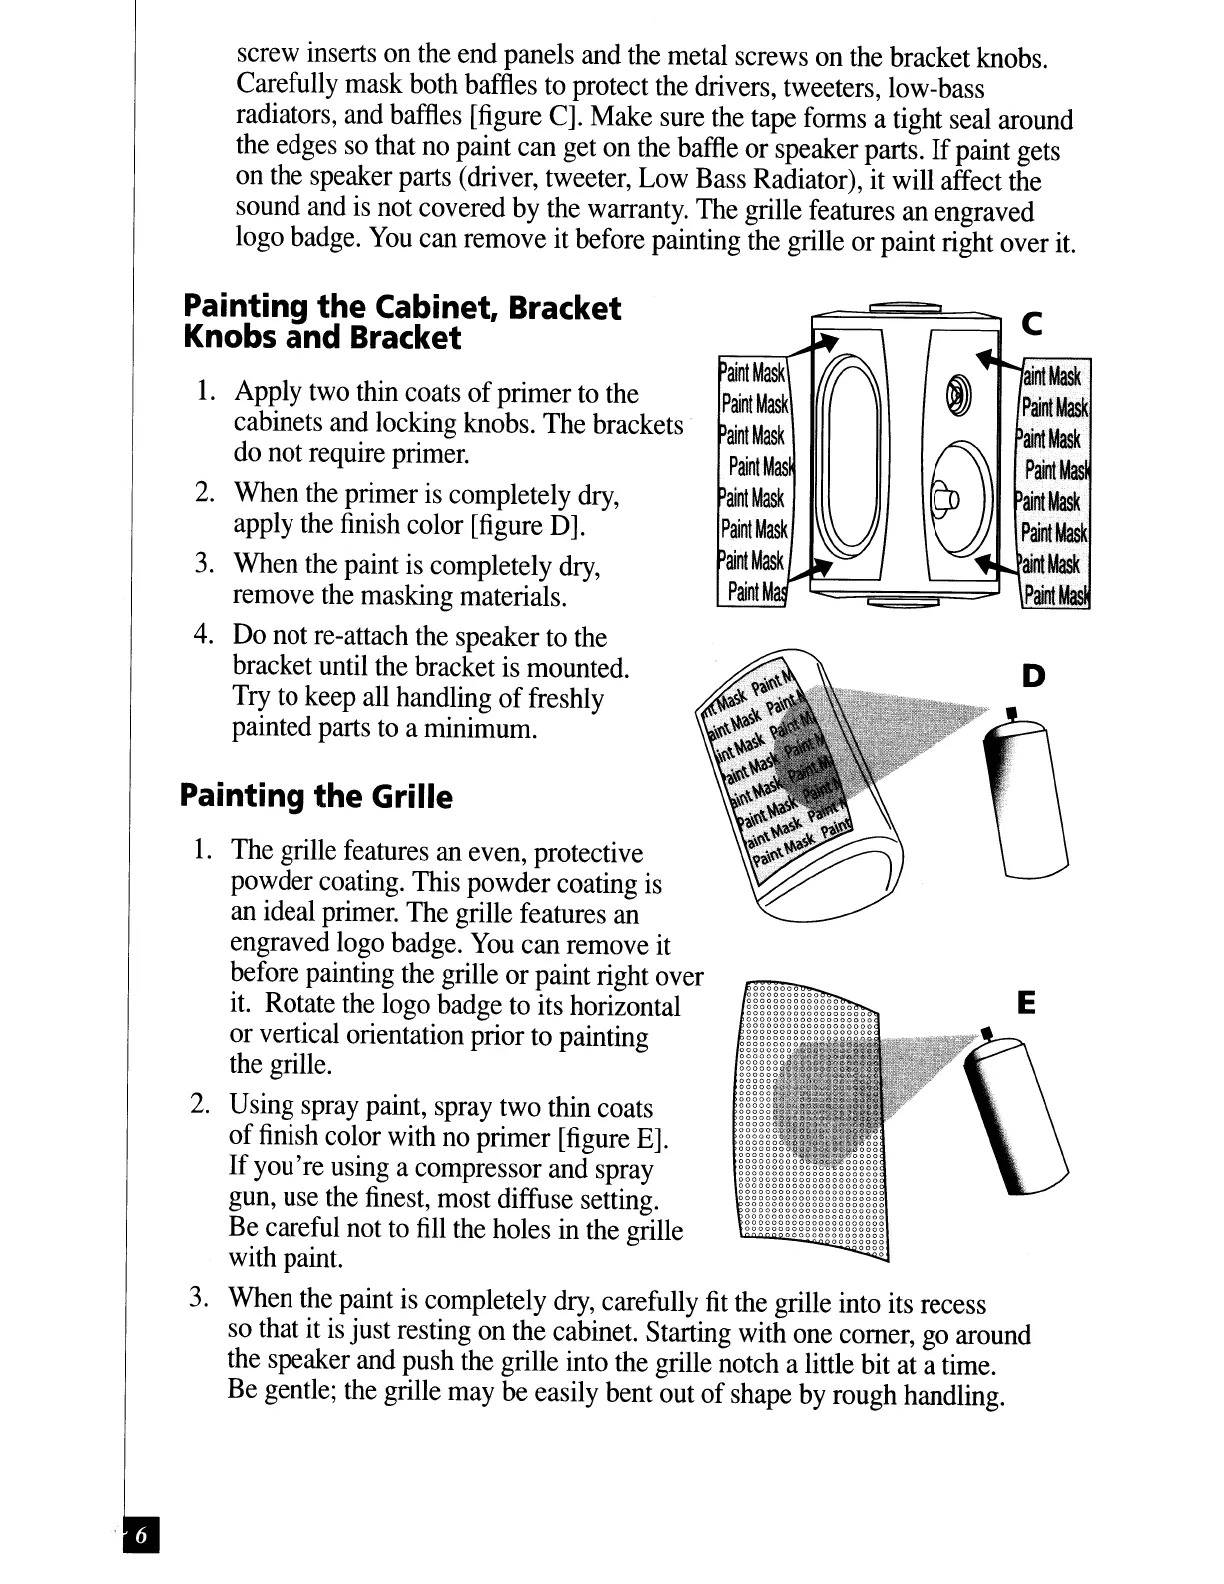
Carefully mask both baffles
to
protect
the
drivers, tweeters, low-bass
radiators,
and
baffles
[figure
C].
Make
sure
the
tape
forms
a tight
seal
around
the
edges
so
that
no
paint can
get
on
the
baffle
or speaker parts.
If
paint
gets
on
the
speaker parts
(driver,
tweeter,
Low
Bass
Radiator),
it
will
affect
the
sound
and
is
not
covered
by
the
warranty.
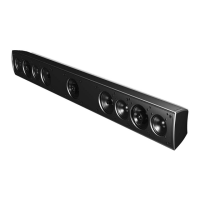
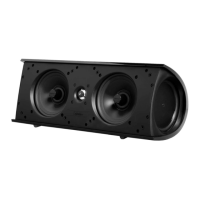
The
grille features
an
engraved
logo
badge.
You
can
remove it before painting
the
grille or paint right over
it.
D
aintMask
PainlMask
aintMask
Paint
aint·MaSk
Paint
MaSk
aintMask
PaintMas
c
1.
Apply
two
thin
coats
ofprimer
to
the
cabinets
and
locking knobs. The brackets·
do
not require
primer.
2.
When
the
primer
is
completely
dry,
apply
the
finish
color
[figure
D].
3.
When
the
paint
is
completely
dry,
remove
the
masking
materials.
4.
Do
not
re-attach
the
speaker
to
the
bracket
until
the
bracket
is
mounted.
Try
to
keep
all
handling of
fresWy
painted
parts
to
a
minimum.
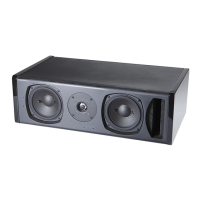
Painting the Cabinet, Bracket
Knobs and Bracket
Painting
the
Grille
1.
The grille
features
an
even, protective
powder
coating.
This
powder coating
is
an
ideal
primer.
The
grille features
an
engraved
logo
badge.
You
can remove
it
before painting
the
grille or paint right over
it.
Rotate
the
logo
badge
to
its
horizontal E
or vertical orientation prior
to
painting
the
grille.
2.
Using
spray
paint,
spray
two
thin coats
of
finish
color
with
no
primer
[figure
E].
If
you're
using
a compressor
and
spray
gun,
use
the
finest,
most
diffuse setting.
Be
careful
not
to
fill
the
holes
in
the
grille
with
paint.
3.
When
the
paint
is
completely
dry,
carefully
fit
the
grille into
its
recess
so
that
it
is
just resting
on
the
cabinet. Starting
with
one
comer,
go
around
the
speaker
and
push
the
grille into
the
grille
notch
a little bit
at
a
time.
Be
gentle;
the
grille
may
be
easily bent
out
of
shape
by
rough handling.