PAGE 6 OF24
Setting the time of day
• When the power is first connected (or after a power failure), the clock display will flash
00.00.
• To set the clock, press button 4
• Within 4 seconds, press button 5 or 6 until the correct time of day is displayed
• Release the buttons. The clock is now set.
• Please note that the clock has a 24 hour display.
• For example 3.00 PM will be displayed as 15.00.
Minute minder
• Suppose that you wish to time the boiling of a 5 minute egg.
• First boil the water.
• Press button 1. The display will show 00.00.
• Press button 6 until the display shows 00.05.
• Release the buttons and place the egg in the boiling water. The countdown begins and the
display will again show the time of day.
• After 5 minutes the timer will emit an electronic tone. To cancel the tone, press any of
the buttons (except 5and 6).
Note:
• During the operation of the minute minder, the remaining time may be displayed by
pushing button 1.
• The minute minder can be used simultaneously and independent of any automatic control
programme.
• The display will always revert to the time of day after any programme has been set.
Autobake (switching the oven on and off automatically)
Autobake is intended for dishes such as roasts and casseroles. These are not affected by a
waiting period in a cold oven.
• Prepare your meal and place it in the oven.
• Set the cooking period required by pressing button 2 and then 6 until the desired period
is displayed.
• Set the stop time by pushing buttons 3 and then 6 until the desired stop time is displayed.
• Release the buttons and the clock will again display the time of day.
• The word AUTO will light up on the clock display.
• Set the multifunction selector to the desired function.
• Now set the oven thermostat to the desired temperature setting.
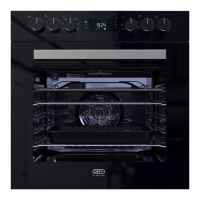
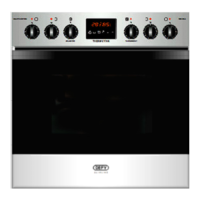
Automatic oven timer / clock.
1 = MINUTE MINDER
2 = COOKING PERIOD
3 = STOP TIME
4 = MANUAL CONTROL
5 = SUBTRACT TIME
6 = ADD TIME
+
-
 Loading...