ceiling
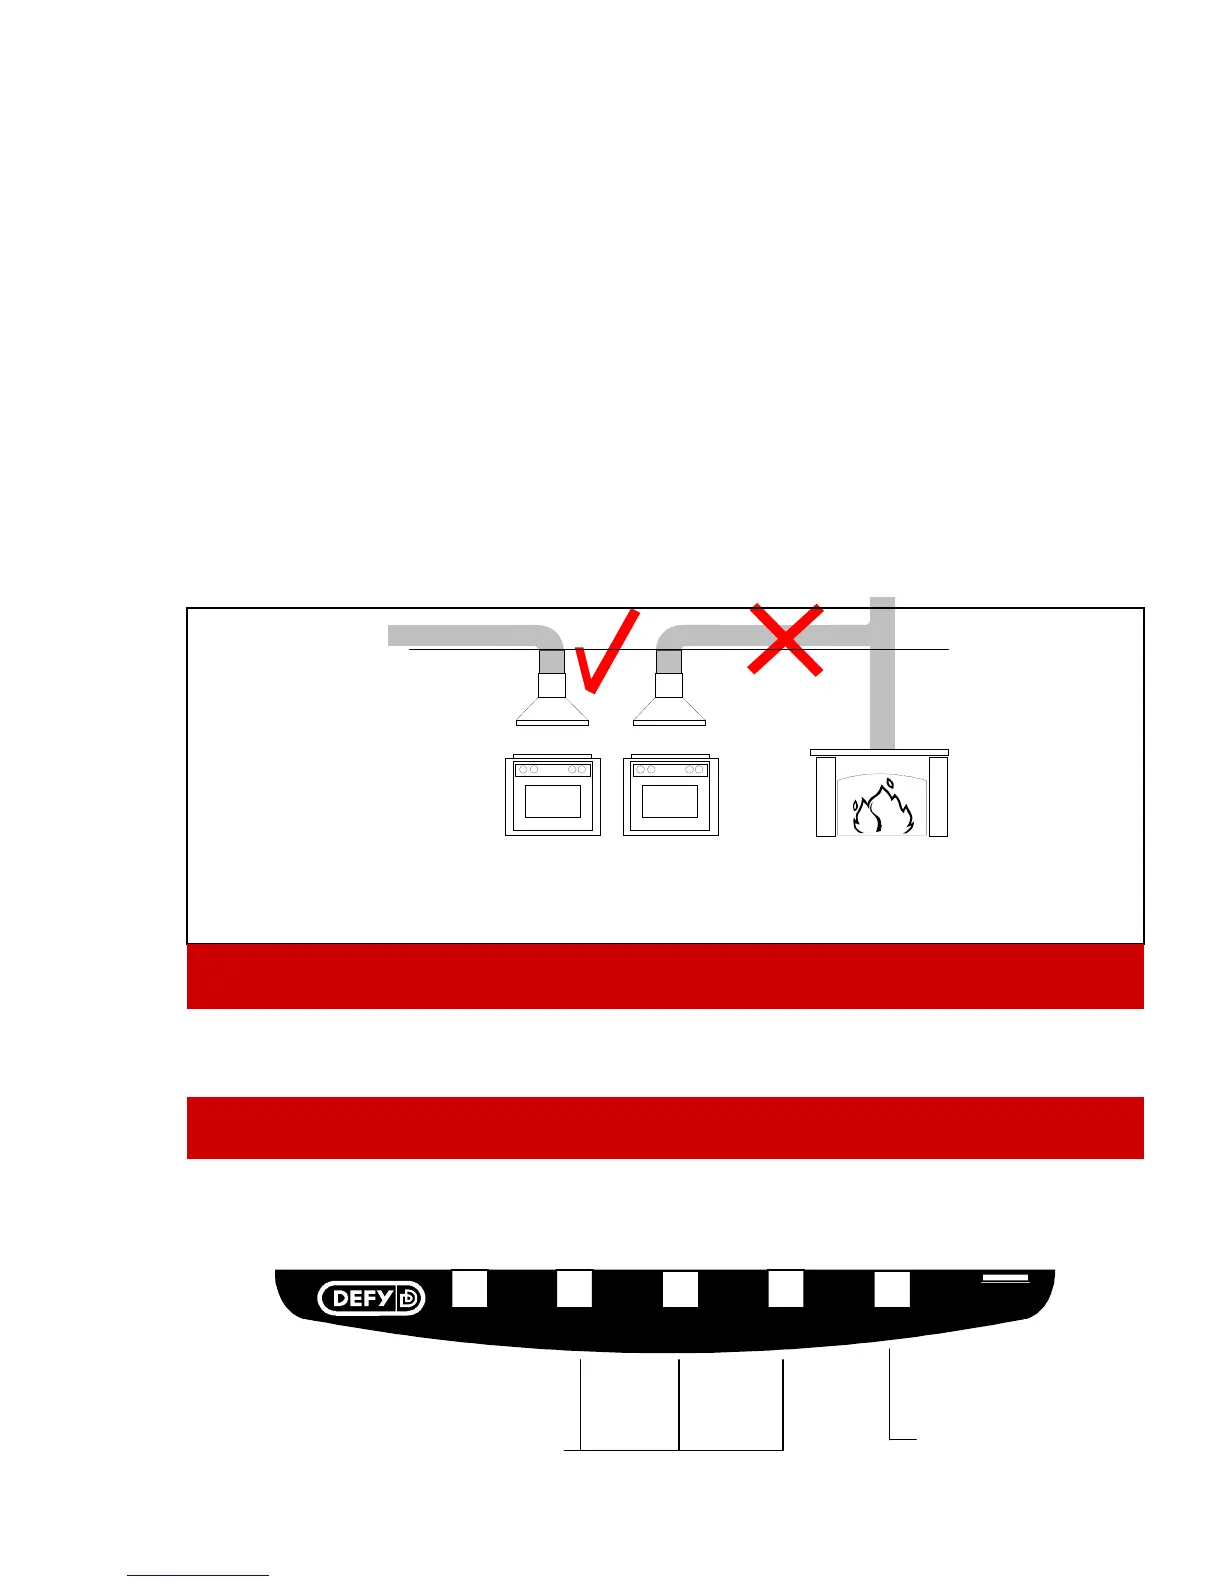
To prevent the risk of fire, do not discharge the exhaust air into a flue from other
appliances burning gas or fuel.
Connect the appliance to a 15A 230V 50 Hz earthed wall socket.
Switch off the power at the mains in the event of a fault or when cleaning the appliance.
Electrical installation
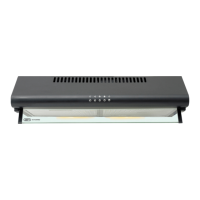
The controls
FAN SPEED SELECTO
These at located under the hood at the front.
Option 2 - Outside venting
Fit the plastic spigot to the main body using the self tapping screws supplied
Connect a 125 mm. diameter flexible duct straight onto the spigot flange.
Ensure that the duct vents to the outside air.
To prevent the risk of fire, do not lead the duct into an existing chimney or flue as the
duct could carry airborne combustible grease and fats
Fit the larger of the two chimney pieces to the main body using the two self tapping
screws supplied.
Lift and hang the hood and chimney assembly onto the two keyhole mounting screws.
Fit and tighten two suitable retainer screws ensuring all the while that the hood is
level.
Using the top chimney fixing bracket as a template, mark the hole positions. Drill and
attach the fixing bracket to the wall at the marked positions. Reposition the top
chimney piece so that the side holes correspond with the holes in the fixing bracket
and secure with two self tapping screws.
0
LIGHT
FAN 1
FAN 2
FAN 3
INDICATOR LIGHTOFF
HOB LIGHT ON /OFF