Page 8
Installation
1. The ceiling must be able to bear at least
40kgs of weight, and the thickness of the
ceiling must be at least 30MM or more,
see pic 2, drill 1*170mm round hole in the
ceiling.
2. According to the hanging board, drill 12
holes in the ceiling, see pic 2, 12pcs of
ST6*40mm big flat screws will be used to
fix the hanging board on the ceiling, and
then 8pcs of M4*10 screws and M4 nut
with gasket will be used to connect the
angle iron into the hanging board, see pic
1, calculate the length of the angle iron,
and 16pcs M4*10 big flat screws and M4
nut with gasket will be used to connect the
angle iron and another angle iron ( the
overlap length of angle iron can not be
less than 100MM)
3. Let the one side of the extensible pipe go
outside through the hole of 170MM, see
pic 3.
4. 4pcs ST4*8 big flat screws will be used to
connect the internal chimney into the
hanging board, then put one the external
chimney, two hooks will be used to put up
the external chimney in order to the next
installation, see pic 4.
5. 4pcs ST4*8 big flat screws will be used to
install the outlet, see pic 5.
6. Adjust the 4 glass screws to check
whether the glass and the cooker hood
body connected well and fixed, see pic 6.
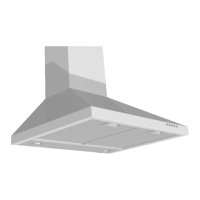
7. Hold up the hood, 16pcs M4*10 big flat
screws will be used to connect the hood
body into angle iron, see pic 7.
8. Put the extensible pipe on the outlet; after
ensure all the things ok, put down the
hook, take from the external chimney, all
the installation is finished, see pic 9.
Warning: Failure to install the
screws or fixing device in
accordance with these instructions
may result in electrical hazards