Page 12
C: BROWNING INGREDIENTS BEFORE
COOKING:
1-4. Follow steps 1– 4 as in A above.
5. Once FUNCTION is selected, pot will start
heating up IMMEDIATELY & meat can be
browned BEFORE adding liquid and closing/
sealing lid.
5-14. Once meat has been browned to
required colour add desired amount of liquid,
Follow steps 5-14 as in A above.
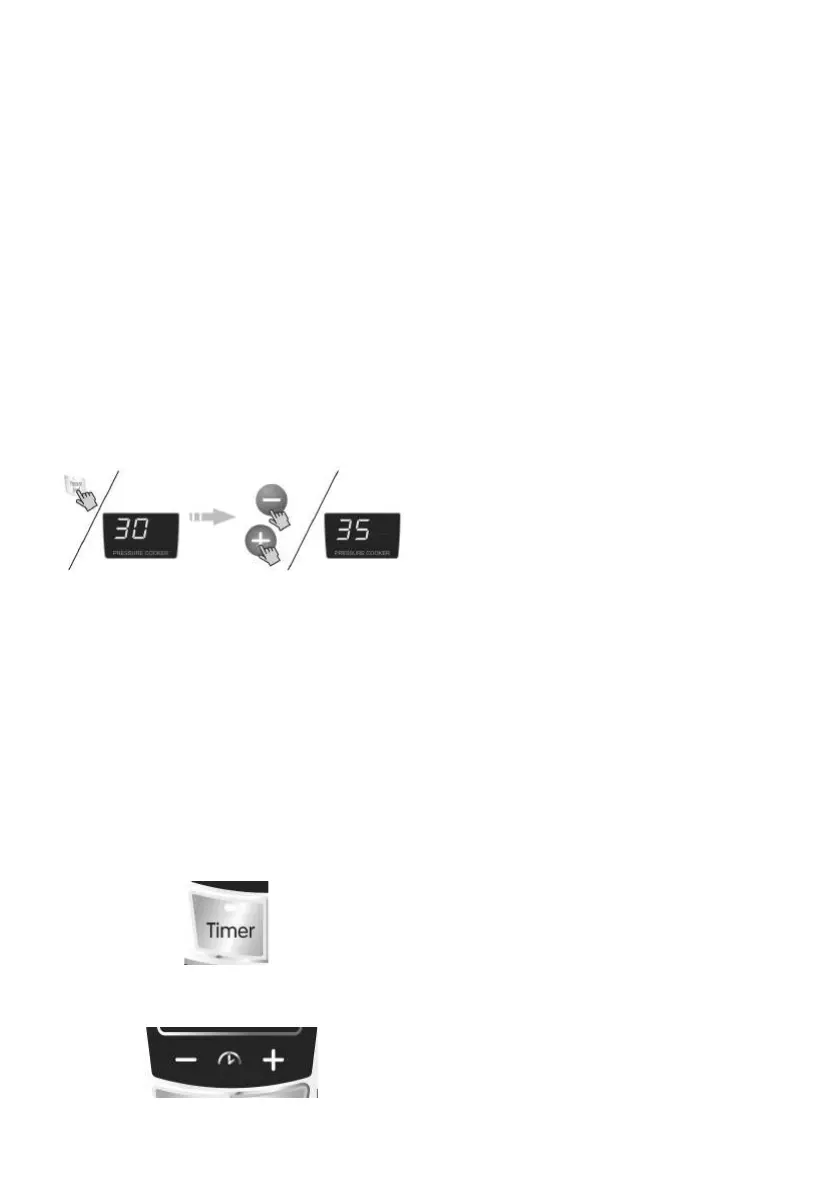
D: SELECTING OWN COOKING TIME:
1-6. Follow steps 1 – 6 as in A above.
7. Press pressure level AND the +/- keys to
increase/decrease required time up to 60
minutes.
12-14: Steps 12 – 14 will follow as in A
above.
(Programming unit to finish cooking food at a
pre-determined time)
1-8. Follow steps 1-8 as in A above.
9. Calculate the amount of hours from setting
the pot to the END time of cooking (i.e. time
food must be ready). This is the time that
will be entered as indicated below.
10. Press timer button
TIMER FUNCTION/DELAYED START:
11. Immediately press - /+ for amount of
hours.
12. Repeat steps 10 &11 for minutes.
13. Time will start to count down & steps 12
– 14 as in A above will follow.
The start of cooking will AUTOMATICALLY
be calculated according to the auto-cook
function selected.
 Loading...