Rev: Sept 2009
DEK® is exclusively distributed by GXi International, LLC
8 of 14
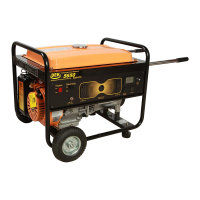
DC Terminals
The DC terminals may ONLY be used for charging 12 volt auto-
motive type batteries. The terminals are colored red to identify
the positive ( +) terminal and black to identify the negative ( -)
terminal. The battery must be connected to the generator DC
terminals with the proper polarity (battery positive to generator
red terminal and battery negative to the generator black termi-
nal).
Note: Some generators are shipped with optional DC battery
charging cables, have a standard 12V DC receptacle, and have
a 12V cigarette lighter style outlet.
Do not use the 12V DC and the AC receptacles at the same
time.
WARNING
Connecting the battery cables:
1. Before connecting the battery charging cables to a battery
that is installed in a vehicle, disconnect the vehicle ground
battery cable from the battery negative ( - ) terminal.
2. Connect the other end of the positive ( + ) battery cable to
the generator positive ( + ) terminal.
3. Connect the positive ( + ) battery cable to the battery posi-
tive ( + ) terminal.
4. Connect the negative ( - ) battery cable to the battery nega-
tive ( - ) terminal.
5. Connect the other end of the negative ( - ) battery cable to
the generator negative ( - ) terminal.
6. Start the generator.
CAUTION: Do not start the vehicle while the battery charg-
ing cable is connected and the generator is running. The
vehicle or the generator may be damaged.
Disconnecting the battery cables:
1. Stop the engine.
2. Disconnect the negative ( - ) battery cable from the genera-
tor negative ( - ) terminal.
3. Disconnect the other end of the negative ( - ) battery cable
from the battery negative ( - ) terminal.
4. Disconnect the positive ( + ) battery cable from the genera-
tor positive (+ ) terminal.
5. Disconnect the other end of the positive ( + ) battery cable
from the battery positive ( + ) terminal.
6. Reconnect the vehicle ground battery cable to the battery
negative ( - )terminal.
Controls
Heavy Duty Power Equipment
Other DC Outlet
Options.
Operating the Generator
Heavy Duty Power Equipment
Step 1.
Ensure all electrical loads are removed from the generator.
Disconnect all the extension cords and ensure the main breaker
is in the OFF position. Remove all flammable materials and
debris from the area. Make sure the generator is level.
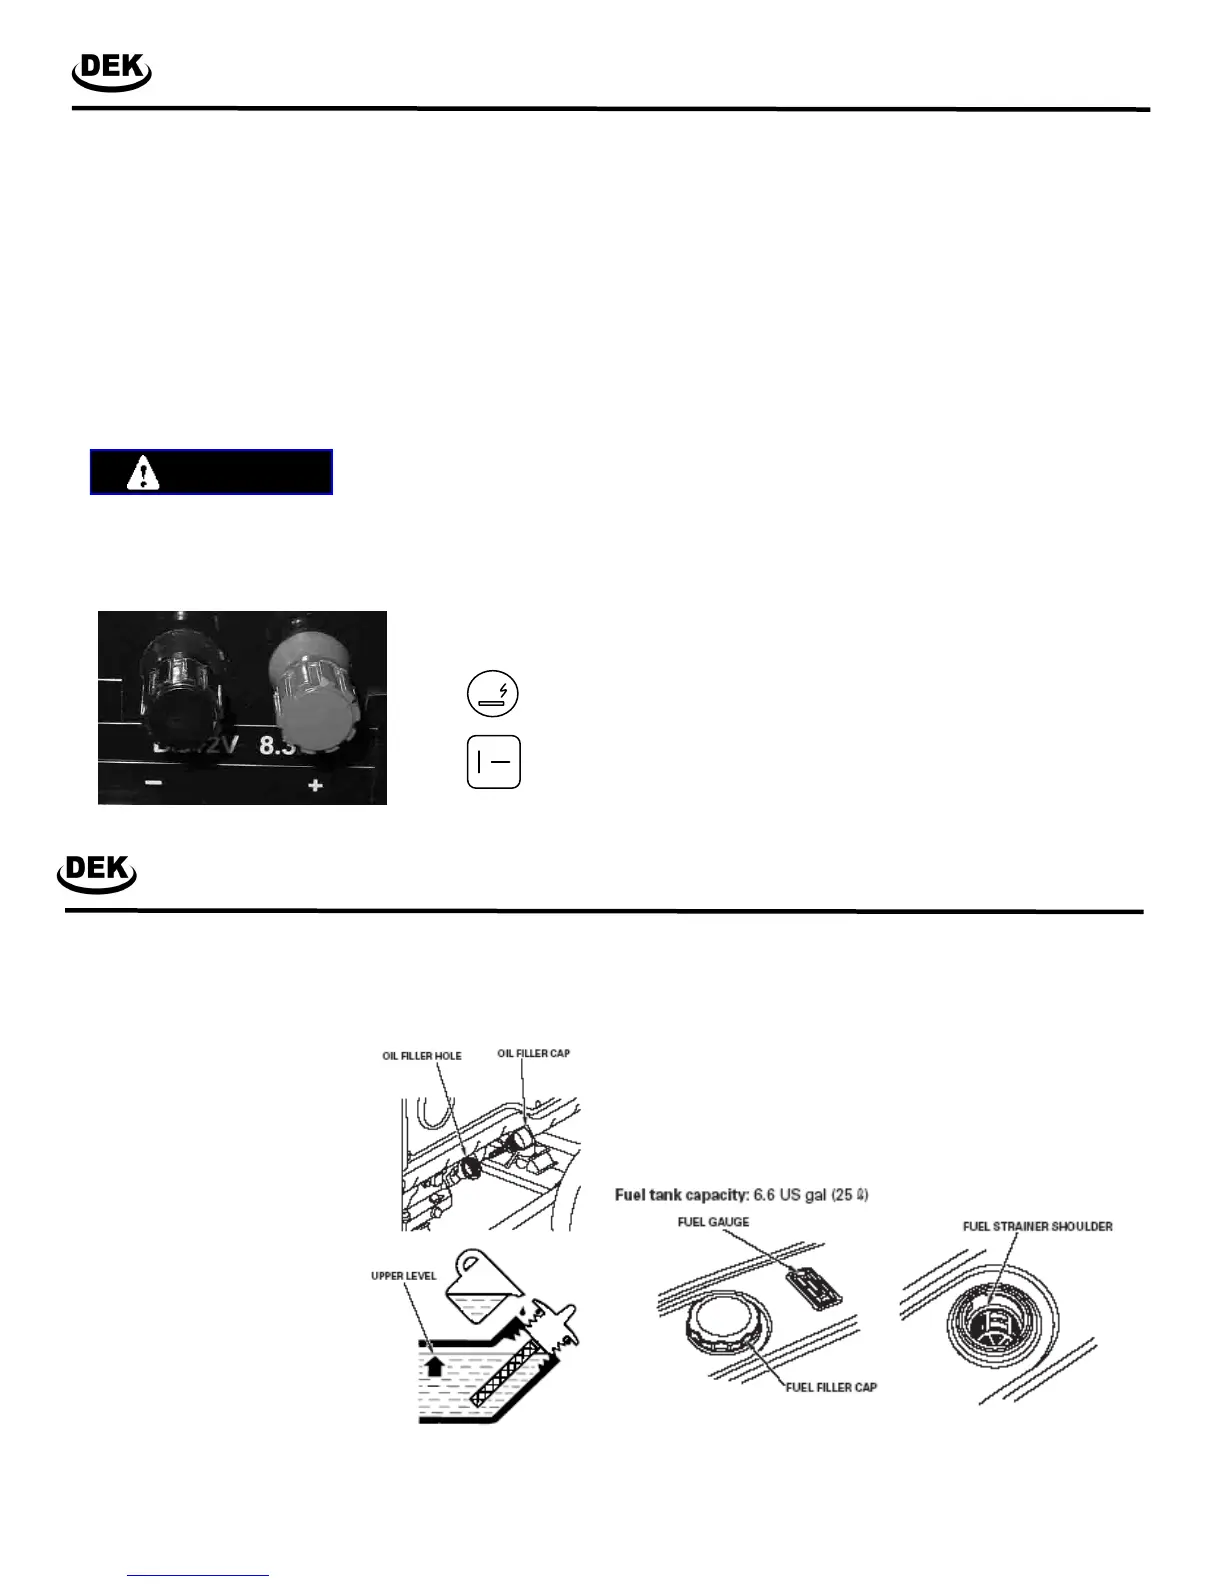
Step 2.
Check the oil level by using the dip
stick provided as part of the oil filler
cap.
Put the generator on a level
surface with the engine
stopped.
Remove the oil filler cap.
Check the oil level. If the oil
level is low, fill it until the oil is
overflowing. It will take ap-
proximately 1.1 - 1.5 quarts of
oil.
If additional oil is need, SAE 10W-
30 engine oil is recommended for
most general purpose applications.
In cold weather climate, use SAE
5W-30.
Step 3.
Make sure there is fuel in the gasoline tank. Look at the fuel
level indicated by the fuel level gage and/or remove the fuel cap
to inspect the contents of the fuel tank. The fuel filter can also
be inspected once the fuel cap is removed. Ensure the fuel
filter is clean of dirt and debris. Tightly secure the fuel cap after
your inspection is complete.
Fuel can damage paint and plastic. Be careful not to spill fuel
when filling your fuel tank. Damage caused by spilling fuel is not
covered under warranty. Use unleaded gasoline with a pump
octane rating of 86 or higher. This engine is certified to operate
3850, 4000, 4550 Pro, 5000(EL), 5650(EL),
6500(EL), 7500EL, 180W(EL)
3850, 4000, 4550 Pro, 5000(EL), 5650(EL),
6500(EL), 7500EL, 180W(EL)
 Loading...