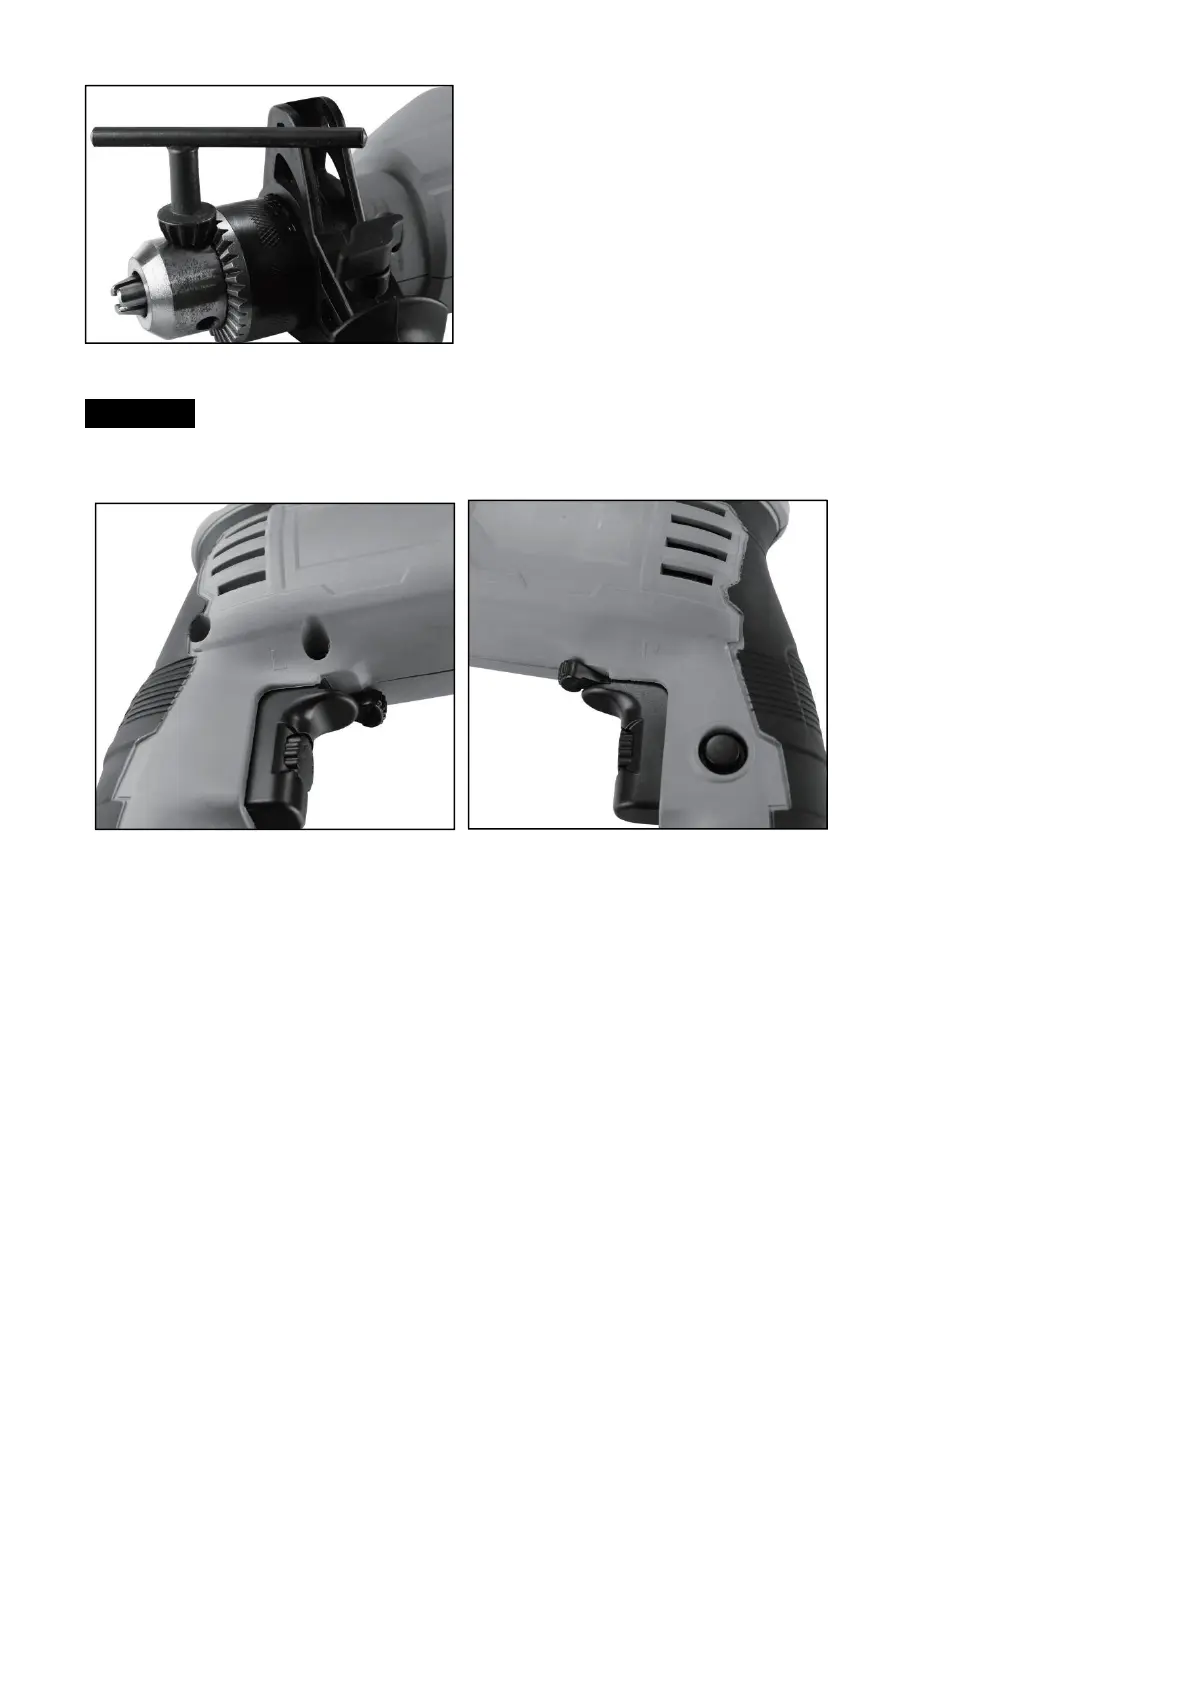
Clockwise/Counter-clockwise switch
CAUTION: Change switch position only when the drill is at a standstill!
Switch the direction of the hammer drill using the clockwise/counter-clockwise switch (9):
Clockwise (forwards and drill, switch to “R”.
Counter-clockwise (reverse), switch to “L”.
On/off switch
a) First fit a suitable drill bit into the tool.
b) Connect the mains plug to a suitable socket.
c) Position the drill in the position you wish to drill.
To switch on:
Press the ON/OFF switch (7)
Continuous operation:
Secure the ON/OFF switch (7) with the lock-on button (6).
To switch off:
Press the ON/OFF switch (7) briefly.
Adjusting the speed
Users can infinitely vary the speed whilst using the tool.
a) Select the speed by applying a greater or lesser pressure to the ON/OFF switch (7).
b) Select the correct speed: The most suitable speed depends on the workpiece, the type of use and the drill bit
used.
1) Low pressure on the ON/OFF switch (7): Lower speed (suitable for: small screws and soft materials)
2) Greater pressure on the ON/OFF switch (7): Higher speed (suitable for large/long screws and hard materials)
Tip: Start drilling holes at low speed. Then increase the speed in stages.
Benefits:
1) The drill bit is easier to control when starting the hole and will not slide away.
2) Avoid drilling messy holes (for example in tiles).
Preselecting the speed
The speed controller (8) enables you to define the maximum speed. The ON/OFF switch (7) can only be pressed to
the defined maximum speed setting.
a) Set the speed using the speed controller (8) on the ON/OFF switch (7). Clockwise to increase the speed, and
anti-clockwise to reduce the speed.
b) Do not attempt to make this setting whilst the drill is in use.