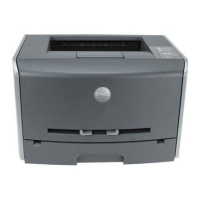
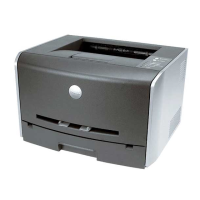
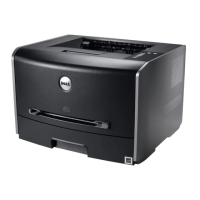
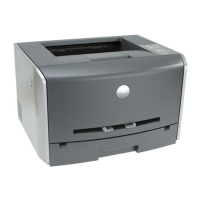
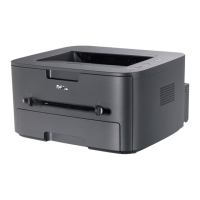
Dell 1710n Laser Printer
Hardware Quick Tips
Revised 11/06
► Printer Setup
1. The printer by default will be setup in the following
manner:
► Printer Status Panel
1. This printer has a status panel located on top of the
printer.
2. The ‘Continue’ button is used to continue the
printing of a print job once a printer jam is
removed. It also is used to start the printing of
manual feed items (e.g. envelopes) once they are
loaded into the manual feed tray.
3. The ‘Cancel’ button cancels the current print job.
4. The ‘Ready|Data’ light indicates if the printer is
ready to start printing. When the ‘Ready|Data’ light
is blinking, the printer is processing data from the
computer to print, or the printer is warming up.
5. The ‘Toner Low’ light indicates that the current
printer toner is low. If the light starts flashing, that
indicates that the printer drum also needs to be
replaced.
6. The ‘Load|Remove Paper’ light indicates that one of
the paper trays needs paper loaded into it.
7. The ‘Paper Jam’ light indicates that there is a paper
jam in the printer.
8. The ‘Error’ light indicates that the printer has an
error. Turn the printer off and back on to clear the
error.
►
Removing Paper Jams
NOTE: A paper jam may occur in one or more
locations.
1. Push the button (as indicated by the red arrow) on
the left side of the printer to open the front cover of
the printer.
2. Pull out the printer drum assembly from the inside
of the printer by pulling on the blue handle (as
indicated by the red arrow).
Manual Pa
e
Feed
Legal Paper Tray
Letter Paper Tray