EasyManua.ls Logo

Dell 4100MP - Page 18

Dell 4100MP
50 pages
Print Icon
To Next Page IconTo Next Page
To Previous Page IconTo Previous Page
Loading...
1a) Connection with PC:
1
Power cord
2
RS232 cable

1b) Connection with Commercial RS232 control box:
1
Power cord
2
RS232 cable
3
Commercial RS232 control box
Note: RS232 cable not provided by Dell. Consult professional installer for cable and RS232 remote control software. Refer to RS232 pin assignment and
commands.
Powering On/Off the Projector
Powering On the Projector
NOTE: Turn on the projector before you turn on the source.
1. Ensure that the lens cap has been removed.
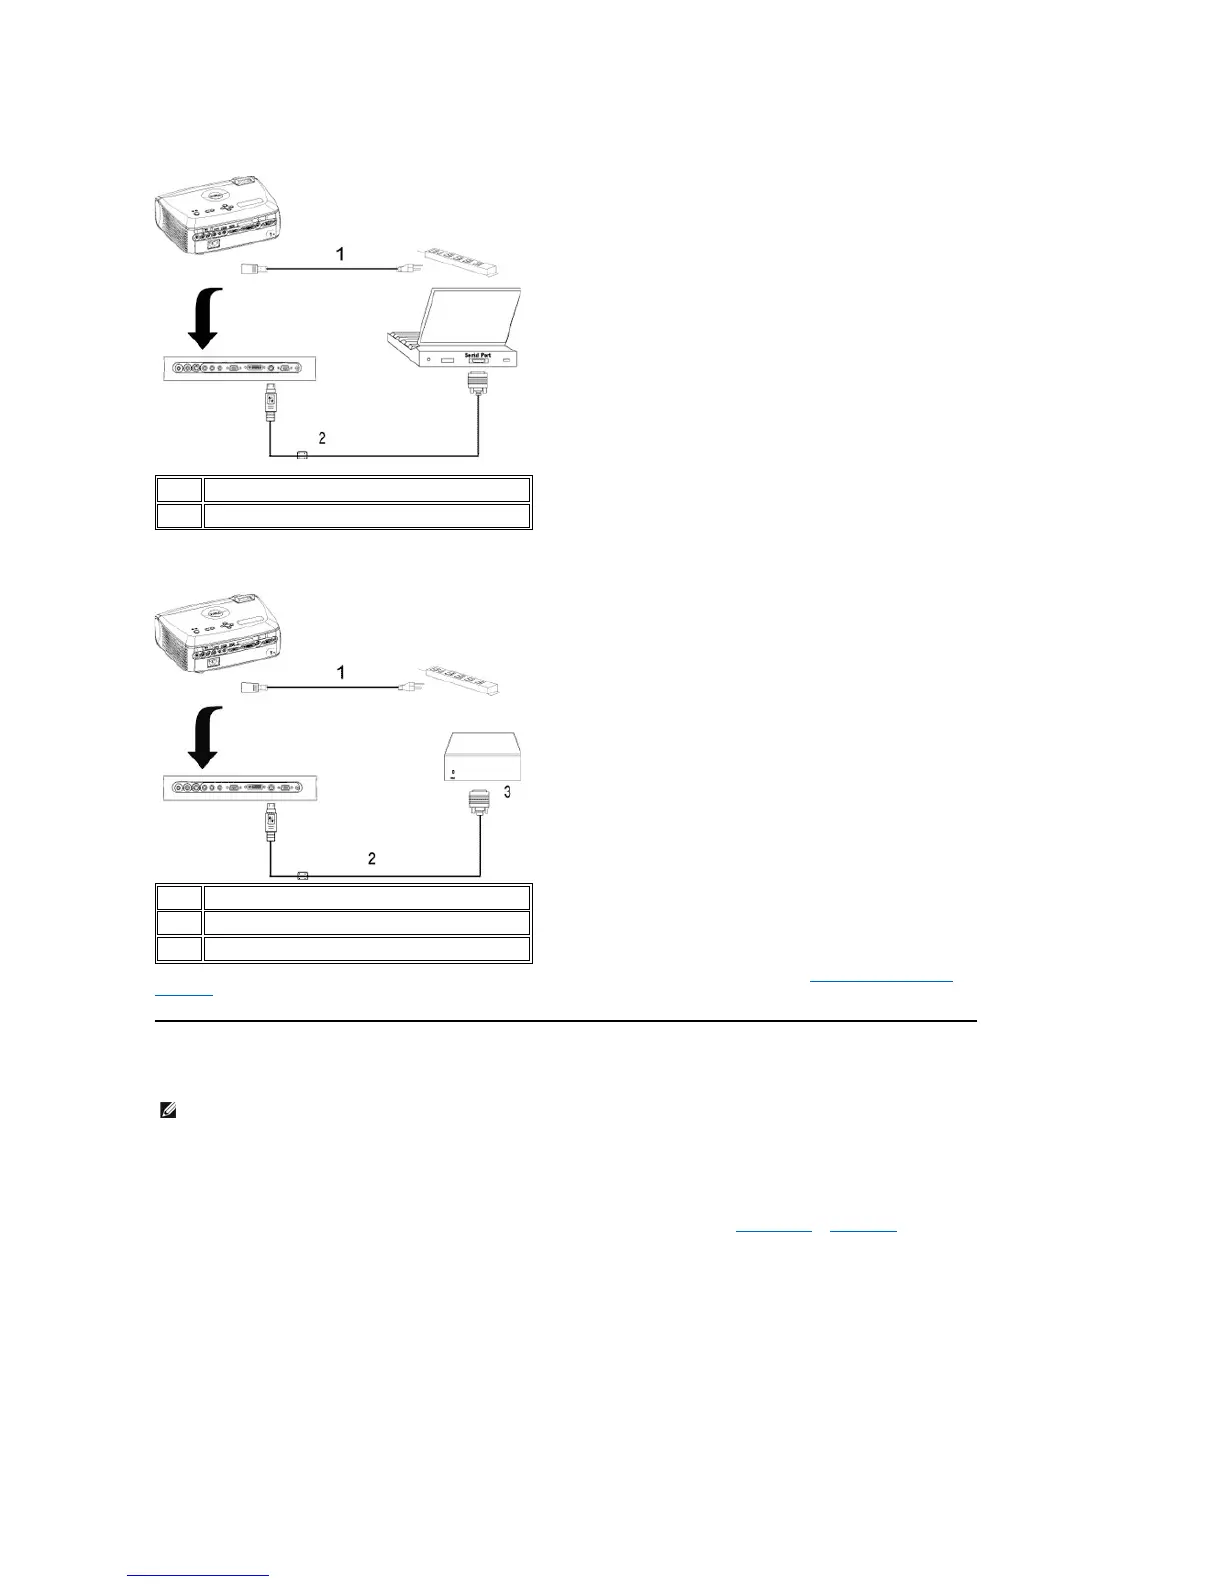
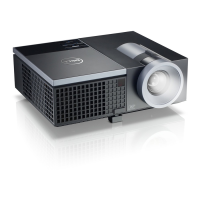
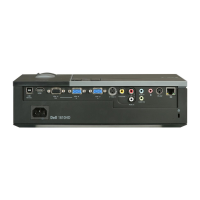
2. Ensure that the power cord and appropriate signal cable(s) are securely connected. The power button light will blink blue.
3. Press the power button to turn on the projector. The Dell logo will be displayed for 30 seconds.
4. Turn on your source (computer, notebook, DVD, etc.). The projector automatically detects your source.
l If the "Searching for signal..." message appears on the screen, ensure that the appropriate signal cable(s) are securely connected.
l If you are connecting multiple sources to the projector simultaneously, press the Source button on the remote control or control panel to select the
desired source.

Other manuals for Dell 4100MP

Related product manuals