Steps
1. Align and lower the system board into the system until the stand-off points at the back of the system board align with those
on the chassis.
2. Replace the four (#6-32) screws to secure the system board to the chassis.
3. Route and connect all the cables that you disconnected from the system board.
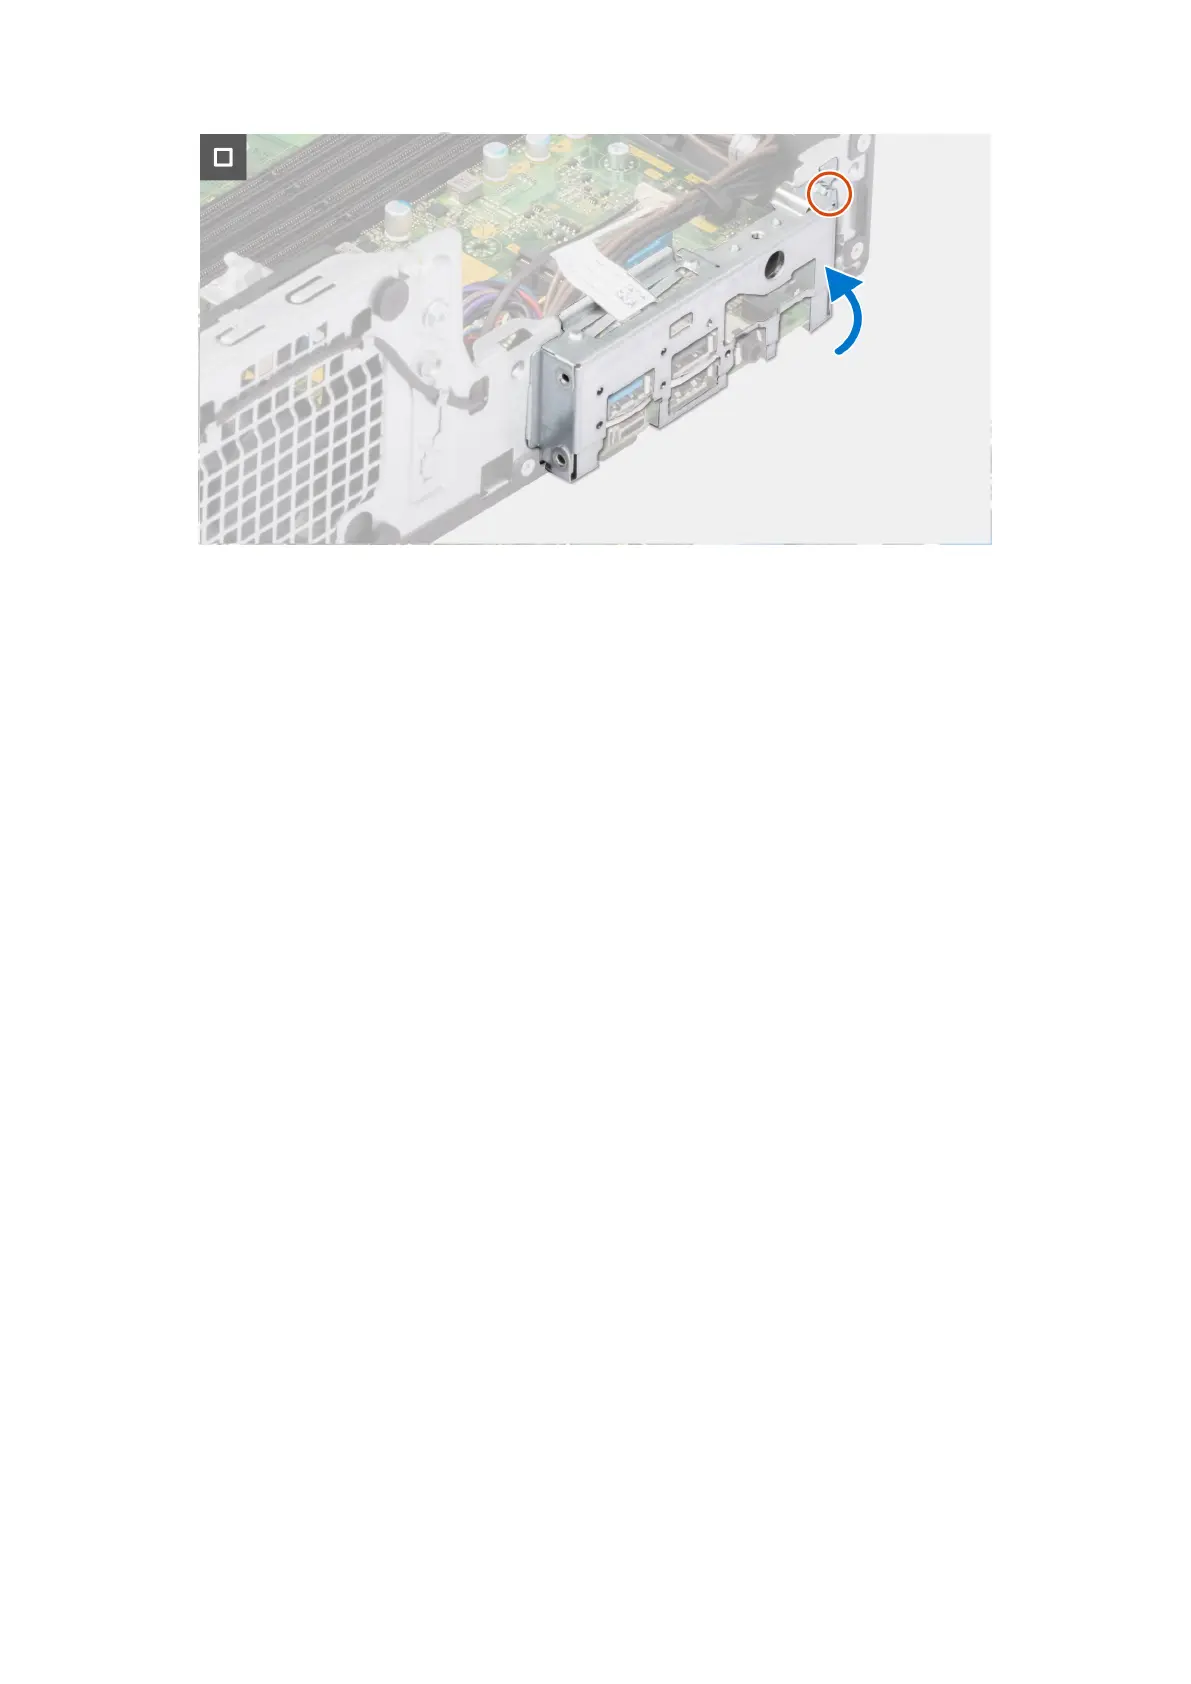
4. Place and align the front I/O-bracket with I/O slot on the chassis.
5. Replace the screw (#6-32) that secures the front I/O-bracket to the chassis.
Next steps
1. Install the processor.
2. Install the heat-sink and fan assembly.
3. Install the WLAN card.
4. Install the solid-state drive.
5. Install the memory modules.
6. Install the expansion card.
7. Install the Optional I/O modules.
8. Install the disk-drive cage.
9. Install the 3.5-inch hard drive if applicable.
10. Install the 2.5-inch hard drive if applicable.
11. Install the front bezel.
12. Install the side cover.
13. Follow the procedure in After working inside your computer.
108
Entfernen und Installieren von vor Ort austauschbaren Einheiten (FRUs)