Removing and Installing Parts 99
4
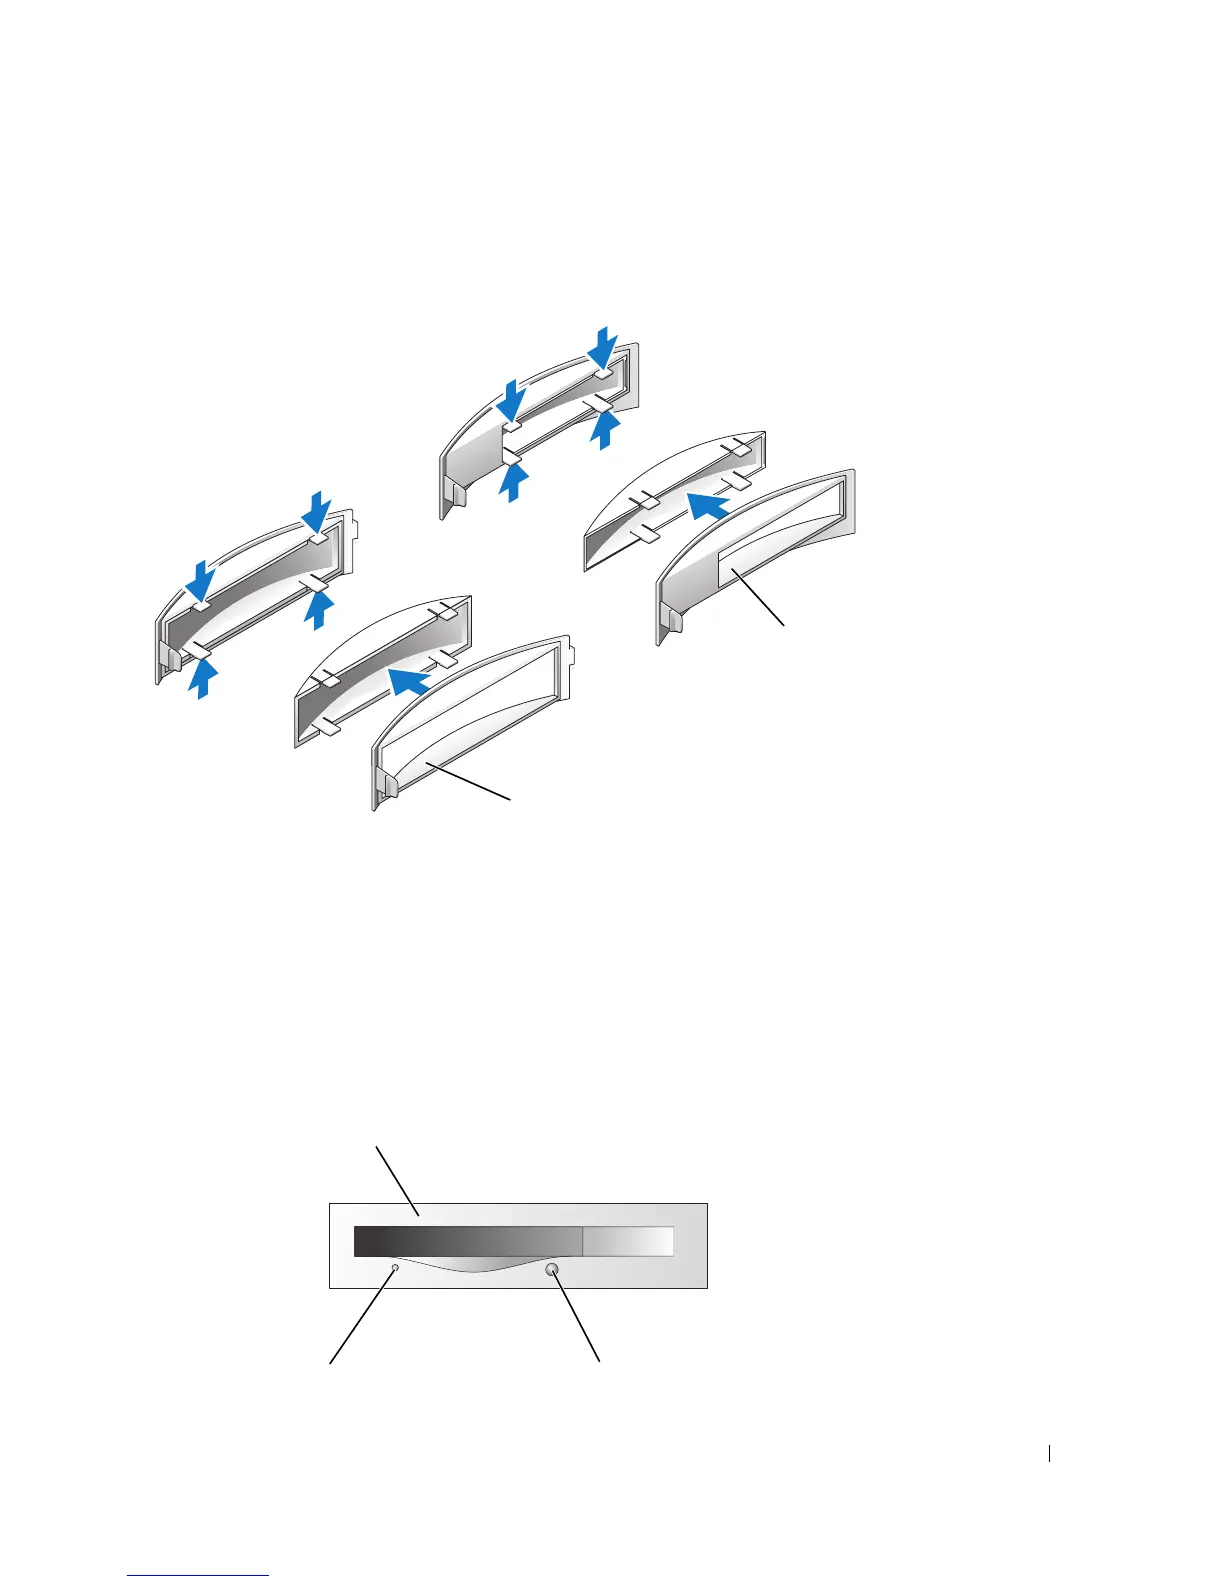
From the outside of the computer, pull the insert away from the computer’s front panel.
5
Remove the insert from the insert frame by pressing on the four tabs.
6
Reattach the empty insert frame over the front of the drive bay (the insert frame fits only one
way):
a
Face the front of the computer and slip the left side of the insert in to the left side of the
drive bay opening.
b
Slightly press the right-side insert release tab and gently push in the insert.
If you are adding a floppy drive and you purchased the drive from Dell, you received a front panel
insert in your floppy drive kit. Attach this insert over the front of the drive bay.
insert frame for
CD/DVD drive bay
insert frame for
floppy drive bay
floppy drive light
floppy drive eject button
front-panel floppy drive insert
included in the floppy drive kit