116 Adding and Replacing Parts
The computer has two memory module connectors labeled "DIMM A" and "DIMM B." Connector
DIMM A (located under the keyboard) holds the basic memory module as configured from the factory. If
you did not order additional memory, connector DIMM B (located on the bottom of the computer under
the memory module cover) will be empty. Generally, if you are adding memory, you will install a memory
module in connector DIMM B. If you are upgrading memory, you may need to install memory in both
the DIMM A and B connectors, depending on the extent of the upgrade.
Installing a Memory Module in Connector DIMM B
1
Follow the procedures in "Before You Begin" on page 109.
2
Ground yourself by touching one of the metal connectors on the back of the computer.
NOTE: If you leave the area, ground yourself again when you return to the computer.
3
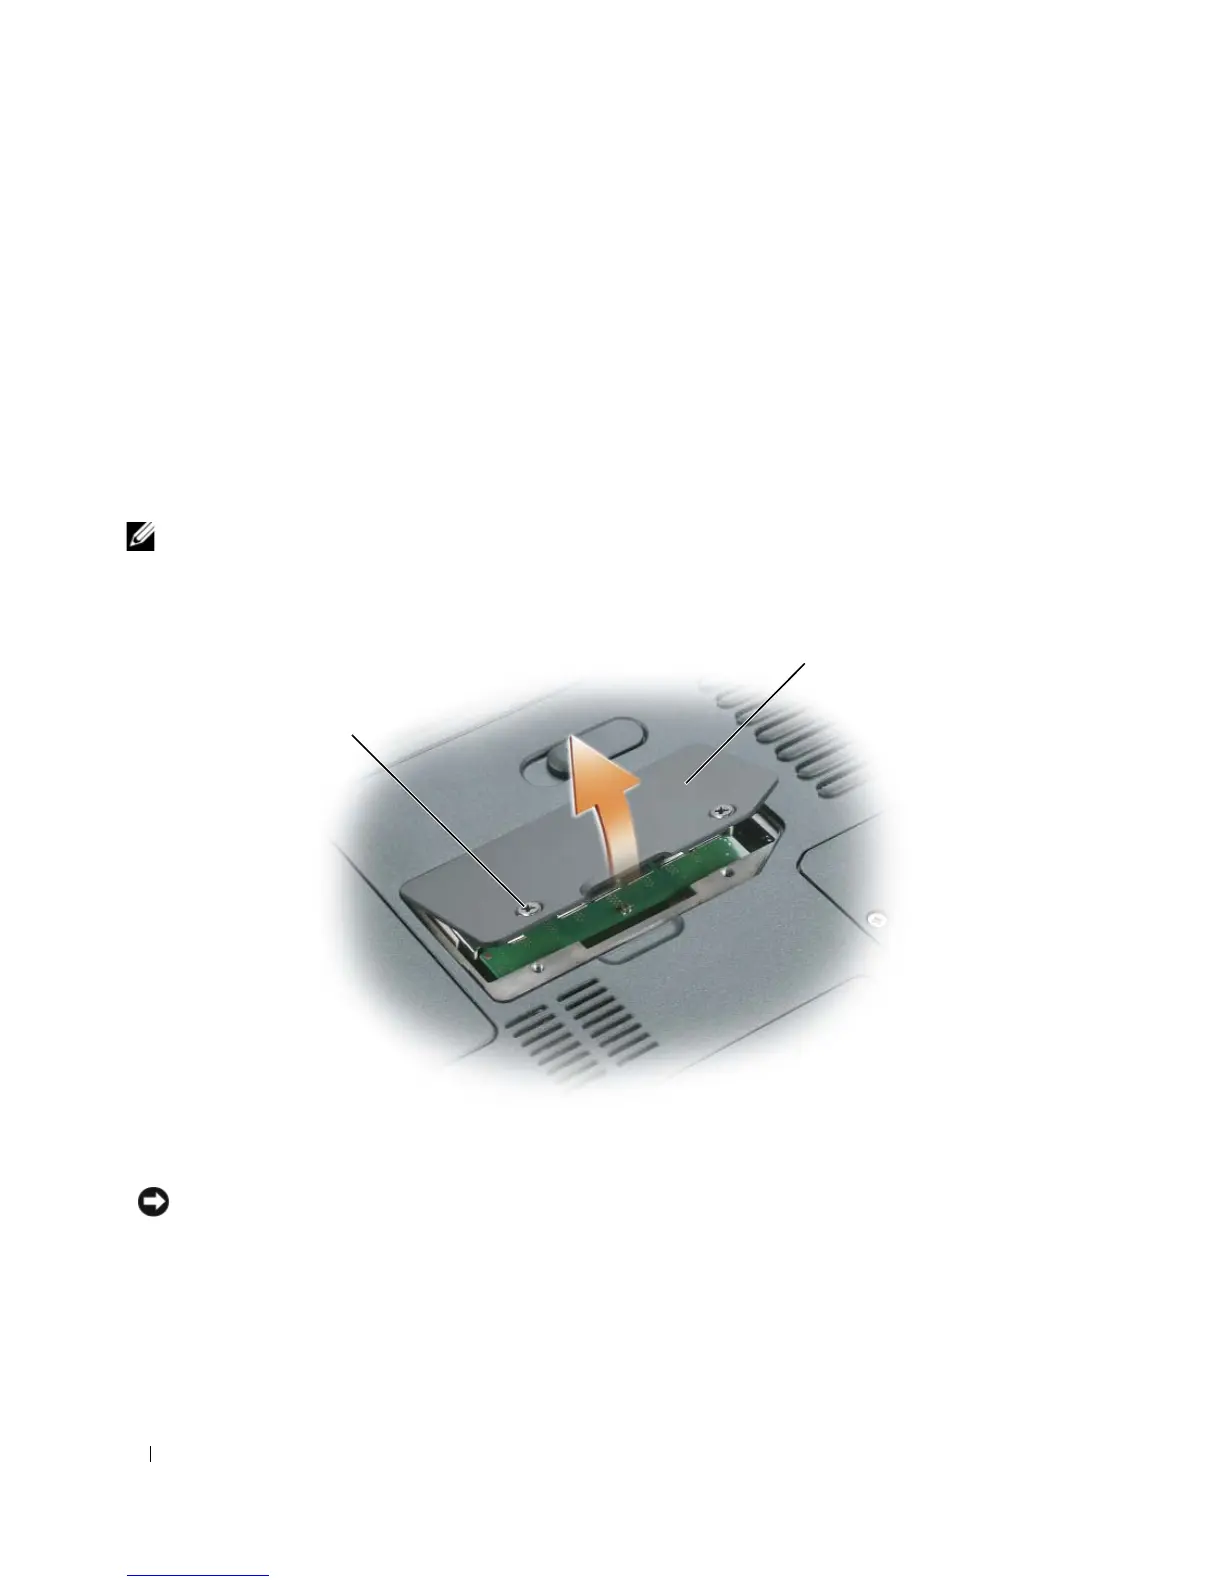
Turn the computer over, loosen the captive screws on the memory module cover, and then remove the
memory module cover.
NOTICE: To prevent damage to the memory module connector, do not use tools to spread the memory-module
securing clips.
4
If you are replacing a memory module, remove the existing module:
a
Use your fingertips to carefully spread apart the securing clips on each end of the memory module
connector until the module pops up.
b
Remove the module from the connector.
1 screws (2) 2 memory module cover
1
2
 Loading...