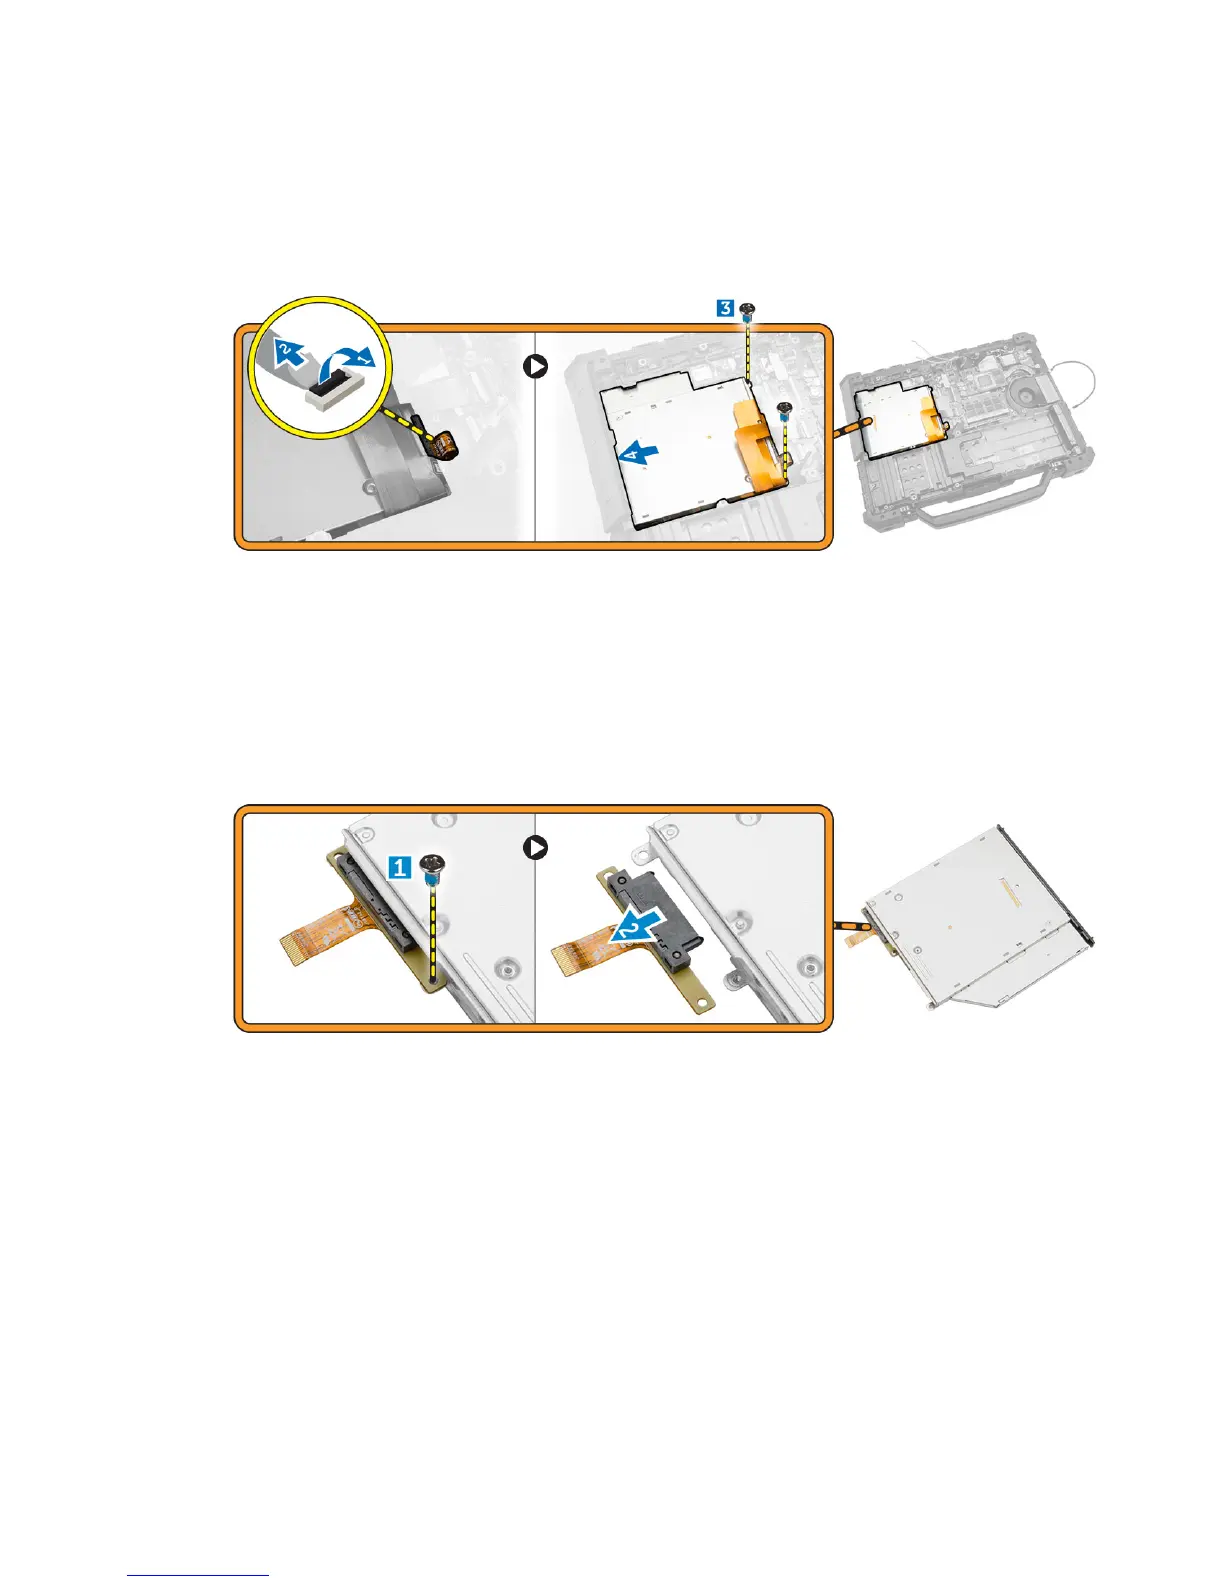
3. Perform the following steps to remove the optical drive:
a. Unlock the optical drive bay press latch doors and open it.
b. Disconnect the optical drive connector cable. [1,2]
c. Remove the screws that secure the optical drive. [3]
d. Slide the optical drive out of the press latch door. [4]
Figure 7.
4. Perform the following steps to remove the optical drive connector:
a. Remove the screw that secures the optical drive connector. [1]
b. Pull the optical drive connector outwards in the direction indicated. [2]
c. Remove the optical drive connector from the computer.
Figure 8.
Installing the Optical Drive
1. Align the optical drive connector to it’s position on the optical drive module.
2. Install the screw that secures the optical drive connector to the optical drive module.
3. Push the optical drive through the press latch door until it is firmly aligned to the optical drive
connector on the system board.
4. Install the screws that secure the optical drive to the system board.
5. Connect the optical drive cable.
21

 Loading...