Steps
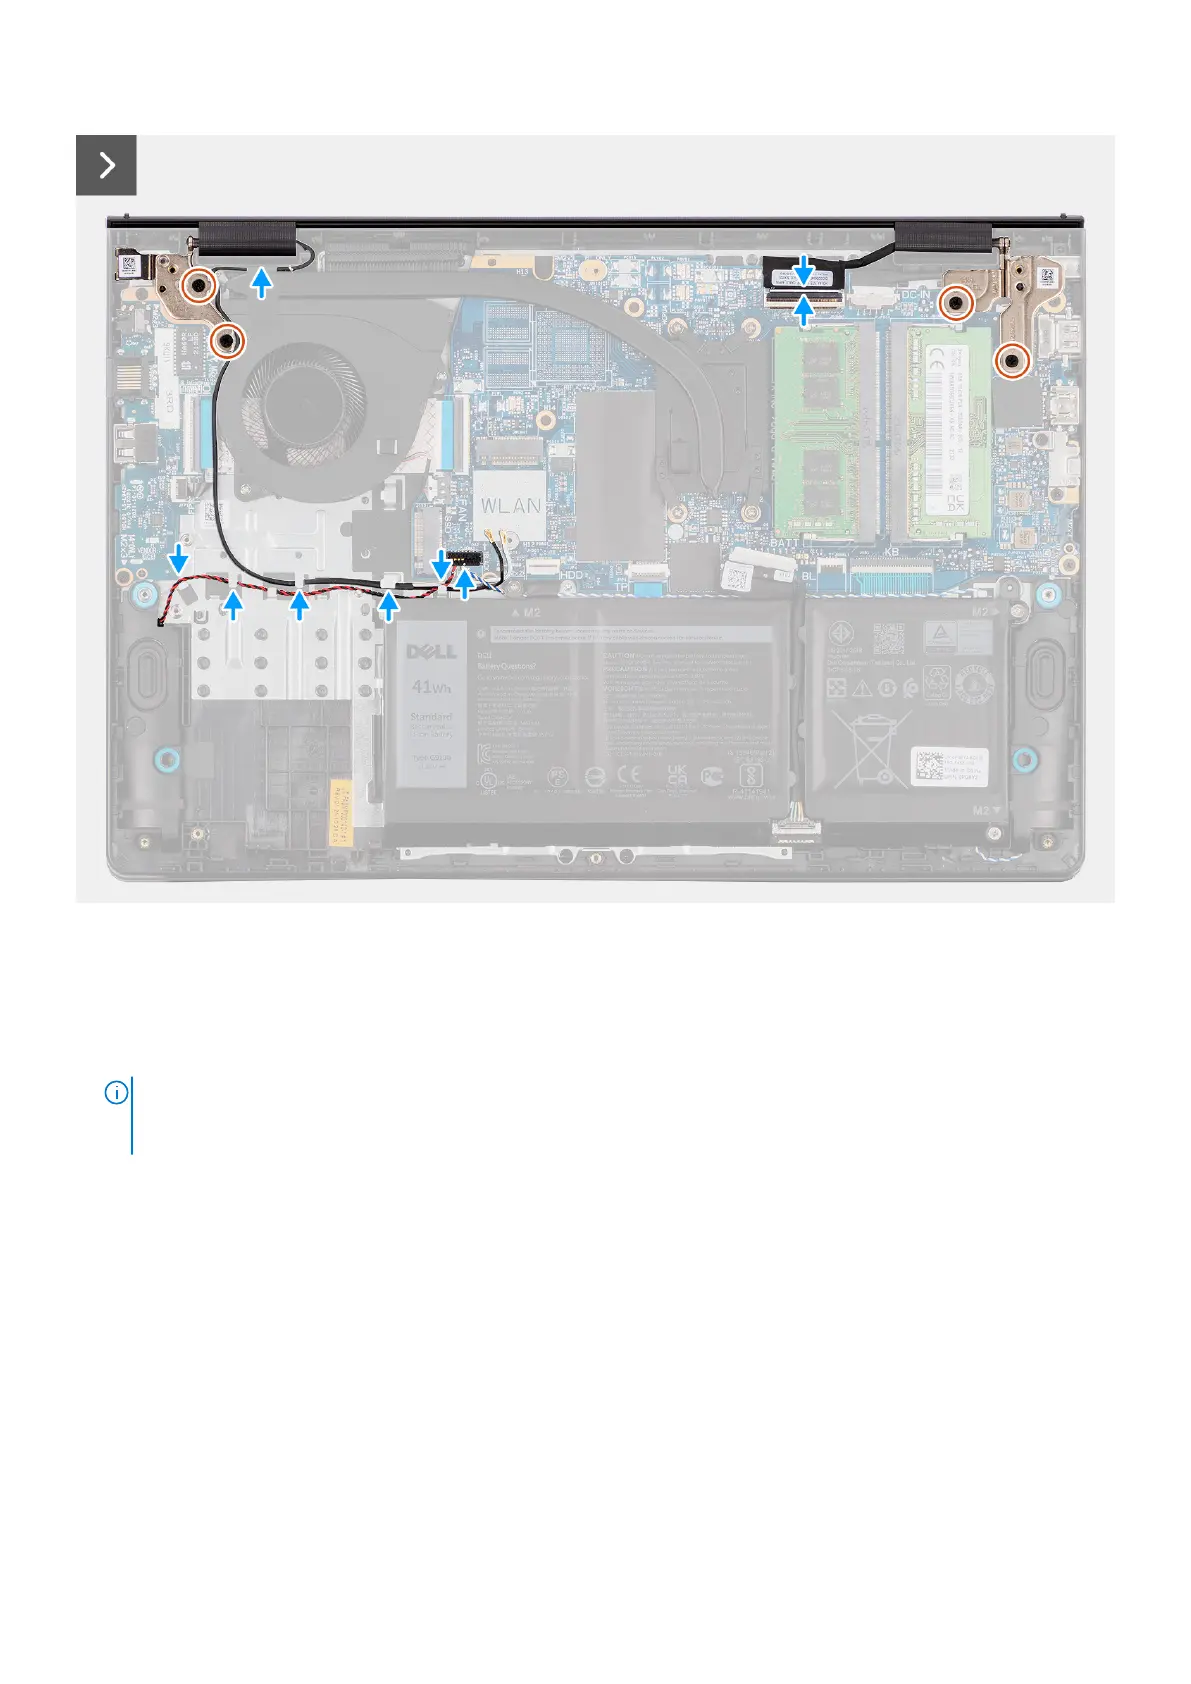
1. Slide the display assembly at an angle, and place the display assembly on the palm-rest and keyboard assembly.
2. Gently press down on the display hinges to align the screw holes on the display hinges with the screw holes on the palm-rest
and keyboard assembly.
3. Replace the four (M2.5x5) screws that secure the display hinges to the palm-rest and keyboard assembly.
NOTE:
The power-adapter port is secured in place by the left display hinge. There is no screw, tape, or adhesives
securing the power-adapter port to the palm rest. As a result technicians should take note of whether or not the power
adapter port has fallen out of the system during subsequent removal procedures.
4. Route the WLAN antenna cables through the routing guides on the palm-rest, along the left side of the fan and then below
the speaker cable.
84
Removing and installing Field Replaceable Units (FRUs)

 Loading...