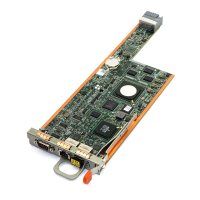
3. Hold and align the system board by its edges and align it to the back of the chassis.
4. Lower the system board and align the screw holes to the standoffs on the chassis till firmly seated.
5. Tighten the screws of the system board to secure the system board to the chassis.
6. Replace the following:
a) expansion card holder
b) expansion-card risers
c) expansion cards
d) integrated storage controller card
e) memory modules
f) internal dual SD module
g) PDB shroud
h) cooling shroud
7. Reconnect all cables to the system board.
NOTE: Ensure that the cables inside the system are routed secured using the cable securing latches.
8. Close the system.
9. Reconnect the system to its electrical outlet and turn the system on, including any attached peripherals.
10. Import your new or existing iDRAC Enterprise license. For more information, see
iDRAC7 User's Guide
, under
Software → Systems Management → Dell Remote Access Controllers, at dell.com/support/manuals.
103
 Loading...