Adding and Replacing Parts 117
To replace the hard drive in the hard drive bay:
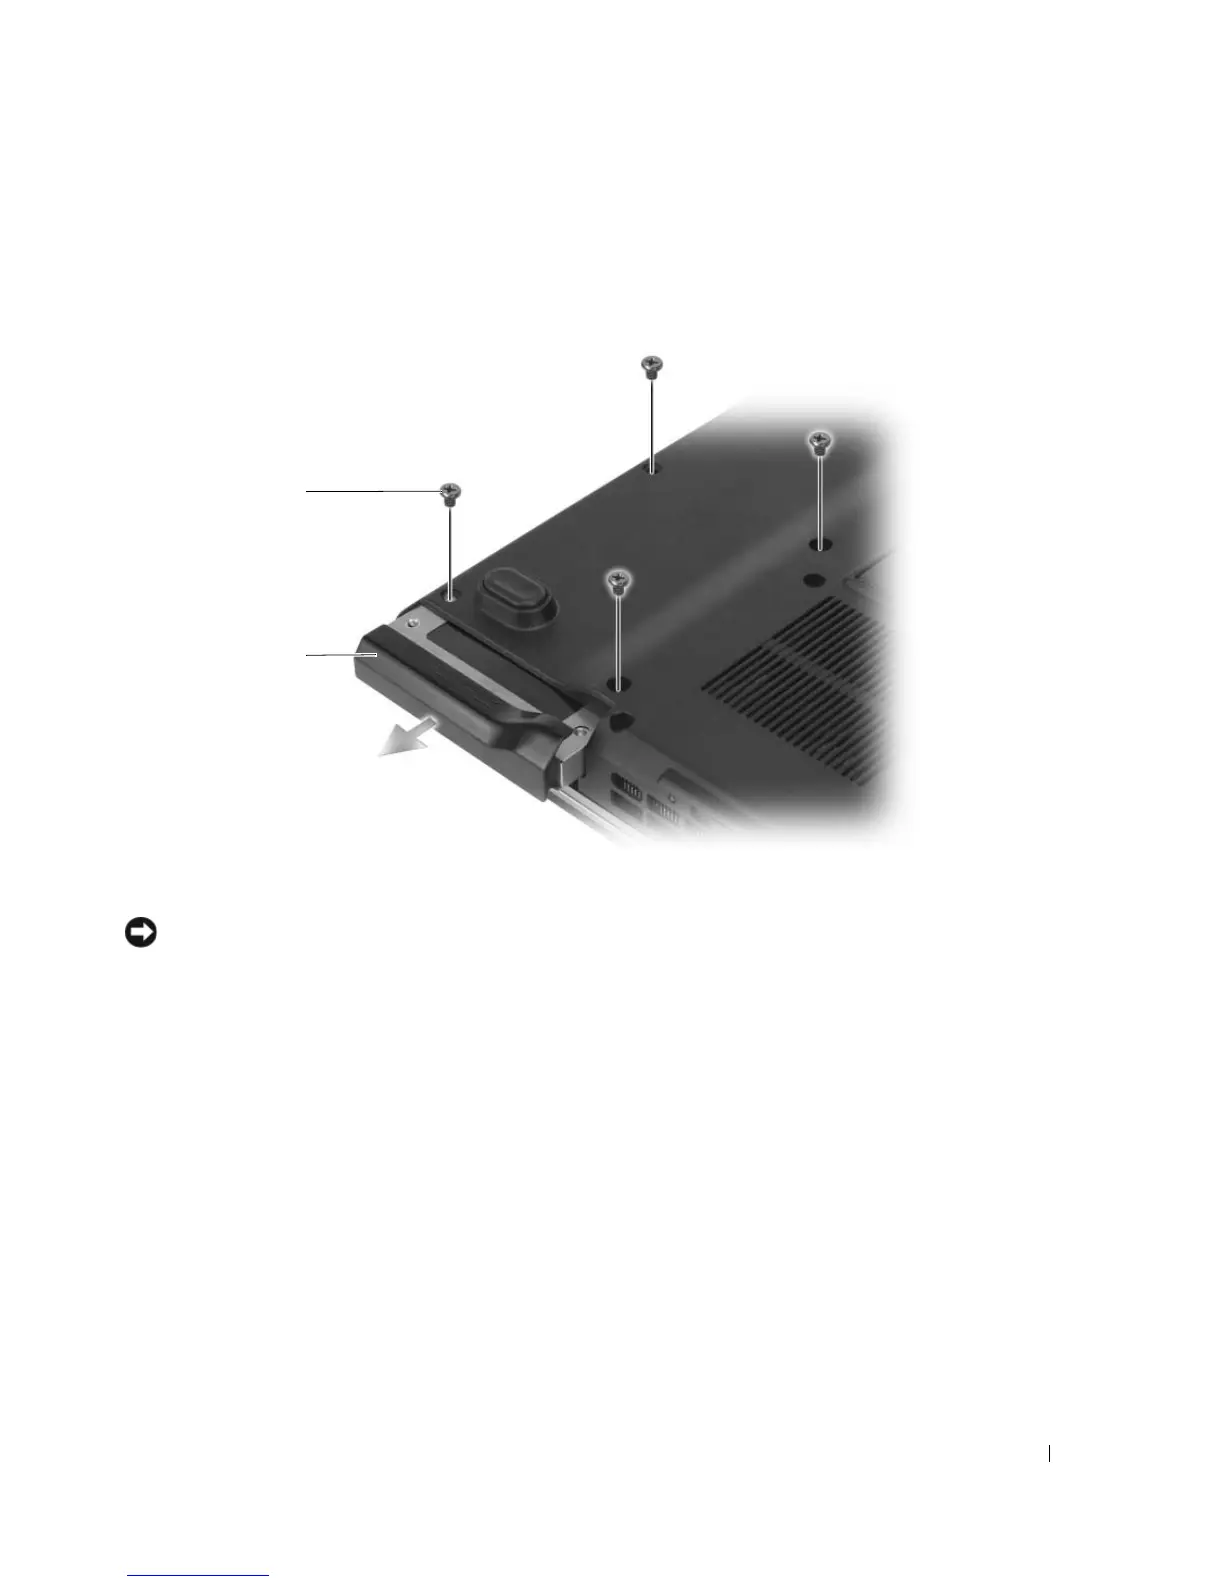
1
Follow the procedures in "Before You Begin" on page 113.
2
Turn the computer upside-down and remove the four hard drive screws.
NOTICE: When the hard drive is not in the computer, store it in protective antistatic packaging. See "Protecting
Against Electrostatic Discharge" in the Product Information Guide.
3
Slide the hard drive out of the computer.
1 hard drive screws (4) 2 hard drive
1
2

 Loading...