www.dellonda.co.uk 3
neutral terminal ‘N’.
C) Check that there are no bare wires and
ensure that all wires are correctly connected.
• Ensure that the cable outer sheath extends
inside the cable restraint and that the restraint
is tight.
• DO NOT connect either wire to the earth
terminal.
• Dellonda recommend that repairs are carried
out by a qualied electrician.
• Modern vehicles contain extensive electronic
systems. You are required to check with
the vehicle manufacturer, for any specic
instructions regarding the use of this type of
equipment on each vehicle. No liability will
be accepted for damage/injury, where this
product is not used in accordance with all
instructions.
• GENERAL SAFETY
• Leave the unit to stand on a level surface
for 6 hours after unpacking and before rst
switch-on.
• Keep the unit horizontal while it is running.
• Allow 10cm side and 20cm rear space for
ventilation.
• Keep the unit dry and away from any heat
source.
• SPECIFICATION
• Model no.:....................................................DL13
• Capacity.........................................................36L
• Temperature range......................-20
O
C - +20
O
C
• Power rating.................................................60W
• Dimensions (w x d x h).......723 x 360 x 368mm
• Internal (w x d x h)..............550 x 270 x 285mm
• Refrigerant:.............................................R1234yf
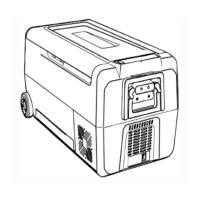
• OPERATION
• Plug the unit in and hold the On/Off button
down for 3 seconds. Repeat to turn unit off.
• The internal temperatures will display and the
compressor will start.
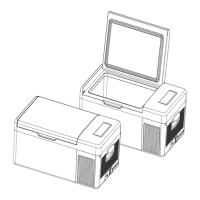
• NOTE: Only one temperature will show if the
zone divider has been removed.
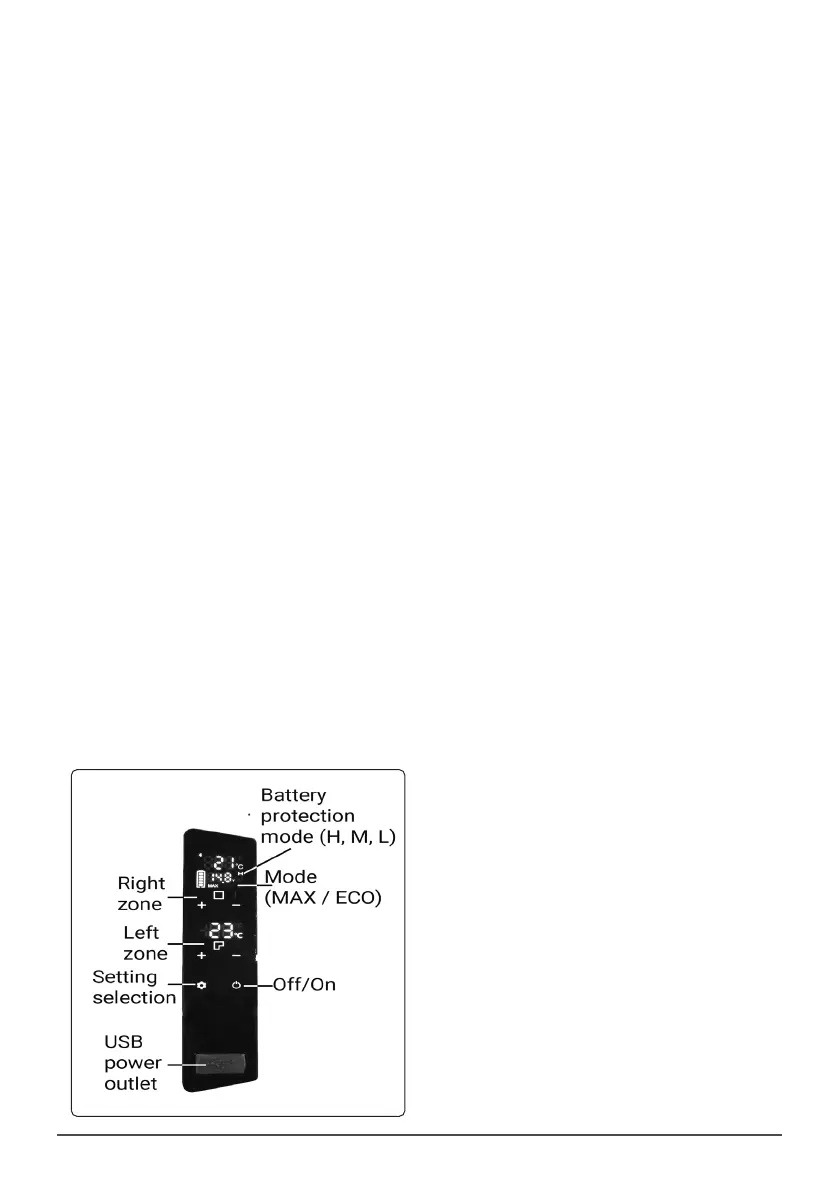
• Press the setting button to set up either MAX
(fast cooling) or ECO (energy saving) mode.
• Press the +/- to adjust target temperature.
• NOTE: The temperature of the left hand zone
cannot be set lower than that of the right hand
zone.
• To turn off the left hand zone (designated
by the square symbol) hold down the + and -
buttons at the same time for three seconds.
• To turn the left hand zone back on, repeat the
procedure.
• NOTE: Ensure left hand zone is on before the
partition is removed in order to run in single
zone mode. If the left hand zone is off and the
partition removed, the compressor will not
turn on.
• To set battery protection mode, with the unit
turned on, press and hold the Setting button
for 3 seconds.
• The default setting for battery protection is
High (H). This value should be set when the
unit is drawing power from the car battery.
• When connected to a portable power supply or
other back-up battery, set mode to Medium
(M) or Low (L) by cycling through the
Setting button options.
• NOTE: If the battery power supply to the unit
does not switch off when the vehicle’s ignition
is off, set battery mode to ‘H’ otherwise you
may drain the vehicle battery.
• MAINTENANCE
• Remove the power plug from the unit when
performing cleaning or maintenance.
• DO NOT use abrasive or chemical cleaning
materials on any surface of the unit.
• Wipe interior and exterior surfaces with a
damp cloth and dry thoroughly with a clean dry
cloth.
• For more soiled surfaces use a neutral
detergent, wipe down with a clean damp cloth
and dry thoroughly with a clean dry cloth.
• To defrost the unit, power it off, raise the lid,
empty the contents and allow it to defrost.
Carefully use a defrosting shovel to remove
thawed ice.
 Loading...