24
This appliance conforms to EC Regulation 1935/2004 on
materials and articles intended to come into contact with food.
Disposing of the appliance
The appliance must not be disposed of with
household waste, but taken to an authorised waste
separation and recycling centre.
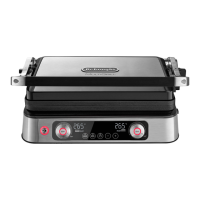
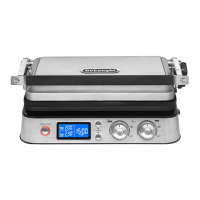
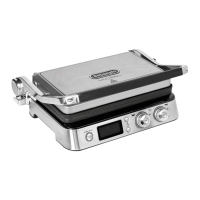
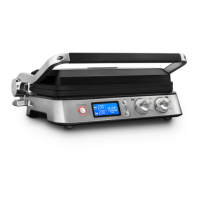
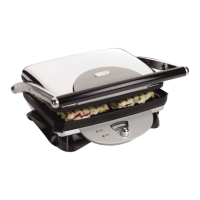
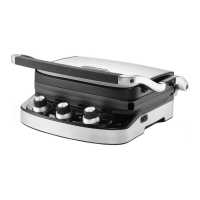
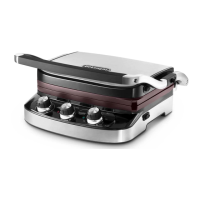
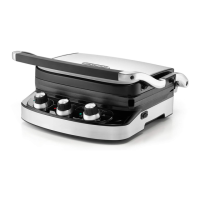
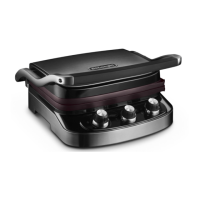
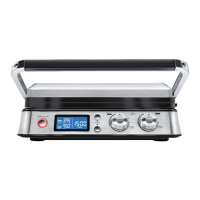
DESCRIPTION
1. Base and cover: solid stainless steel structure with
self-adjusting cover.
2. Handgrip: strong cast metal handgrip to adjust the
upper plate/cover according to the thickness of the food.
3. Plate release buttons: press to release and remove
the plate.
4. Grill plates lock/release device and Height
adjustment lever: to lock the upper plate/cover
at the required height, to prepare food that does not
require pressing.
5. Hinge release lever: enables the appliance to be fully
opened to cook in the at position.
6. Height adjustment steps.
7. ON light.
8. Start/stop button.
9. Lower plate thermostat dial: to adjust the temperature
from 60°C to 240°C, or switch o the lower plate.
10. Lower plate "SEAR" button.
11. Sandwich function button.
12. Hamburger function button.
13. Keep warm function button.
14. Time "-": to adjust the cooking time (decreasing).
15. Time "+": to adjust the cooking time (increasing).
16.
Upper plate thermostat dial: to adjust the temperature
from 60°C to 240°C, or switch o the upper plate.
17. Upper plate "SEAR" button.
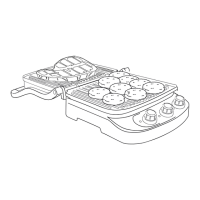
18. Removable plates: non-stick, dishwasher safe, easy
to clean. THE NUMBER AND THE TYPE OF PLATES CAN
RANGE ACCORDING TO MODEL.
18a. Grill plate: perfect for grilling steak, hamburger,
chicken and vegetables.
18b. Griddle plate: to prepare perfect pancakes, eggs,
bacon and shellsh.
18c*.Upper wae plate: to prepare all kind of waes
(available as a separate accessory).
18d*.Lower wae plate: to prepare all kind of waes
(available as a separate accessory).
19. Grease tray: integrated with appliance and removable
for easy cleaning.
20*. Wae dosing cup (available as a separate accessory).
USING FOR THE FIRST TIME
Remove all packaging and labels from the plate. Before
throwing the packing material away, make sure you have
removed all parts of the new appliance. We recommend you
keep the box and packing to re-use in the future.
Please note: Before use, clean the base, cover
and dials with a damp cloth to remove dust accumulated
during transport. Clean the cooking plates and grease tray
thoroughly. The plates and grease tray are dishwasher safe.
Please note: The rst time you use the appliance, it
may give o a slight odor and a little smoke. This is normal
and common to all appliances with non-stick surfaces.
Please note: the removable cooking plates (grill and
griddle) are fully interchangeable on the appliance.
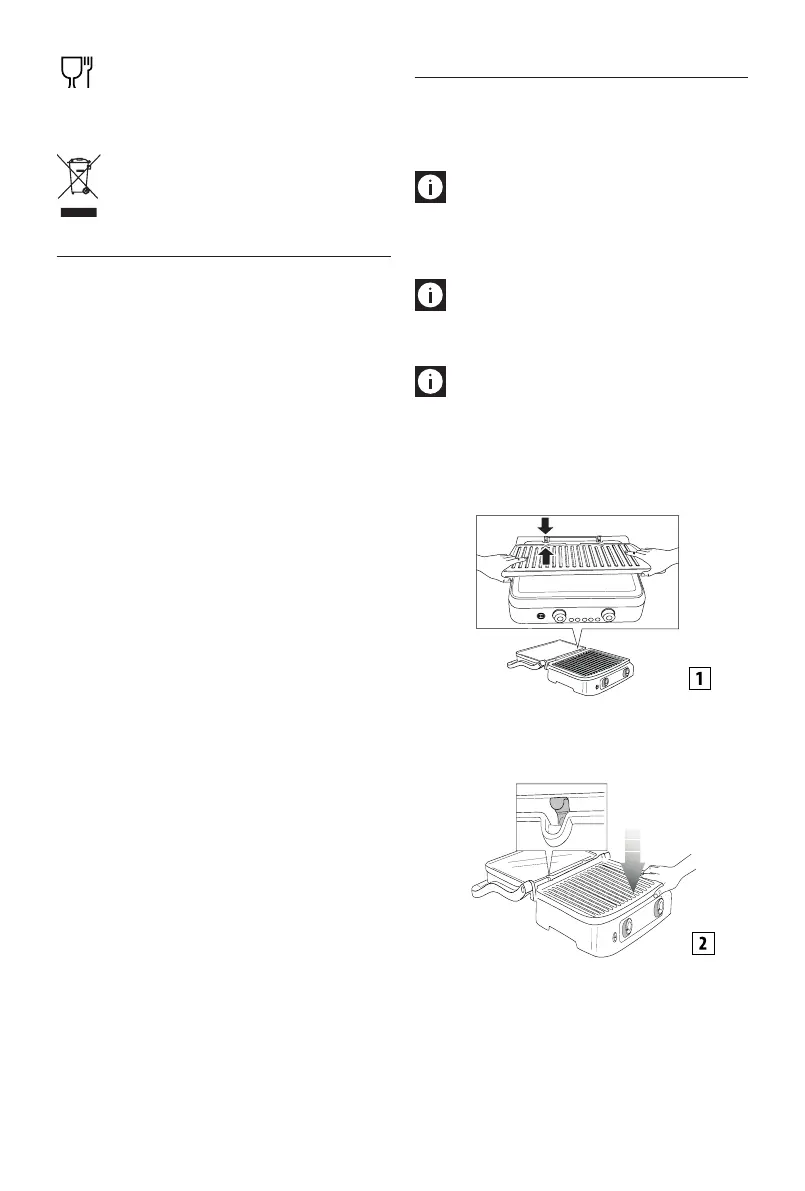
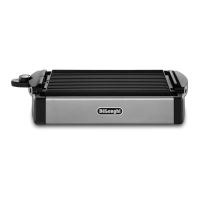
Inserting the cooking plates
- Place the appliance in the at position (see gure 1).
Insert one plate at a time.
- Each grill or griddle plates can be inserted in either the
top or bottom housing (see gure 2), except wae
plates.
To remove the plates
Identify the plate release buttons (3) on the right side. Press
the button decisively to eject the plate from the base. Hold
the plate with both hands, slide it along the metal supports
and remove it from the base. Press the other release button
to remove the second plate, following the same operations.