Coffee Maker
fig. 24 fig. 23
7
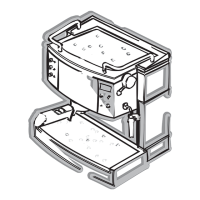
Note: to ensure a tight fit and avoid water leaking from
the rim of the filter holder, you are recommended to
grease the bottom of the lateral tabs from time to time
with butter or oil (as shown in fig. 18).
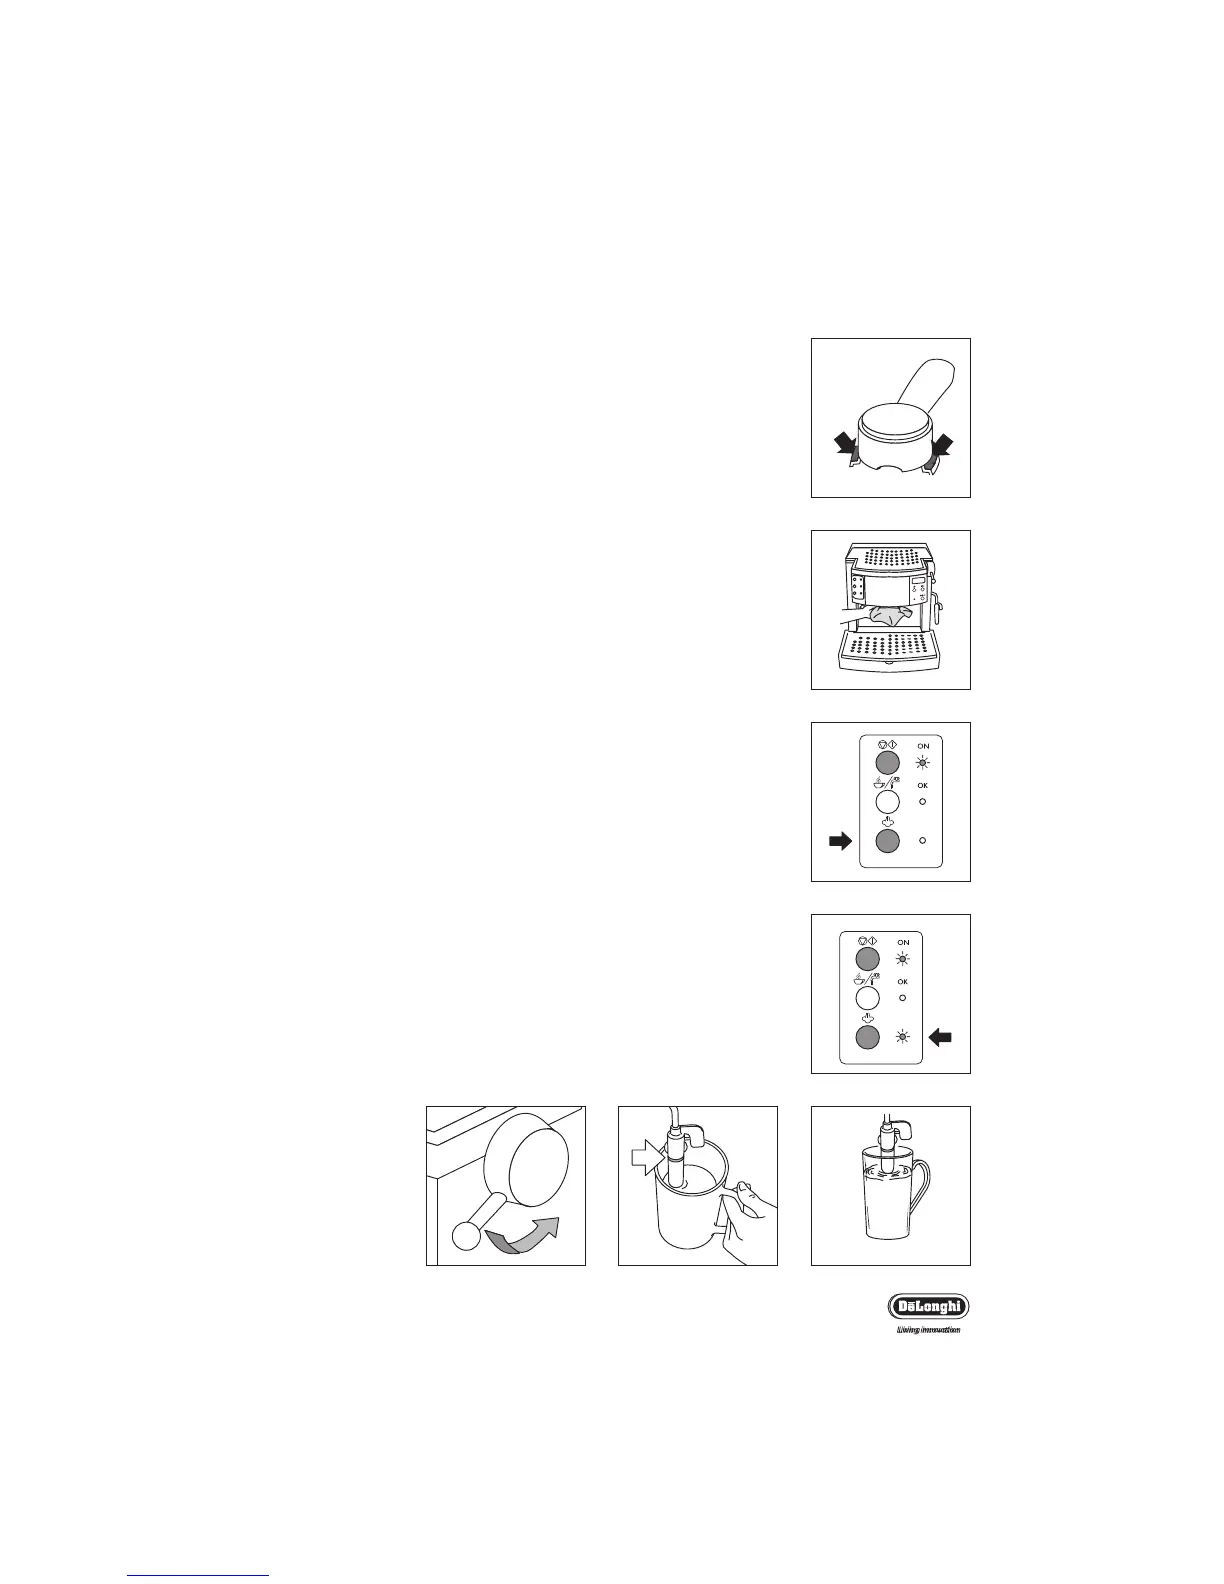
IMPORTANT: Should the coffee holder for pods be used
after one for ground coffee, it’s necessary to clear the
ground coffee remained in the espresso boiler outlet (fig.
19).This cleaning operation is necessary in order to avoid
water leakages.
Note: If you use the “Illycaffè” coffee pods supplied in your
machine, insert the coffee pod ensuring the name “Illy” is facing
down and the long side of the pod goes from left to right between
the two tabs.
How to make cappuccino
1. Prepare espresso coffee, using cups that are large enough for cap-
puccinos
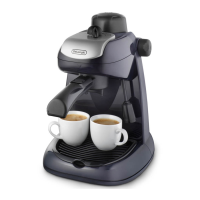
2. Press the steam button (fig. 20) and wait for the steam indicator
light to come on (fig. 21).The OK indicator light indicates that the
boiler has reached the ideal temperature for steam production.
3.In the meantime, fill a container with about 100 grams of milk for
each cappuccino to be prepared. Ideally use a small stainless steel
jug. The milk must be at refrigerator temperature (not hot!). In
choosing the size of the container, bear in mind that the milk
increases in volume by 2 or 3 times.
NB: YOU ARE RECOMMENDED TO USE SEMI-SKIMMED MILK AT
REFRIGERATOR TEMPERATURE.
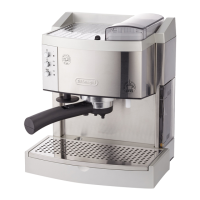
4. Place the container with the milk under the cappuccino maker.
5. Dip the cappuccino maker into the milk (fig. 22), taking care not
to immerse the raised line on the cappuccino maker (indicated by
the arrow in fig. 23).Turn the steam knob at least a half turn anti-
clockwise (fig. 24). Steam is given off by the cappuccino maker,
giving the milk a creamy frothy appearance. To obtain a creamier
froth, dip the cappuccino maker into the milk and rotate the con-
tainer with slow movements from the bottom upwards.