Do you have a question about the DeLonghi ECAM23X.13 and is the answer not in the manual?
Cross-references component labels in appliance diagrams.
Guide for resolving operational issues and contacting customer support.
Detailed identification of the coffee machine's physical parts.
Explanation of buttons, lights, and dials on the user interface.
Information on included items like filters, scoops, and test papers.
Meaning of various LED indicators on the control panel.
Verifying the appliance is complete and undamaged post-unpacking.
Guidelines for safe placement and adequate ventilation of the machine.
Instructions for proper electrical connection to the mains supply.
Initial steps including water filling and pre-operation rinse.
Steps to power up the coffee machine.
Procedure for safely switching off the coffee machine.
Adjusting machine settings based on local water mineral content.
Configuring automatic shutdown time for energy saving.
Enabling a power-saving mode to reduce consumption.
Customizing the brewing water temperature for coffee.
Step-by-step guide for fitting the water softener filter.
Procedure for removing and replacing the water softener filter.
Using hot water to clean and warm the machine's internal circuit.
Core process for brewing coffee from whole beans.
Adjusting grind and strength for desired coffee flavor profile.
Fine-tuning the grinder settings for optimal coffee extraction.
Methods to ensure coffee is brewed and served at a higher temperature.
Instructions for dispensing coffee and adjusting the dispensed volume.
Process for brewing coffee using pre-ground coffee powder.
Customizing the volume of coffee dispensed when using pre-ground coffee.
Step-by-step guide for preparing cappuccino with frothed milk.
Daily cleaning procedure for the milk frothing system component.
Function for dispensing hot water for beverages or cleaning.
Lists the various parts of the machine that need regular cleaning.
Procedure for flushing the machine's internal water pathways.
How to empty and clean the used coffee grounds bin.
Maintenance of the drip tray and condensate collection system.
Cleaning accessible internal parts, ensuring the machine is off.
Routine cleaning of the removable water reservoir for hygiene.
Maintaining the cleanliness of the coffee dispensing nozzles.
Ensuring the funnel for pre-ground coffee is free from blockages.
Detailed steps for removing and cleaning the internal coffee brewing unit.
Process to remove mineral buildup from the machine's internal components.
Using test paper to determine the water mineral content level.
Programming the machine with the measured water hardness for descaling alerts.
Specifications and performance details of the coffee machine.
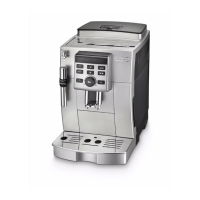
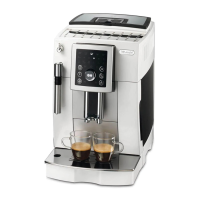
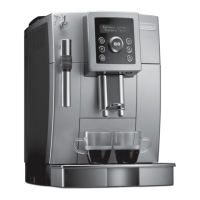
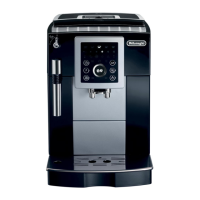
This document provides instructions for the De'Longhi ECAM23X.13 - 25X.23 - 25X.31 - 25X.33 - 25X.41 bean-to-cup espresso and cappuccino machine. It covers setup, operation, and maintenance to ensure optimal performance and longevity of the appliance.
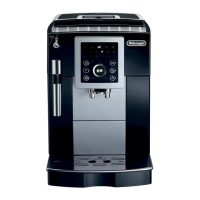
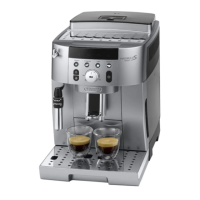
The De'Longhi bean-to-cup machine is designed to prepare espresso and cappuccino beverages from freshly ground coffee beans. It features an integrated coffee mill, a water tank, and a cappuccino maker. The machine offers various coffee options, including single espresso, double espresso, regular coffee, long coffee, and Doppio+. Users can customize the coffee strength and water temperature to suit their preferences. The appliance also includes a hot water delivery function for other beverages.
Before first use, the appliance requires initial setup. This involves plugging it into the mains socket, filling the water tank (A7) to the MAX line with fresh water, and performing a rinse cycle using the cappuccino maker (A18). The machine will perform an automatic preheat and rinse cycle each time it is turned on, which cannot be interrupted. It is ready for use only after this cycle is complete. For optimal performance, it is recommended to install a water softener filter (C4) if available for your model.
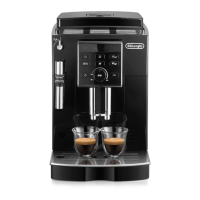
To make coffee, ensure the main switch (A6) is in the "I" position and the steam/hot water dial (A21) is in the "0" position. Fill the beans container (A3) with coffee beans. Place one or two cups under the coffee spouts (A11) and lower the spouts as close as possible to the cup for a creamier coffee. Select the desired coffee type (Espresso, 2x Espresso, Coffee, Long, Doppio+) using the corresponding buttons (B2, B3, B8, B9). The coffee taste (strength) can be adjusted using the aroma/pre-ground function selection dial (B6). Turning the dial clockwise increases the quantity of ground coffee, resulting in a stronger taste. For an extra mild coffee, turn the dial to MIN; for extra strong, turn to MAX. The grinding adjustment dial (A5) can be used to fine-tune the coffee mill, but only when the mill is in operation. If coffee is delivered too slowly or not at all, turn the dial one click clockwise towards "7". For fuller-bodied, creamier coffee, turn it one click anticlockwise towards "1". The effect of this adjustment will be noticeable after at least two cups of coffee.
The machine can also use pre-ground coffee. To do this, turn the coffee taste selection dial (B6) anticlockwise to the pre-ground coffee position. Add one level measure (C2) of pre-ground coffee into the pre-ground coffee funnel (A4). Do not use more than one level measure to avoid soiling the machine. Only one cup of coffee can be made at a time with pre-ground coffee.
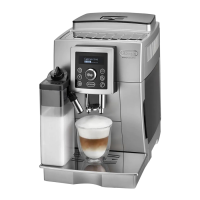
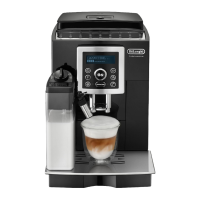
For cappuccino, first prepare the coffee in a large cup. Fill a container with about 100 grams of milk for each cappuccino. For richer froth, use skimmed or partially skimmed milk from the refrigerator (around 5°C). Ensure the cappuccino maker selection ring (A20) is in the "CAPPUCCINO" position (for adjustable models). Immerse the cappuccino maker (A18) in the milk container. Press the steam button (B4), and once its light flashes, turn the steam dial (A21) to the "I" position. Steam will be delivered, frothing the milk. Swirl the container slowly to create a creamier froth. Once the desired froth is obtained, turn the dial back to "0" to stop steam delivery. Add the frothed milk to the prepared coffee.
To deliver hot water, place a container under the cappuccino maker (A18). Turn the steam/hot water dial (A21) to the "I" position. To stop delivery, turn the dial back to "0".
The machine allows customization of various settings:
Regular cleaning and maintenance are crucial for the machine's performance and hygiene.
The machine will indicate when descaling is necessary by flashing the descaling light. It is important to use De'Longhi descaler (C3) only and follow the instructions carefully.
| Type | Automatic Coffee Machine |
|---|---|
| Pump Pressure | 15 bar |
| Number of Coffee Strengths | 5 |
| Adjustable Coffee Strength | Yes |
| Adjustable Coffee Quantity | Yes |
| Adjustable Water Hardness | Yes |
| Hot Water Function | Yes |
| Programmable | Yes |
| Automatic Cleaning | Yes |
| Automatic Descaling | Yes |
| Cup Warmer | Yes |
| Removable Drip Tray | Yes |
| Power | 1450 W |
| Voltage | 220-240 V |
| Frequency | 50-60 Hz |
| Color | Black |
| Coffee Type | Coffee |
| Water Tank Capacity | 1.8 liters |
| Used Grains Container Capacity | 14 servings |
| Milk Frother | Yes |
| Features | Energy saving function |