28
Plug the AC cord of the oven on a wall socket of 230V~50HZ 10/16A.
CLOCK:
Before the first use and after disconnection power, it is better to update the clock
• Push on the button “Clock/Reset” for more than 3 seconds, the clock is on “00:00” e emits a long
sound signal.
• The 2 dots of the display flick, which indicates that you are on the clock.
• Turn the “- Time +” knob to update minutes.
• Push again the “Clock/Reset” button to confirm.
Flickering of the 2 dots indicates that you are on a clock operation mode and not on cooking mode.
10 seconds after the end of cooking time, the display automatically back to clock mode.
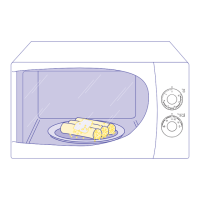
SELECTION OF COOKING TIME:
Use “- Time +” knob to select the cooking time.
A rotation from right to left increase selected tim and the opposite reduces it.
From “00:00” to “05:00” minutes, the increment is 10 seconds.
After “05:00”, is the increment is 1 minute.
Timer is up to 30 minutes.
SELECTION OF POWER:
The standard power level is the maximum level. For a fast operation it is better to select only time with
the “- Time +” knob and launch cooking with the “Stop/Start ” button. You can also adjust the power
level by pushing the “Power Level” button. Each push reduces cooking power level, until the lowest
level (indicated by the left icon on the display). If you continue to push, you progressively go back to
the highest levels. At the end of cooking, the oven automatically resets the highest levels. At the end
of cooking, the oven automatically resets the highest power level.
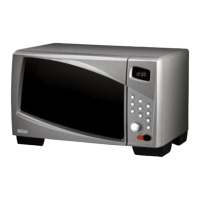
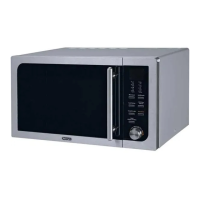
HOW TO USE THE CONTROL PANEL
 Loading...