Do you have a question about the DeLonghi Pinguino PAC AN112 SILENT and is the answer not in the manual?
| Noise level | 63 dB |
|---|---|
| LED indicators | Yes |
| Number of speeds | 3 |
| Airflow (low speed) | 250 m³/h |
| Airflow (high speed) | 350 m³/h |
| Refrigerating medium | R290 |
| Airflow (medium speed) | 310 m³/h |
| Cooling capacity (max) | 11000 BTU/h |
| Dehumidifying capacity | 41 l/h |
| Air conditioner functions | Cooling, Dehumidifying, Ventilating |
| Suitable for room volume up to | 110 m³ |
| Cooling capacity in watts (max) | 2900 W |
| Cooling energy efficiency (EER, W/W) | 3.1 |
| AC input voltage | 220-240 V |
| AC input frequency | 50 Hz |
| Energy efficiency class (cooling) | A+ |
| Annual energy consumption (cooling) | - kWh |
| Hourly energy consumption (cooling) | 0.9 kWh |
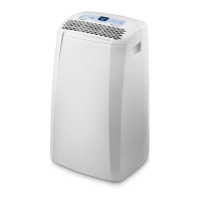
| Display type | LCD |
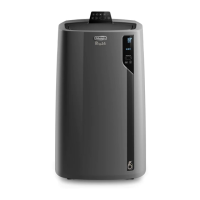
| Product color | White |
| Depth | 395 mm |
|---|---|
| Width | 449 mm |
| Height | 750 mm |
| Weight | 30000 g |
Indicates potential for electrical shock, serious injury, burns, fire, or damage.
Highlights potential for injury or damage to the appliance.
Draws attention to advice and important information for the user.
Consult authorized service centers for repairs and request original parts.
Use according to manual; apply common sense during installation, operation, and storage.
Usable by 8+ years with supervision; children shall not play with it.
Follow safety instructions; avoid modifications and extension cords.
Conditions are indicated in the documentation provided with your appliance.
Details power supply, max absorbed power, refrigerant, cooling capacity, and operating temperature.
Must be taken to an authorized waste separation and recycling center.
Check mains voltage, socket sizing, and efficient earthing system.
Complies with EC regulations; avoid puncturing the refrigerant circuit.
Requires area > 13m², avoid ignition sources, and no puncturing.
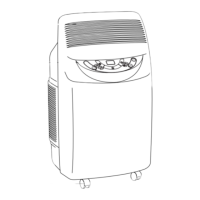
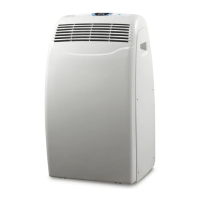
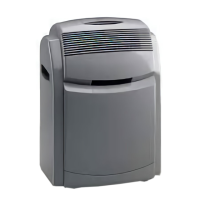
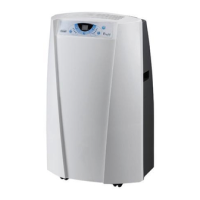
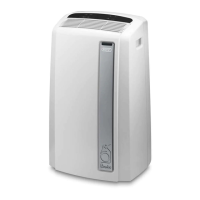
Lists main parts including air outlet, control panel, handles, and filters.
Steps for setting up the air conditioner without permanent installation.
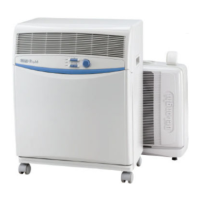
Connect hose adapter to exhaust hose and appliance housing.
Fit crosspiece grille to crosspiece and attach with screws.
Apply window outlet to exhaust hose for French doors.
Drill a 134mm hole in wall or glass, attach flange and hose.
Limit length and curves of the air hose to avoid obstruction.
Identifies buttons C1-C8 and symbols C9-C20 on the control panel.
Control panel keys are backlit; the panel dims after inactivity.
Plug in, touch ON/STAND-BY, and unplug after turning off.
Regulates humidity and temperature for optimal comfort.
Set temperature and fan speed for cooling and dehumidifying.
Reduces the appliance's noise level in air conditioner mode.
Reduces room humidity; requires the air exhaust hose.
Circulates air without cooling; no exhaust hose needed.
Change temperature unit between Celsius (°C) and Fahrenheit (°F).
Allows delayed start up or shut down of the appliance.
Identifies the buttons D1-D8 on the remote control.
Insert LR03 AAA batteries and dispose of used batteries responsibly.
Aim remote at receiver (max 5m); use to control all functions.
Appliance has self-diagnosis for errors like LE, PF, HL.
Indicates antifreeze; defrosting device activates automatically.
Probe is damaged; consult the nearest authorized service center.
Inner safety tray is full; empty via End of Season Operations.
Close windows/doors, shutters; avoid covering appliance.
Use a damp cloth and dry; avoid gasoline, alcohol, solvents, or water.
Clean the dust filter weekly by vacuuming or washing in warm water.
Verify power cable, socket condition, and earthing system efficiency.
Drain water from the internal circuit before storing the appliance.
Check plug connection, power supply, and internal protection device.
Ensure air exhaust hose is not obstructed or bent.
Check heat sources, hose connection, filters, and room suitability.
Clean or replace dust filters as they may be clogged.
Wait for the internal device's 3-minute delay for compressor restart.
Refer to the SELF-DIAGNOSIS chapter for resolution steps.