Stretto
4
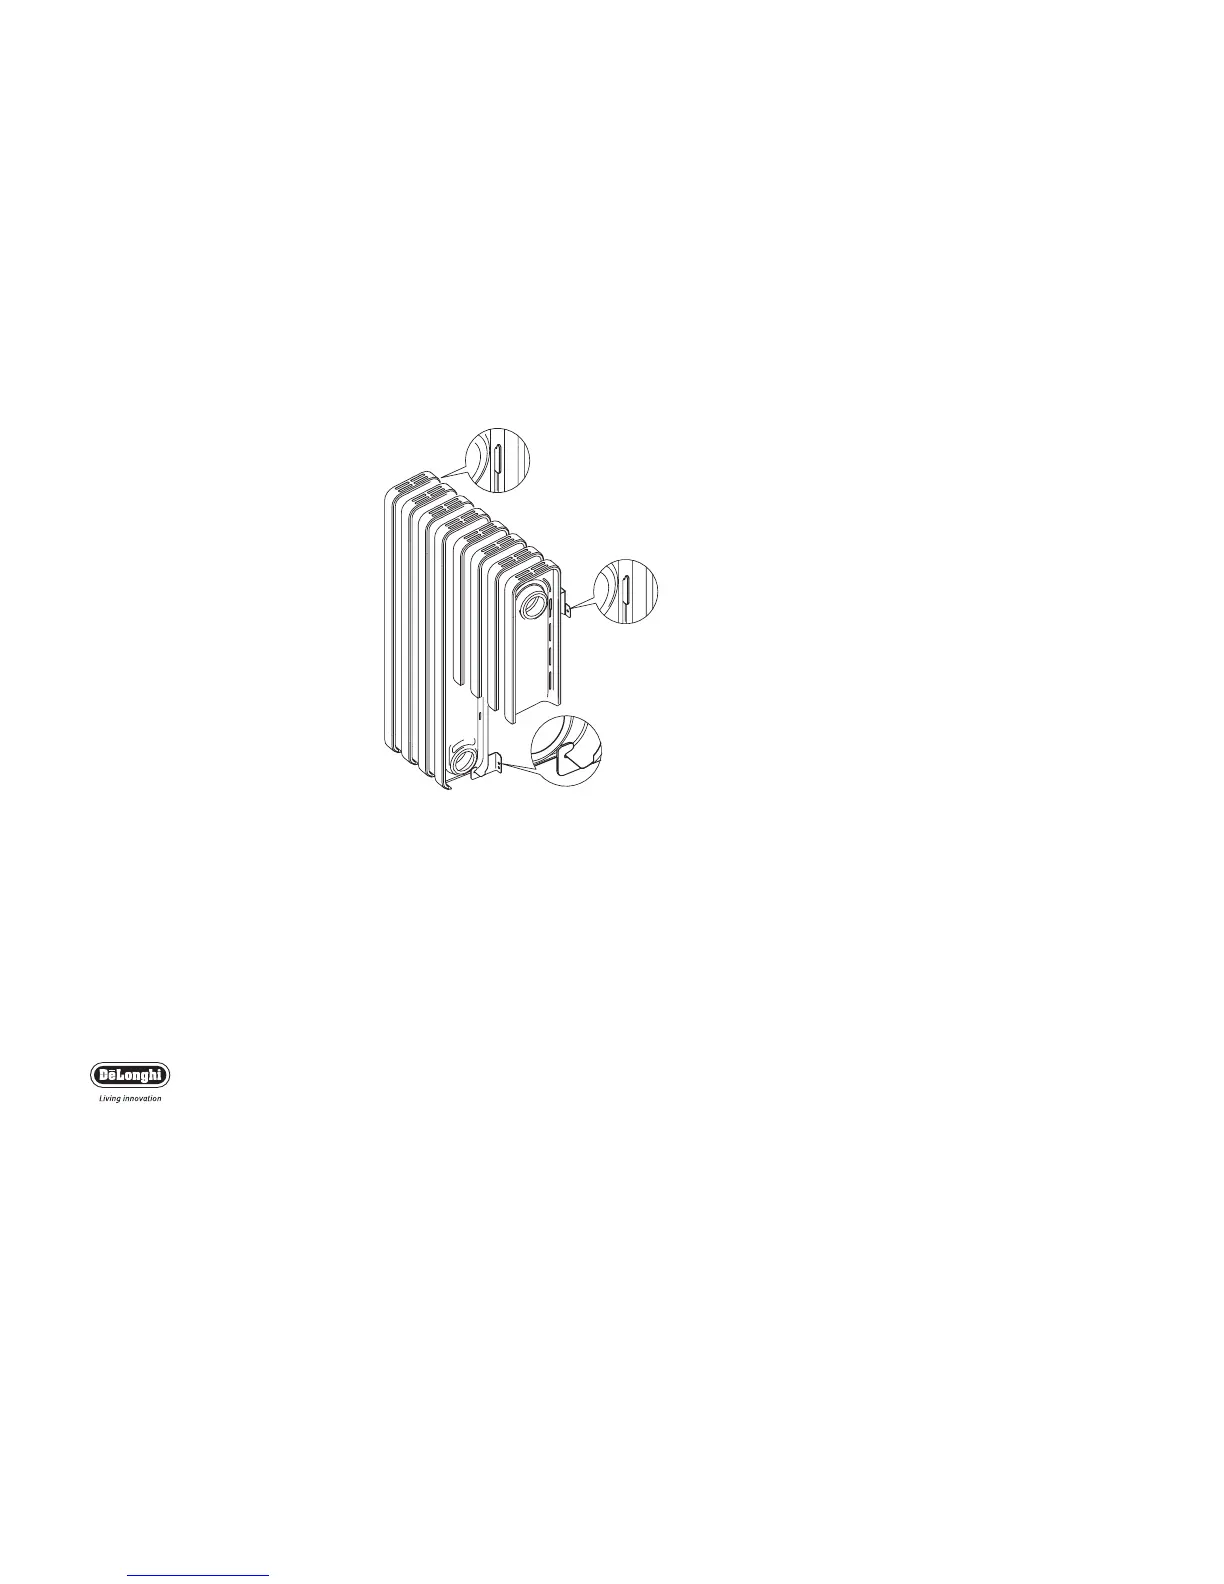
5. Fix the brackets “A” onto the wall.Then hang the radiator (fig.5).
To make it easier to locate brackets “A” into their respective slots (in
the rear of the radiator),we suggest that you mark a pencil line on the
back of the radiator adjacent to the top and bottom of each slot, so
that you can see more easily the slots position.
Once the brackets are located alongside the slots, move the radiator to
the side to engage in the slots and hang the radiator on the brackets.
6. Mark the position for fixing the lower brackets “B” to the wall.
This bracket when fixed retains the base of the radiator prevent-
ing removal.
7. Fit the radiator to the 2 brackets “A” (fig. 5). Insert bracket “B”
in the middle of the radiator base as shown in figure 5.
Fix the bracket “B” to the pre-drilled hole.
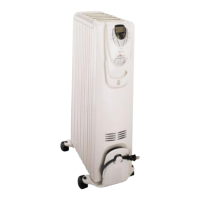
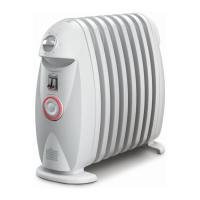
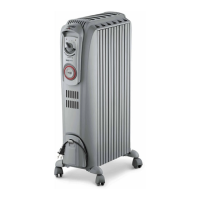
Yo ur radiator is now wall mounted.
Do not use your heater in a bathroom.
Electrical connection
- Before plugging the appliance into the mains, check that your supply
voltage is the same as that shown on the rating plate of the appliance.
- If using more than one appliance at a time, it is important to
ensure that the ring main is adequate to cope with the power
requirements.
- It is important to ensure that the socket is adequately earthed.
- This appliance complies with EEC directive 89/336 regarding
electromagnetic compatibility.