r
Automatic Transmission
G:09:09
3. Fit the pinion gear assembly
in
the half-case
along with the differential carrier assembly.
Notice:
The carrier must be installed first and then the
pinion gear is placed in the case.
4.
Apply specified sealing compound to the half-
case mating surfaces and assemble the cases.
Torque tighten the case bolts in the proper
sequence. Fig. 79
Notice:
Apply specified sealing compound on the 10
diameter case bolts.
mm
5
Install Tool J28868 and torque tighten the
pinion shaft nut (see torque
specifications)
Lock the nut to the shaft by
peening
the end of the
nut. Remove the pinion gear locking
tool.
6. Fit the planetary gear carrier adjustment shims
m
the final drive case.
Notice:
Use the same shims that were removed
if
the
planetary gear carrier was not disassembled for
repair. If the carrier was repaired, use the shims
that were specified in the adjustment procedure in
the COMPONENT REPAIR section.
Install the bearing race using a brass drift. Ensure
that the race is fully seated in the case.
7.
Fit
a new gasket and install the planetary gear
carrier assembly in the case. Torque tighten
the mounting bolts (see torque specifications).
8. Perform the ring/pinion gear backlash adjust-
ment as follows:
Notice:
When performing the following adjustment,
the differential adjusting nuts must be adjusted
equally to maintain the proper carrier bearing
pre-load.
a. Remove excessive backlash between the
ring and pinion gears by loosening the
adjusting nut on the carrier bearing
opposite the ring gear, and tighten the
other adjusting nut an equal amount. Use
Tool J28866 to turn the adjusting nuts.
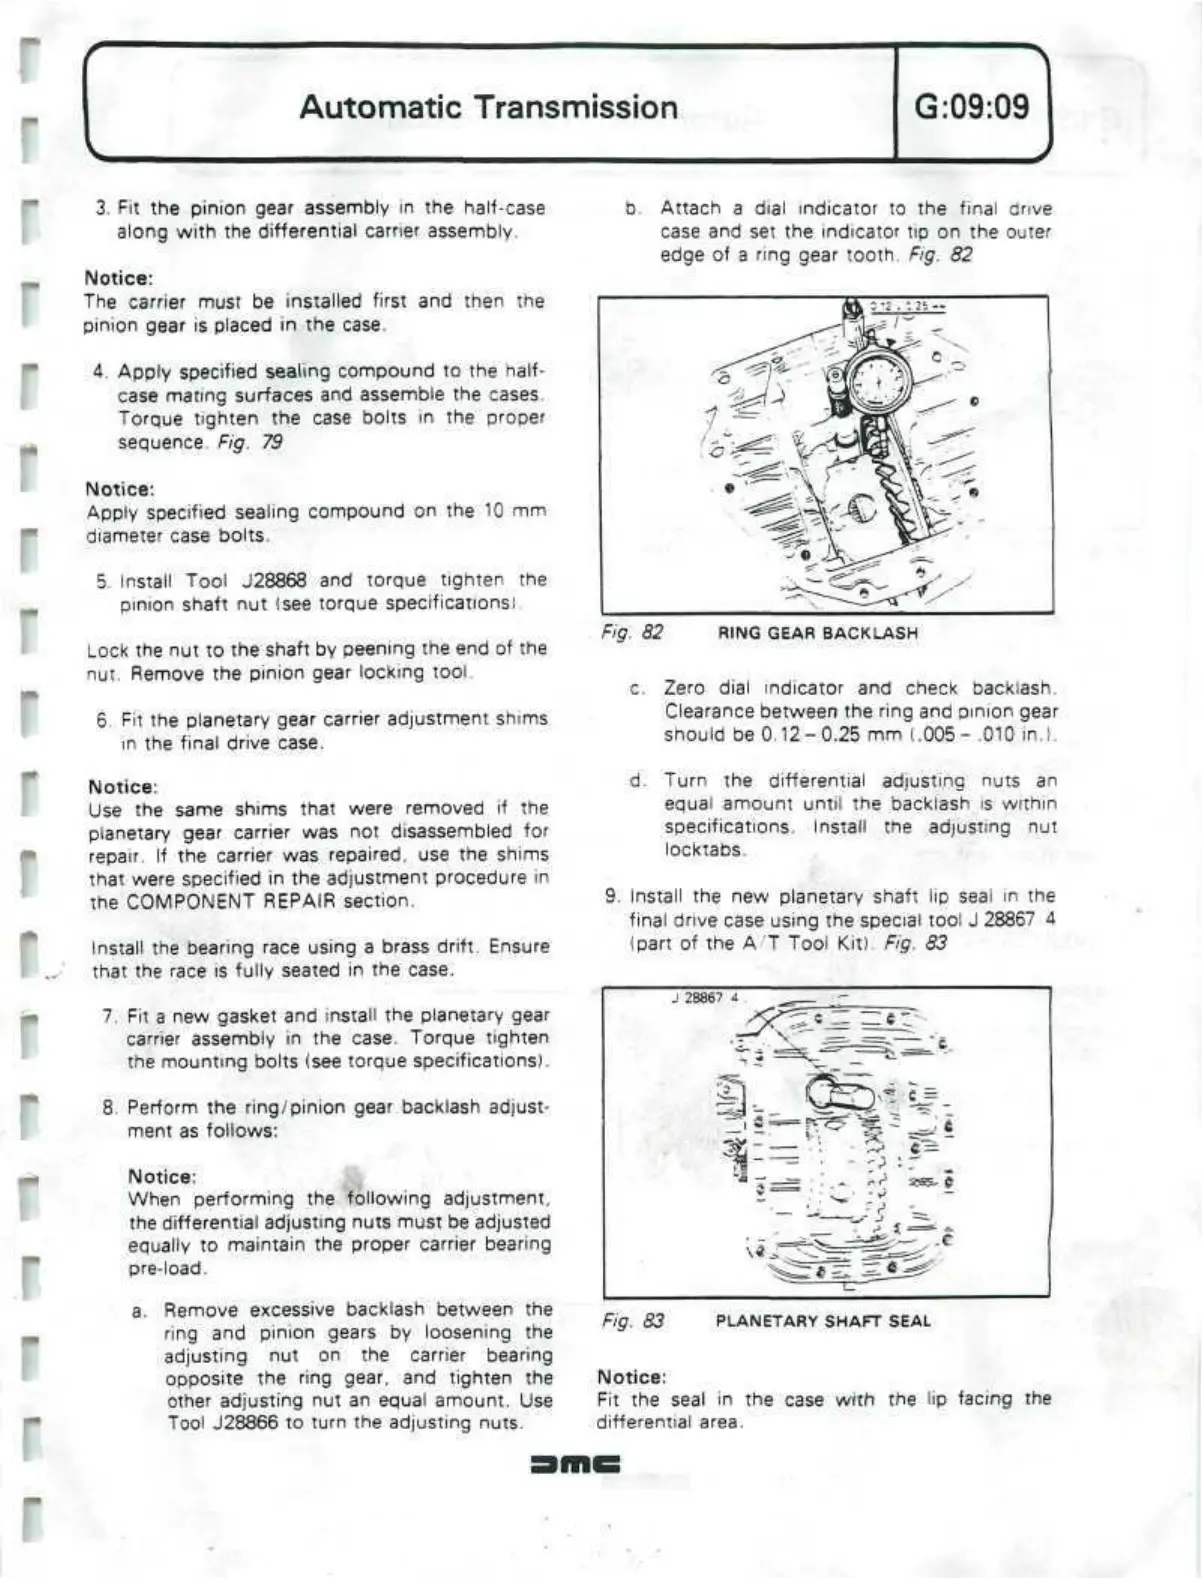
Attach a dial indicator to the final drive
case and set the indicator tip on the outer
edge of a
ring
gear tooth. Fig. 82
Fig. 82
RING GEAR BACKLASH
c. Zero dial indicator and check backlash.
Clearance between the ring and pinion gear
should be 0.12-0.25 mm (.005- .010 in.).
d.
Turn the differential adjusting nuts an
equal amount until the backlash
is
within
specifications. Install the adjusting nut
locktabs.
9. Install the new planetary shaft
lip
seal in the
final drive case using the special tool J 28867 4
(part of the
AT
Tool Kit). Fig. 83
J 28867 4
-*^5i
Fig. 83
PLANETARY SHAFT SEAL
Notice:
Fit the seal in the case with the lip facing the
differential area.
 Loading...
