J
\
r
-
Due to the material used in the construction of the
body unit, cases of severe damage can be
economically repaired. When determining which
replacement mouldings are required, make sure
the new sections will be attached to firm G.R.P.
material,
avoid badly grazed and badly burnt areas.
Fire damage is the most difficult to assess but
generally only the obviously burnt or charred
sections will need to be replaced.
Before cutting away the damaged parts or ordering
replacement sections the method of repair,
positioning of joint lines, overlaps, should be
clearly defined and understood.
BODY REPAIRS REQUIRE SPECIALISED
KNOWLEDGE OF G.R.P. TECHNIQUES AND ON
NO ACCOUNT SHOULD ANY REPAIR WORK BE
CARRIED OUT BY AN INEXPERIENCED
OPERATOR.
METHOD
1.
Cut off the damaged portion after marking for
re-positioning of the new section.
2.
Clean and prepare both existing and new
section paying special attention to removal of
all contamination.
3. Check, and if necessary, cut the new section to
fit. Abraid the interior surface of the two parts
to be joined up to 90 mm from the joint line,
using a sander with a 50 grit disc or use the 50
grit by hand. Remove all surface shine to
provide a key for the repair.
4.
Mate the two parts to be joined using packing
as necessary to achieve a perfect match.
Joining plates (of angled section) should be
attached (as required) to the exterior of the
panel across the joint to hold the join together
with the aid of self tapping screws.
5. Wash abraided surfaces with acetone or
methylene chloride. Using chopped strand
glass fibre mat of
1 %
sq. ft. (450 g/m
2
) weight
together with
pre-accelerated
hand lay up
polyester resin containing approximately 2% of
Trigonox 51 Akzo
Chemie
(Acetyl Acetone
Peroxide-Catalyst) lay up 3 layers of the glass
mat
wevon-wet
to the abraided interior joint.
6. Stagger the three layers to overlap each side
of the joint by 35 mm, 55 mm, 75 mm, respect-
ively. Do not stray onto any unprepared areas.
7. Leave to cure (harden) in a temperature of not
less than 15°C. When the repair has fully cured
remove the joining plates from the exterior
surface. Make good the exterior joint by filling
with a Polyester body filler and add up to
5% black pigment. Allow to cure, sand down
with carborundum paper to the original
contour.
8. Where foam sections have been cut through
the following technique should be used when
bonding together:
—
9. Before mating sections cut existing G.R.P.
away to expose 100 mm of foam nearest the
joint line. Completely remove exposed foam to
reveal the inside surface of the G.R.P. to be
bonded.
Abraid this surface. The sections may
now be mated and bonded together as
described above. After bonding the foam is
then replaced by free foaming in situ in the box
formed by the repair using a Polyurethane Two
Part Hand Mixed foam. When the foam has
hardened cut back excess to original contour.
10.
Laminate exposed foam with three layers of
chopped strand mat and lap onto surrounding
G.R.P. Prepare and laminate as described
above.
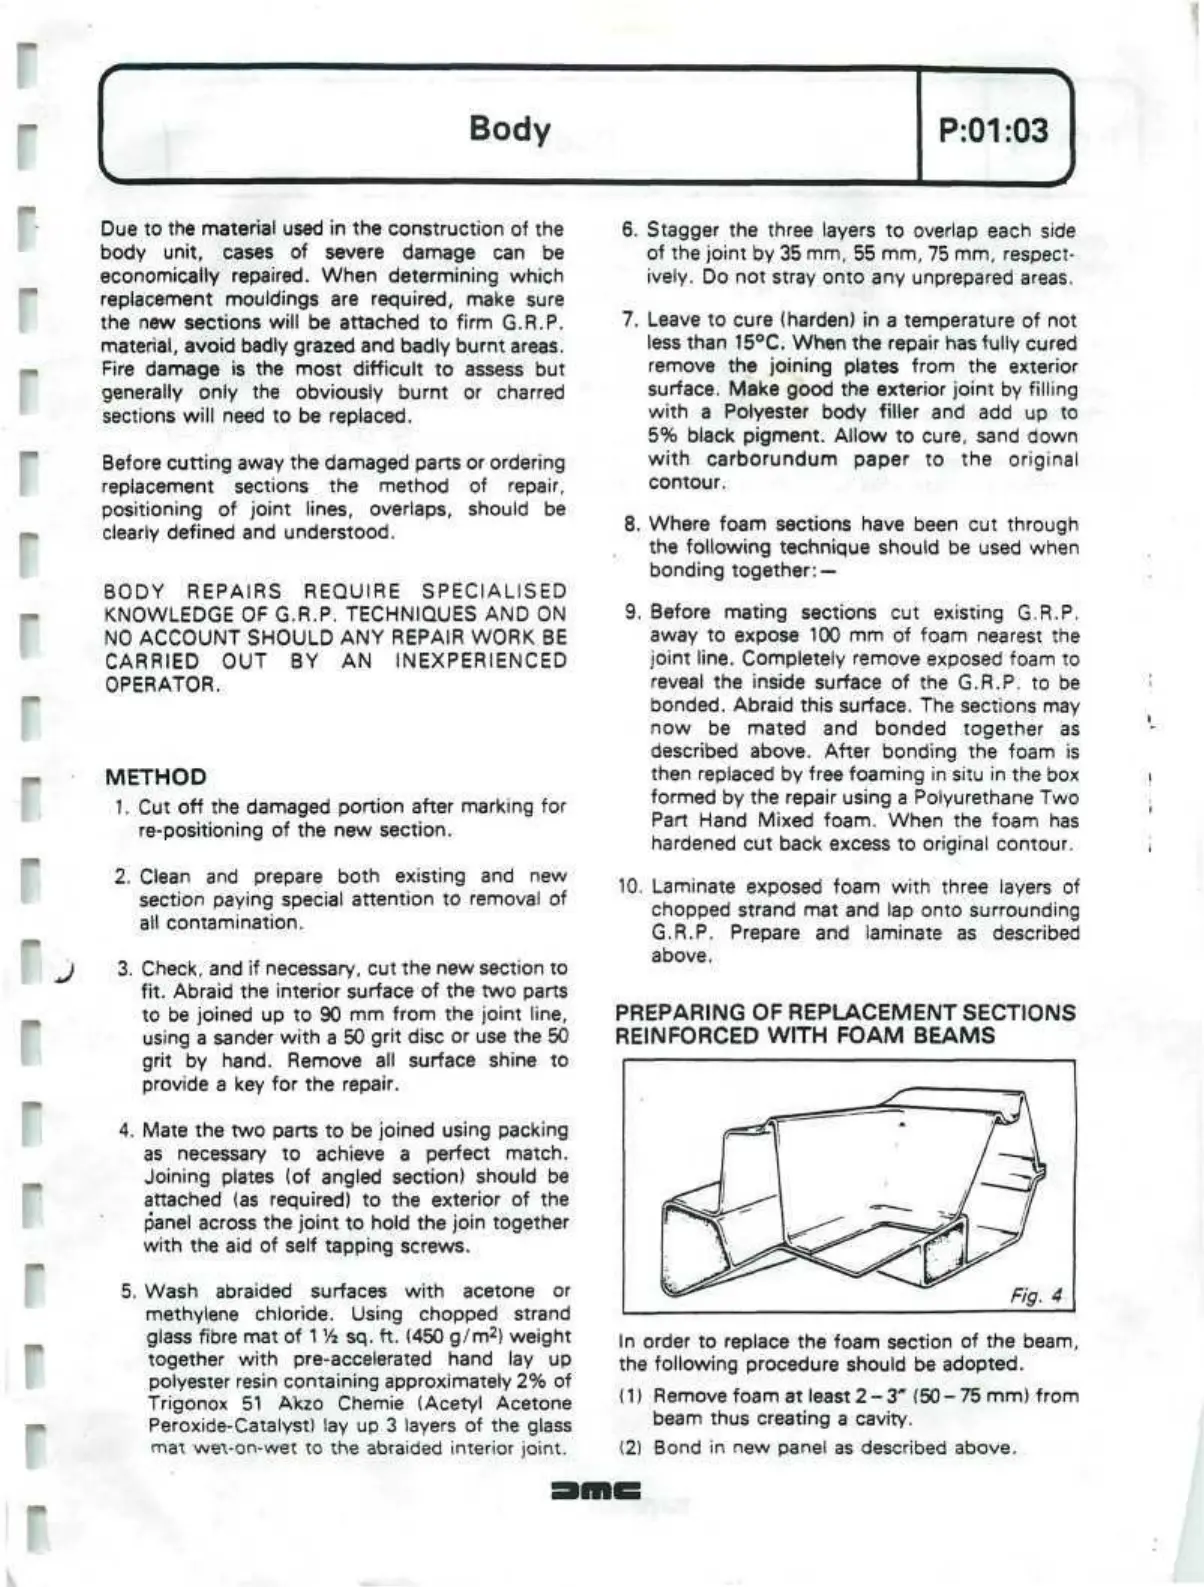
PREPARING OF REPLACEMENT SECTIONS
REINFORCED WITH FOAM BEAMS
In
order to replace the foam section of the beam,
the following procedure should be adopted.
(1) Remove foam at least
2-3"
(50-75 mm) from
beam thus creating a cavity.
(2) Bond in new panel as described above.
 Loading...
