Body
—
Interior
P:03:03
j
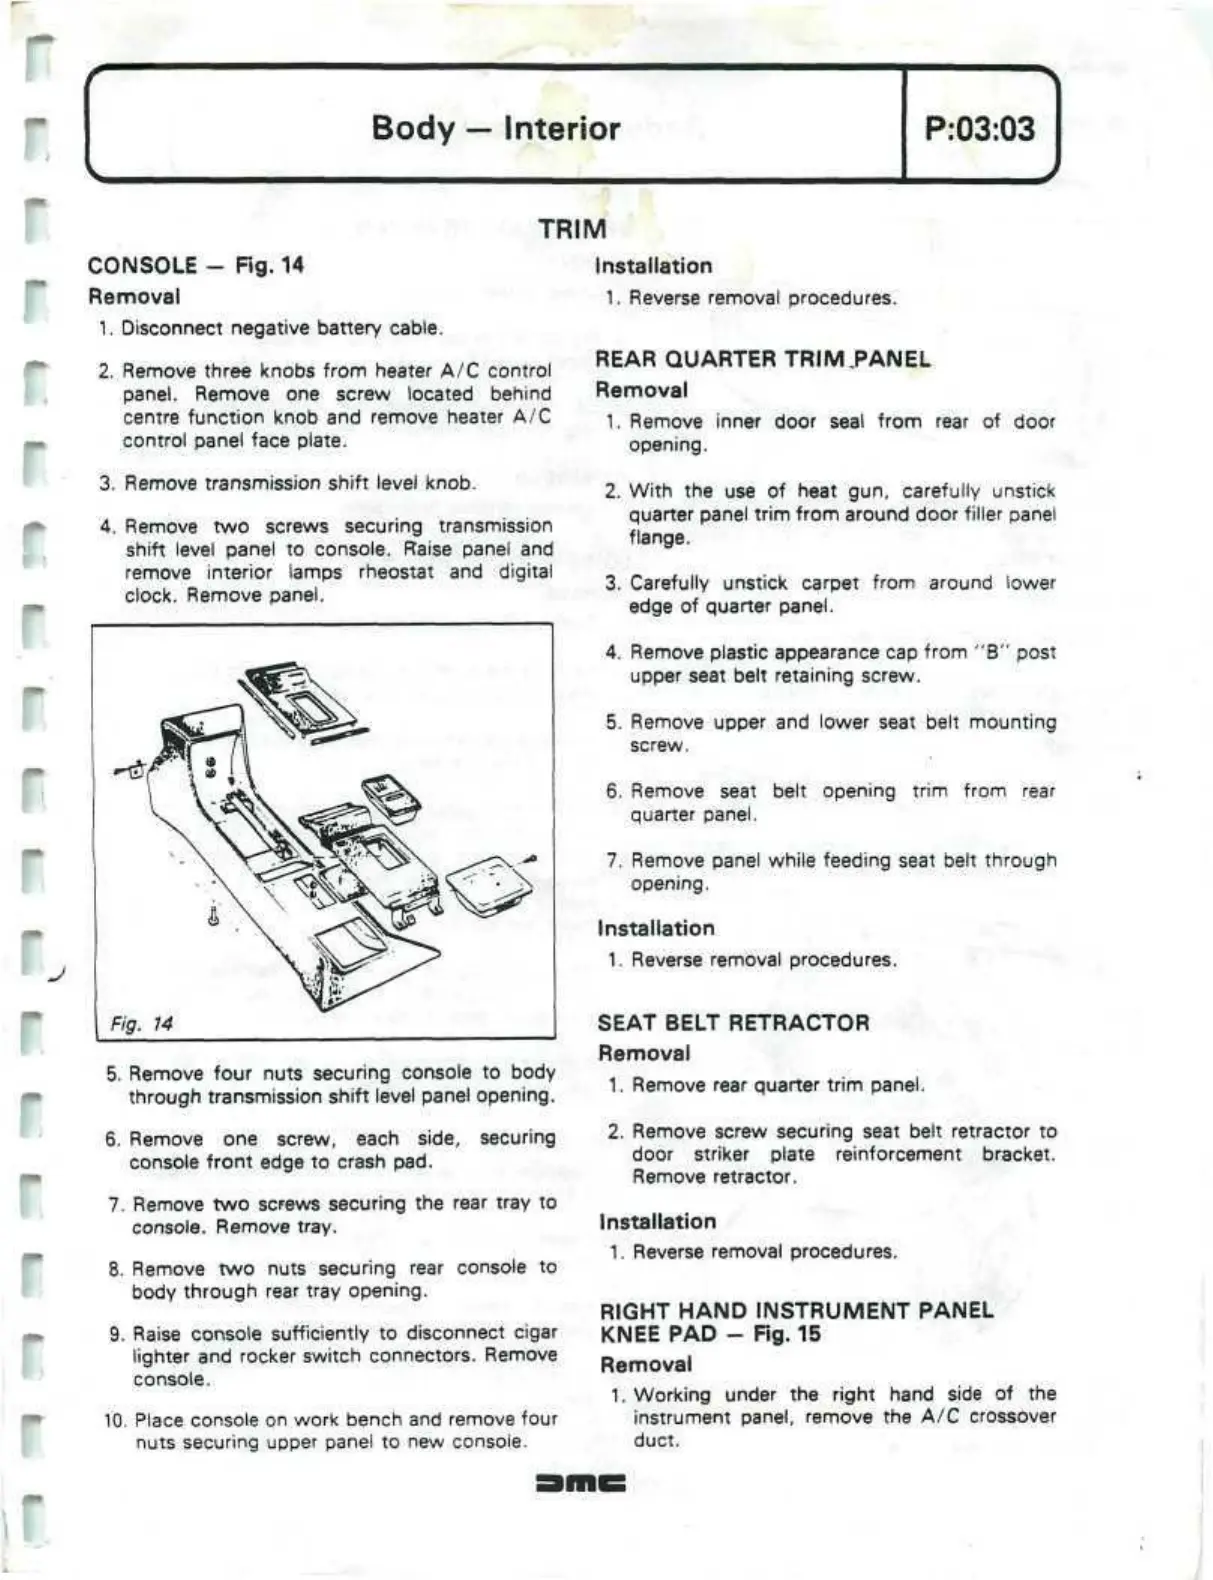
CONSOLE -
Fig.
14
Removal
1.
Disconnect negative battery cable.
TRIM
Installation
1.
Reverse removal procedures.
2.
Remove three knobs from heater A/C control
panel.
Remove one screw located behind
centre function knob and remove heater A/C
control panel face plate.
3. Remove transmission shift level knob.
4.
Remove two screws securing transmission
shift level panel to console. Raise panel and
remove interior lamps rheostat and digital
clock. Remove panel.
5. Remove four nuts securing console to body
through transmission shift level panel opening.
6. Remove one screw, each side, securing
console front edge to crash pad.
7. Remove two screws securing the rear tray to
console. Remove tray.
8. Remove two nuts securing rear console to
body through rear tray opening.
9. Raise console sufficiently to disconnect cigar
lighter and rocker switch connectors. Remove
console.
10.
Place console on work bench and remove four
nuts securing upper panel to new console.
REAR QUARTER
TRIM.PANEL
Removal
1.
Remove inner door seal from rear of door
opening.
2.
With the use of heat gun, carefully unstick
quarter panel trim from around door filler panel
flange.
3. Carefully unstick carpet from around lower
edge of quarter panel.
4.
Remove plastic appearance cap from "B" post
upper seat belt retaining screw.
5. Remove upper and lower seat belt mounting
screw.
6. Remove seat belt opening trim from rear
quarter panel.
7. Remove panel while feeding seat belt through
opening.
Installation
1.
Reverse removal procedures.
SEAT BELT RETRACTOR
Removal
1.
Remove rear quarter trim panel.
2.
Remove screw securing seat belt retractor to
door striker plate reinforcement bracket.
Remove retractor.
Installation
1.
Reverse removal procedures.
RIGHT HAND INSTRUMENT PANEL
KNEE PAD - Fig. 15
Removal
1.
Working under the right hand side of the
instrument panel, remove the A/C crossover
duct.
 Loading...
