Do you have a question about the Delta Children Minnie Mouse Playhouse and is the answer not in the manual?
| Product Type | Playhouse |
|---|---|
| Character | Minnie Mouse |
| Recommended Use | Indoor/Outdoor Play |
| Material | Plastic |
| Brand | Delta Children |
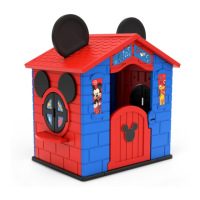
| Product Name | Delta Children Minnie Mouse Playhouse |
| Category | Play Sets & Playground Equipment |
| Color | Pink |
| Age Range | 2 to 5 years |
Specifies that a Phillips screwdriver is necessary for assembly.
Attaches parts N and O to part C using six screws.
Slides part B into part A at an angle and swings down to rest.
Slides part A into two part B's and swings down to rest.
Places part C into part A and swings up to rest.
Places parts E & D into part C and slides down to snap into place.
Places part C into part A and swings up to rest.
Slides both part F's into part D & E.
Places part G into parts F, D, and E and slides down.
Places part H into parts F, E, and D and slides down.
Screws BB into the underside of parts G & H.
Presses down on corners to ensure side panels are snapped in.
Places top of part J into part E and slides bottom into part B.
Places top of part J into part E and slides bottom into part B.
Snaps both part K's into both part C's.
Wedges both part L's into parts C and E.
Snaps both 'Minnie Ears' into parts G & H.
Ensures screws BB are installed on the underside of the roof.