EasyManua.ls Logo

Delta 2551-DST Series User Manual

Delta 2551-DST Series
12 pages
To Next Page IconTo Next Page
Page #1 background imageLoading...
Page #1 background image
90875 Rev. B
1
Para instalación fácil de su llave
Delta usted necesitará:
LEER TODAS las instrucciones
completamente antes de empezar.
LEER TODOS los avisos, cuidados,
e información de mantenimiento.
For easy installation of your
Delta faucet you will need:
• To READ ALL the instructions completely
before beginning.
To READ ALL warnings, care, and
maintenance information.
You may need/Usted puede necesitar/Articles dont vous pouvez avoir besoin:
SILICONE
T
E
F
L
O
N
Icons
Pour installer votre robinet
Delta facilement, vous devez:
LIRE TOUTES les instructions avant
de débuter;
LIRE TOUS les avertissements ainsi que
toutes les instructions de nettoyage et
d’entretien;
7/7/16 Rev. B
90875
TWO HANDLE LAVATORY
CENTERSET FAUCETS
LLAVES DE DOS MANIJAS DE MONTURA
DE CENTRO PARA LAVAMANOS
ROBINETS À ENTRAXE COURT À
DEUX POIGNÉES
SILICONE
T
E
F
L
O
N
Icons
SILICONE
T
E
F
L
O
N
Icons
www.deltafaucet.com
Write purchased model number here.
Escriba aquí el número del modelo comprado.
Inscrivez le numéro de modèle ici.
Models/Modelos/Modèles
2538-DST, 2551-DST, 2552-DST,
2555-DST, 2564-DST, 2592-DST,
2593-DST & 2594-DST
Series/Series/Seria
Question and Answer IconNeed help?

Do you have a question about the Delta 2551-DST Series and is the answer not in the manual?

Delta 2551-DST Series Specifications

General IconGeneral
BrandDelta
Model2551-DST Series
CategoryKitchen & Bath Fixtures
Product TypeKitchen Faucet
StyleTraditional
Number of Holes Required3
Handle StyleLever
Installation TypeDeck Mount
FinishChrome
ADA CompliantYes
Valve TypeDiamond Seal Technology
WarrantyLimited Lifetime Warranty
Flow Rate1.8 GPM

Summary

Standard Connections

Standard Connection Details

Instructions for standard fittings, tubing, and connections.

Custom Fit Connections

Custom Fit Connection Guidance

Information on using PEX tubing and custom fit sleeves.

Plastic Sleeve Installation

Instructions for correctly installing plastic sleeves for PEX tubing.

Metal Pop-up Assembly Installation

Remove Metal Pop-up Components

Steps for removing the stopper, flange, and tailpiece.

Install Metal Pop-up Body and Flange

Guidance on installing the body, flange, and related parts.

Assemble and Connect Metal Pop-up

Instructions for assembling and connecting the pop-up mechanism to the drain.

Metal Flange Plastic Tail Piece Pop-Up

Prepare Pop-Up Components

Steps for removing and preparing the metal flange and plastic tail piece.

Install and Secure Pop-Up

Instructions for installing and securing this specific pop-up assembly.

Plastic Pop-Up Assembly Installation

Remove Plastic Pop-Up Parts

Steps for removing the stopper, flange, nut, and gasket.

Install Plastic Pop-Up Components

Guidance on installing the plastic flange, body, pivot, and lift rod.

Connect Lift Rod to Drain

Steps for connecting the lift rod assembly to the drain.

Final Installation Steps

Flush Water Lines and Reinstall Aerator

Instructions for flushing water lines and reinstalling the aerator.

Check Connections for Leaks

Guidance on inspecting all connections for leaks and re-tightening if necessary.

Maintenance and Troubleshooting

Addressing Low Water Flow

Troubleshooting steps for faucets with very low water flow.

Resolving Handle Leaks

Instructions for addressing leaks originating from under the faucet handle.

Fixing Spout Outlet Leaks

Guidance on how to fix leaks from the faucet spout outlet.

Cleaning and Care Instructions

Faucet Finish Cleaning

Recommendations for cleaning the faucet finish without damage.

Limited Warranty Information

Warranty Coverage Details

Details of the warranty coverage for faucet parts and finishes.

Electronic Parts and Battery Warranty

Information on the warranty for electronic parts and batteries.

Warranty Claim Procedures

Explanations on how to make claims and limitations of the warranty.
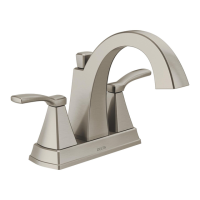
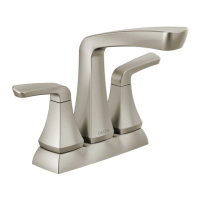
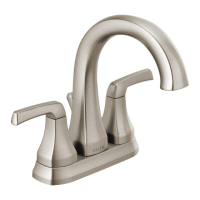
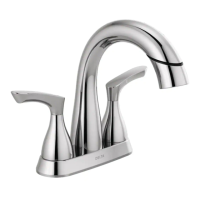
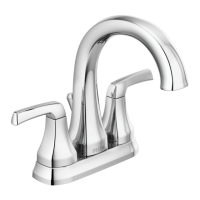
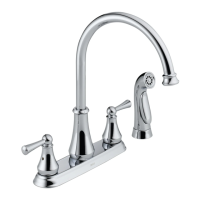
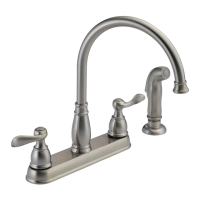
Related product manuals