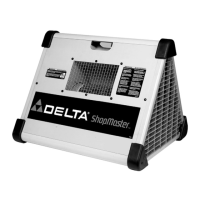
9
FOR YOUR OWN SAFETY, DO NOT CONNECT THE MACHINE TO THE POWER SOURCE UNTIL THE
MACHINE IS COMPLETELY ASSEMBLED AND YOU READ AND UNDERSTAND THE ENTIRE INSTRUCTION MANUAL.
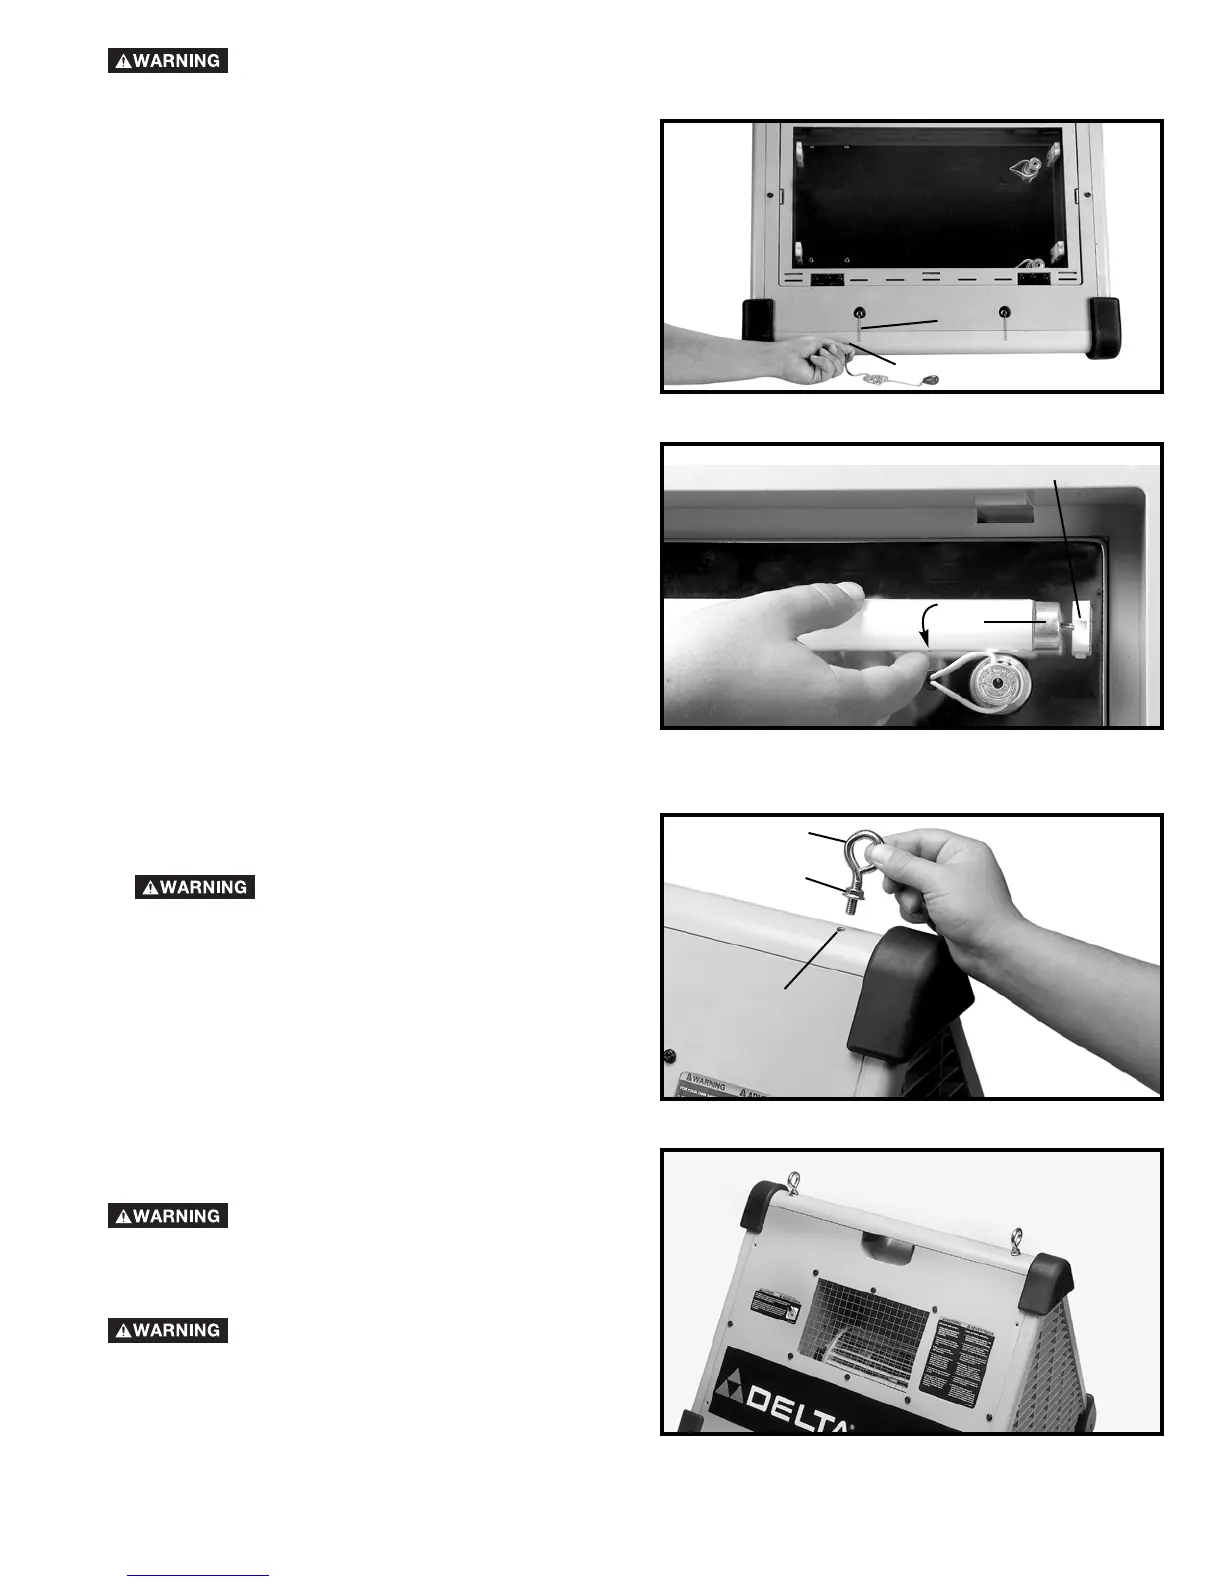
PULL CORDS
1. Insert the cord (A) Fig. 3, into the pull cord catch (B).
2. Repeat this process for the remaining pull cord.
Fig. 3
FLUORESCENT BULBS (NOT INCLUDED)
IMPORTANT: THIS MACHINE USES STANDARD
18"x1", 15 WATT, FLUORESCENT LIGHT BULBS.
1. Insert one end of the bulb (A) Fig. 4, through slot (B),
repeat this for the other end of the bulb.
2. Once both ends of the bulb are inserted into the slot,
twist bulb 1/4 of a turn to lock in place.
3. Repeat this process for the remaining bulb.
Fig. 4
B
A
A
B
1. Thread a 5/16-18 flange nut (B) Fig. 5, onto a 5/16-
18x1½" eye bolt (C).
2. Thread eye-bolt (C) Fig. 5, into hole (D).
NOTE: THREAD EYE-BOLTS IN AT LEAST EIGHT
COMPLETE TURNS.
3. Tighten the flange nut (B) Fig. 5, against the air
cleaner.
4. Repeat this process for the remaining hole in the top
of the air cleaner as shown in Fig. 6.
Fig. 5
Fig. 6
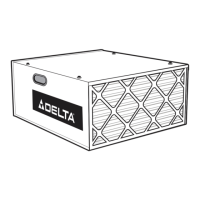
MOUNTING THE AIR CLEANER TO
THE CEILING OR OVERHEAD
SUPPORT
THIS TOOL WEIGHS APPROXIMATELY
40 POUNDS. MAKE CERTAIN THE UNIT IS SECURELY
SUPPORTED WHEN MOUNTING TO A CEILING OR
OVERHEAD SUPPORT.
B
C
D
NEVER SECURE THE AIR CLEANER
HARDWARE TO DRYWALL, DROP CEILING
TILE/FRAME, OR OTHER NON-STRUCTURAL
MEMBERS.