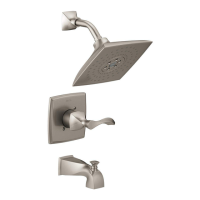
13 / 14 Series Installation
4
Trim Installation
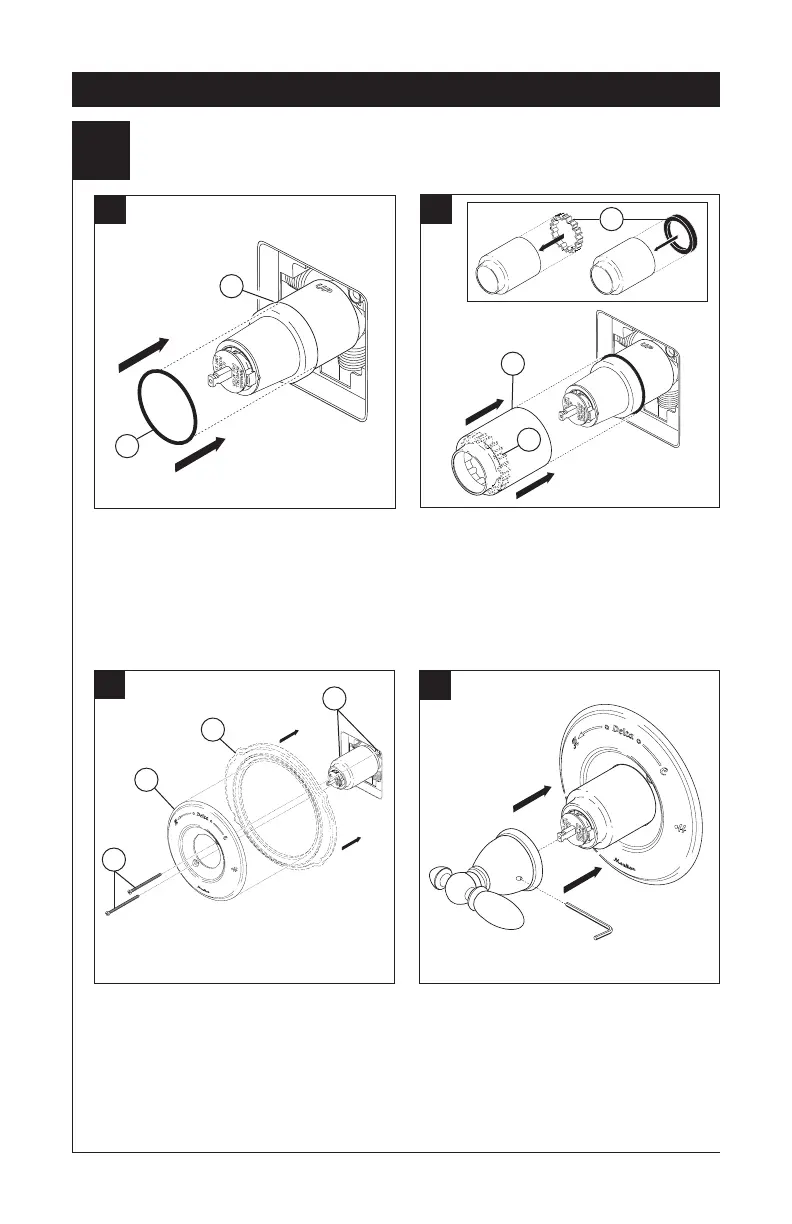
C.
D.
A.
B.
Slide O-ring (1) over cartridge and the
bonnet nut (2). The O-ring, which acts as
a spacer to steady the sleeve, should rest
behind the bonnet nut.
If your model requires a spacer (1), insert
it into the sleeve (2) and push it to the
front. Slide the sleeve over the cartridge,
body and O-ring.
Secure the escutcheon (1) and backplate
(2) (if your model has one) to the bracket
(3) using the 2 screws provided (4). Do not
overtighten escutcheon screws.
Using an Allen wrench to secure the set
screw, install the handle onto the stem.
1
2
1
2
1
1
2
3
4
6

 Loading...