Do you have a question about the Delta T4705 Series and is the answer not in the manual?
Ensure all installation instructions are read and understood before starting.
Thoroughly review all safety warnings, care, and maintenance guidelines.
Ensure the deck and valve rough-in are completed prior to trim kit installation.
Steps for diagnosing and fixing leaks originating from the faucet spout outlet.
Diagnosing and resolving issues when the faucet fails to divert water to the hand shower.
Ensuring deck and valve rough-in are completed before installing the trim kit.
Steps to remove the test cap and install the spout assembly and button.
Instructions for lift rod operation, test cap removal, and hose attachment.
Steps for installing the spout base and connecting the hose to the braided metal hose.
Guidance on installing handles and ensuring correct rotation direction.
Steps to correct handle rotation issues by checking valve orientation.
Flushing the hot and cold water lines to remove debris before attaching the hand piece.
Connecting the hand piece to the hose with the gasket.
| Brand | Delta |
|---|---|
| Category | Plumbing Product |
| Model | T4705 Series |
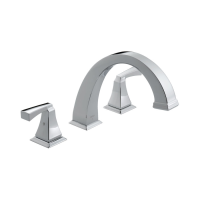
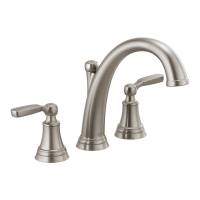
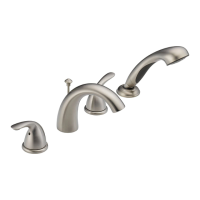
| Type | Roman Tub Faucet Trim |
| Handle Style | Lever |
| Number of Handles | 2 |
| Material | Brass |
| Connection Size | 1/2 inch |
| Valve Type | Ceramic Valve |