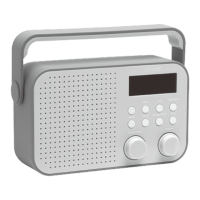
GETTING STARTED
DAB/FM AERIAL
Before using your radio for DAB or FM reception, always fully extend the telescopic aerial.
The telescopic aerial has a swivel base to enable it to be adjusted to different positions for
the clearest sound.
CONNECTING POWER
Before connecting the power, check that the mains voltage on the rating plate of the AC
adapter is the same as the voltage in your area.
• Connect the small plug into the DC-ln jack on the back of the unit.
• Plug the AC adapter into the wall socket and switch the mains power on.
The unit is now ready for use.
NOTE: - The AC adapter may become warm during operation - this is normal.
SETTING THE CLOCK
The clock on your radio is automatically set when first used from the time signal broadcast
with DAB radio stations.
If a DAB station is not available, the clock may be set manually via the MENU system.
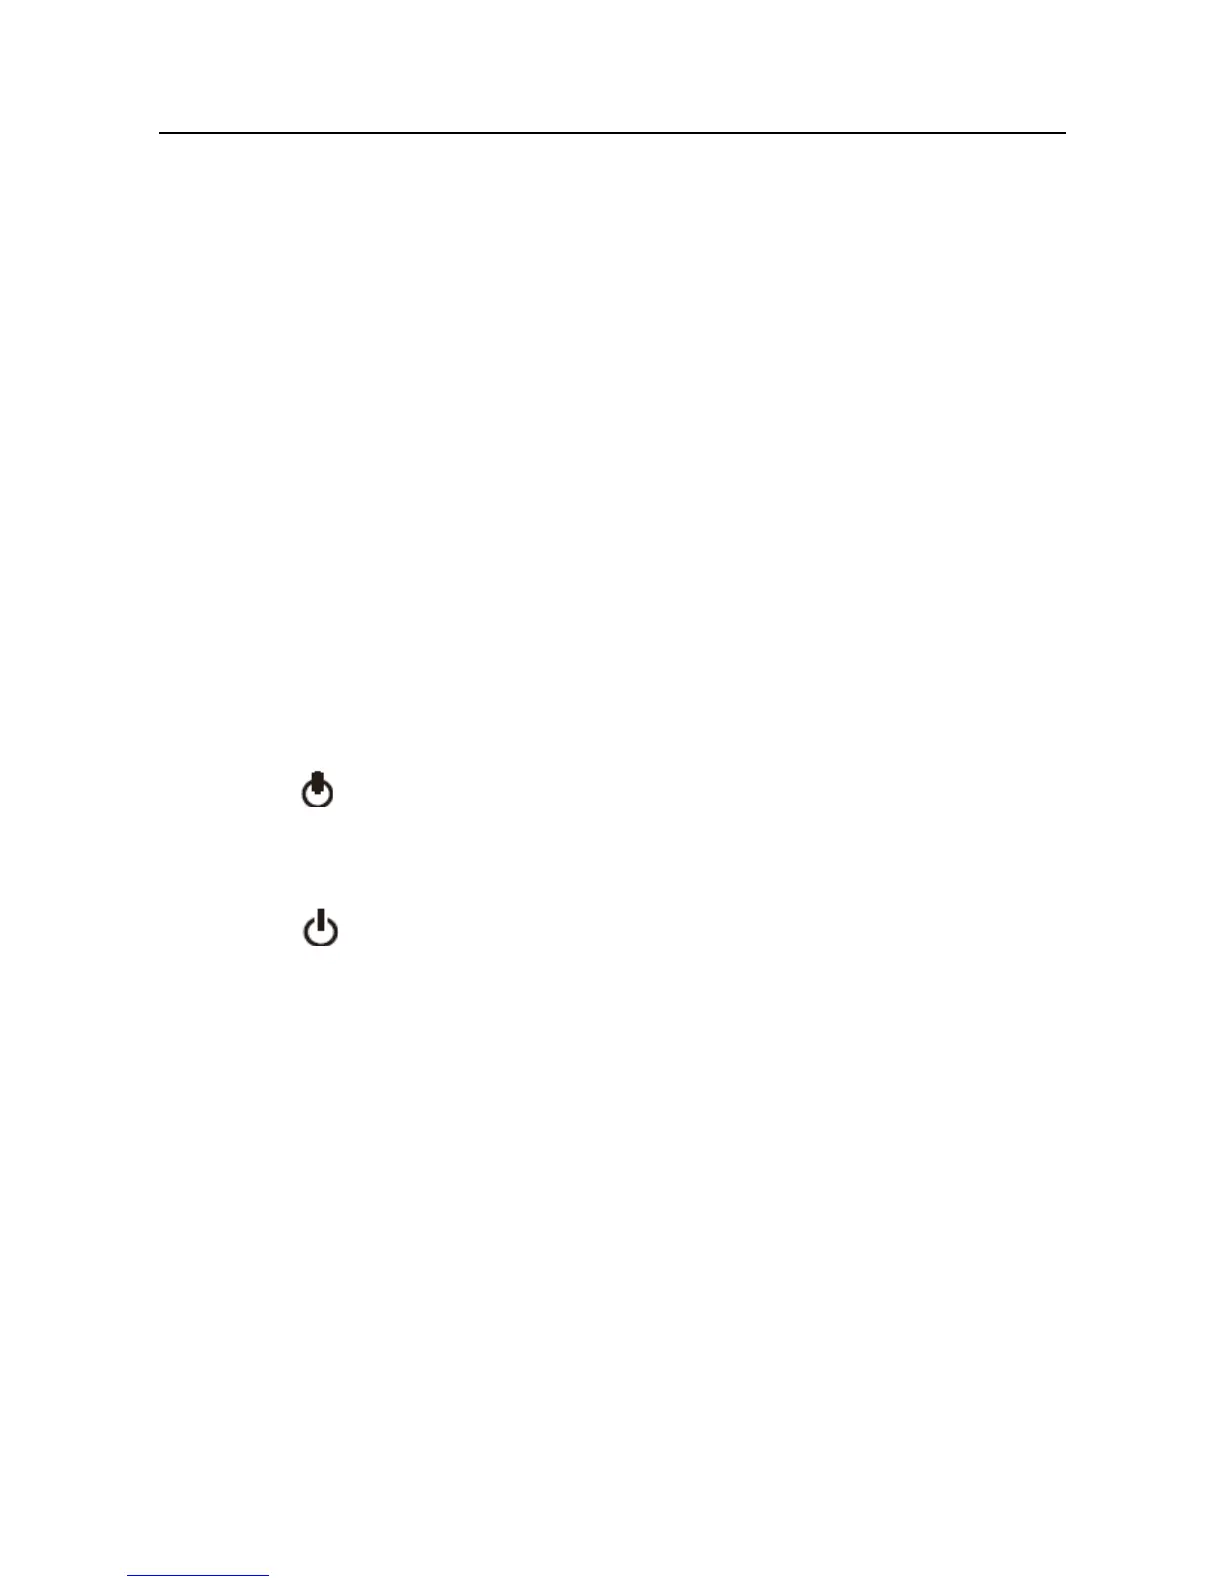
POWER CONTROL
To turn the radio on
• Press the button.
The radio will switch on.
To turn the radio off
• Press the button.
The radio will switch off. The display will remain on to display the time unless battery
powered.
INITIAL SCAN
When your radio is switched on for the first time the scanning display will be shown while
the scanning process takes place: