DENVER DAB-34 DENVER DAB-34
EN-1 EN-2
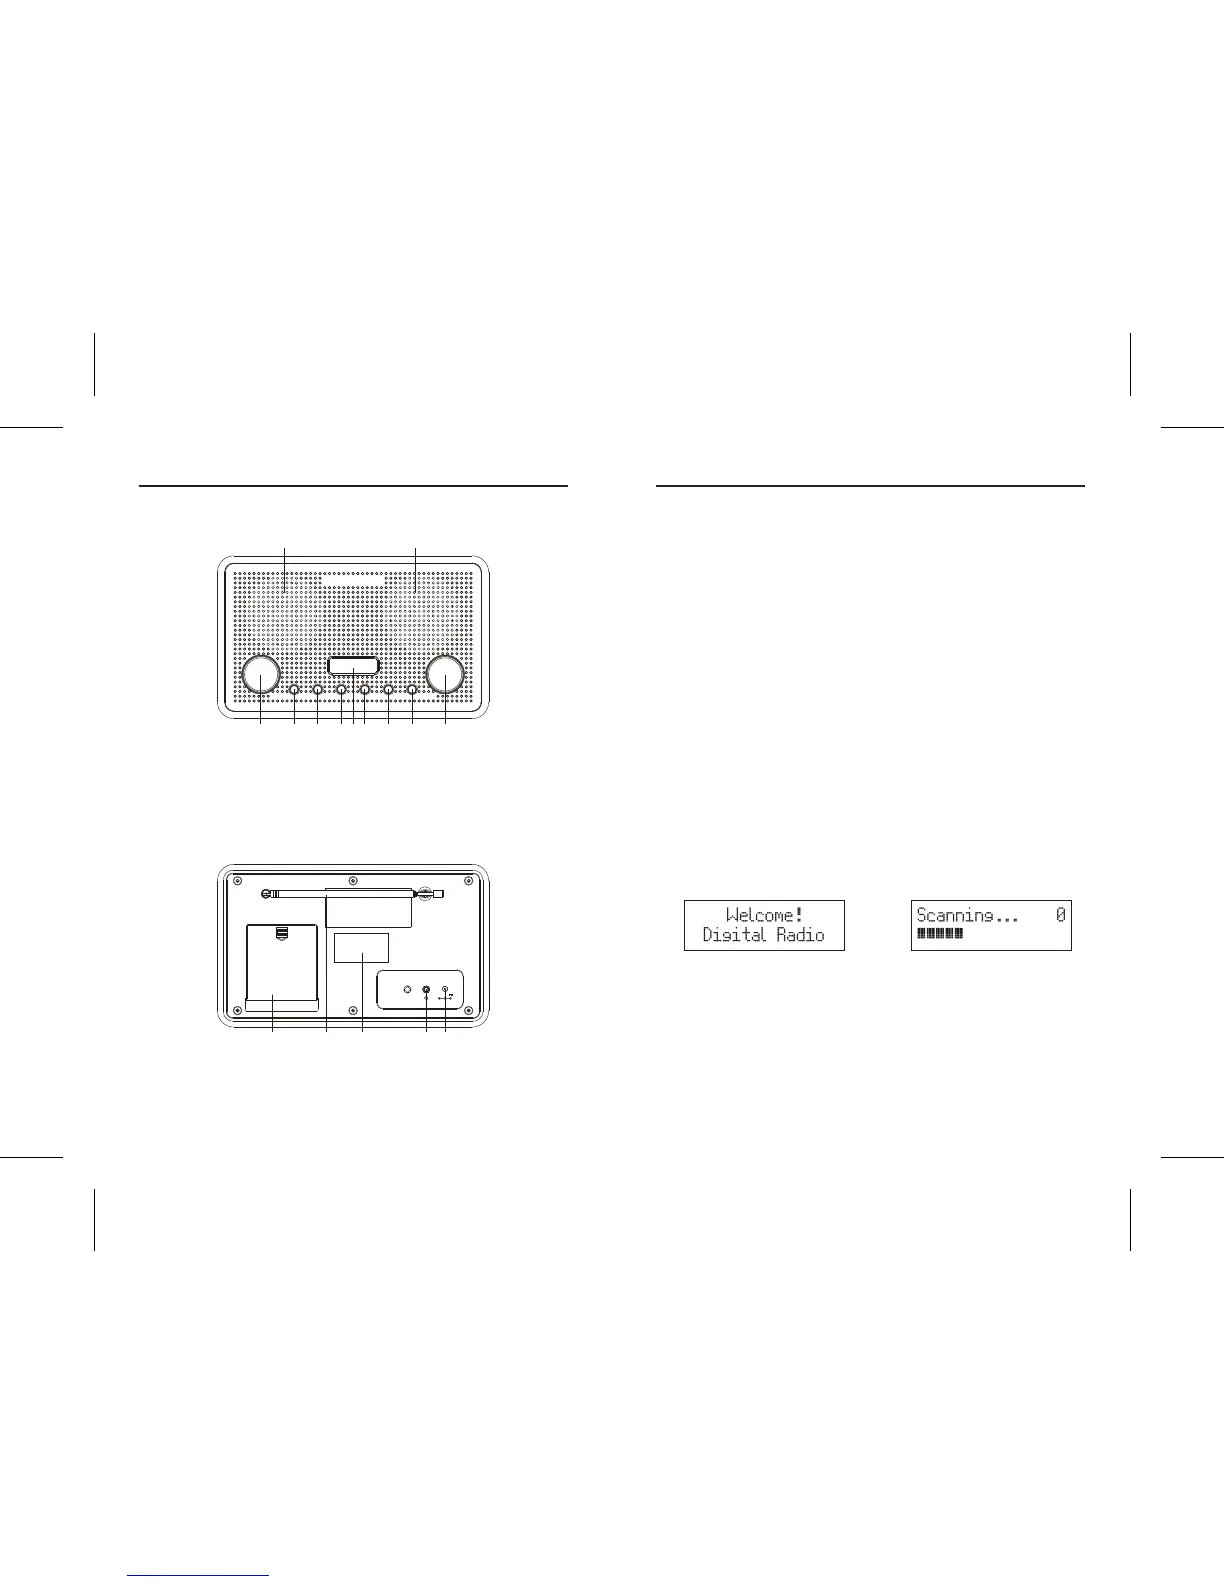
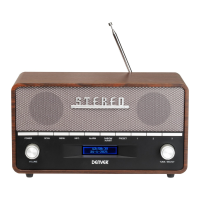
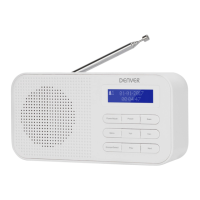
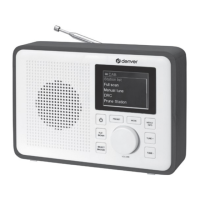
Front view
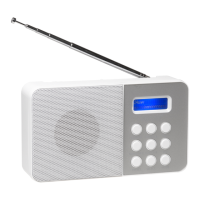
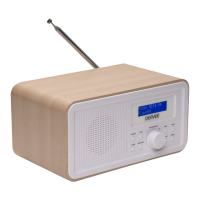
Rear view
F.1
F.2
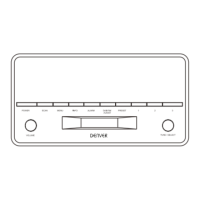
Scanning . . . 0Welcome !
Digital Radio
STANDBY MODE SELECT PRESET MENU/INFO ALARM/SNOOZE VOLUMESEARCH
1 1
2 3 4 5 7 8 9 106
1. SPEAKER
2. SEARCH CONTROL
3. STANDBY BUTTON
4. MODE BUTTON
5. SELECT BUTTON
6. LCD DISPLAY
7. PRESET BUTTON
8. MENU/INFO BUTTON
9. ALARM/SNOOZE BUTTON
10. VOLUME CONTROL
11. BATTERY DOOR
12. ROD ANTENNA
13. RATING LABEL
14. HEADPHONE JACK
15. DC INPUT SOCKET
16. AC/DC ADAPTOR
DC 6V
AUX IN
11 12 1 3 14 15
SWITCHING YOUR RADIO ON FOR THE FIRST TIME
AC Operation
1. Insert the DC power jack of AC/DC adaptor to the DC input socket located
at the rear of the radio.
2. Plug the AC/DC Adaptor to the AC mains outlet.
3. Press the STANDBY button to turn the radio on.
DC (battery) operation
1. Ensure the AC/DC adaptor is disconnected from the radio and AC mains.
2. Installed the batteries (4×1.5V UM3/AA battery) into the battery
compartment.
3. Press the STANDBY button to turn the radio on.
Menus:
Press and hold MENU/INFO button to enter into the “MENU”. Rotate SEARCH
Control to navigate the desire option, then press SELECT button to conrm.
BASIC OPERATION - GETTING STARTED
1. Press the STANDBY button to turn the unit on, it will automatically enter
into the DAB mode and perform auto scan function, During the scan the
display show “Scanning…” together with a slide bar that indicates the
progress of the scan and the amount of stations that have been found so
far. (F.2)
2. Once the scan has nished, the radio will select the rst alphanumerically
found station. You can now rotate the SEARCH control to explore the
found stations followed by pressing the SELECT button to select listening
to the stations.
AB Auto Scan
The full scan will search for the entire DAB Band III channels. After the scan has
nished, the rst alphanumerically found stations will be automatically selected.