4
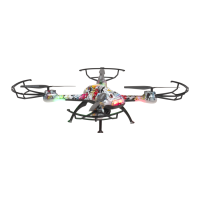
AIRCRAFT BATTERY CHARGING
Insert the battery connector to the small end of the USB charger
(ensure to connect tight and correct).
Use the USB charger to charge the aircraft battery pack.
Charging time: about 60 minutes. When the battery is charged
completely, disconnect the USB charger.
LED indicator USB
When the LED turns off the battery is charging. When the LED lights up, charging is completed.
Charging must be supervised at all times.
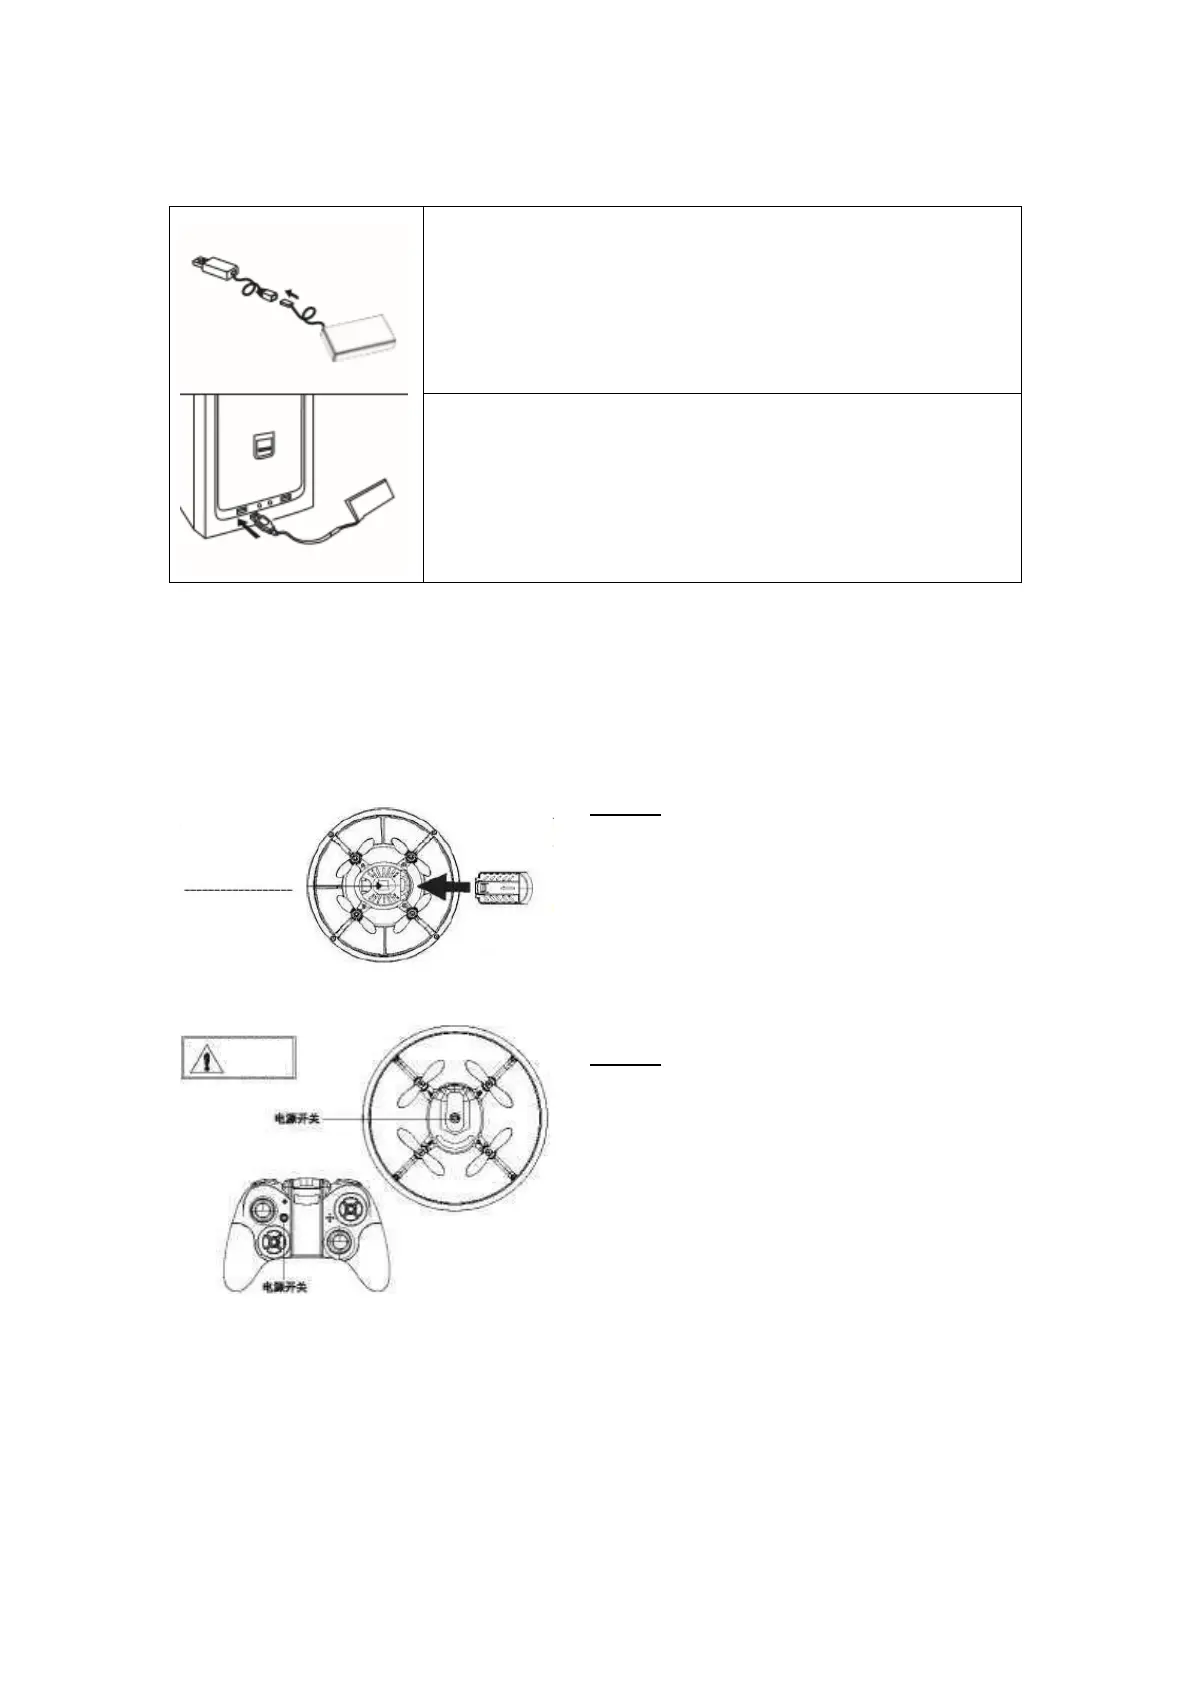
PAIRING TRANSMITTER AND RECEIVER
Step 1
Set up the drone level and insert the Li-Po
battery as shown in the illustration. Switch the
drone on and do not move it until the LED
changes from fast to slow flashing. Now the
remote control can be paired with the drone.
Step 2
Turn on the drone first, then the controller. The
controller will emit a beep tone when it is turned
on.
The LED of the drone will change from flashing to
solid, indicating that the controller and the drone
are now paired.
Press once to switch
on; the LED turns on
 Loading...